Friday 29 August 2014

Totoro Cream Puff

Finally updating the Totoro recipes many of you have been waiting for today. I actually received quite a few emails asking whether I can make some to sell after I shared a photo of these cream puffs on Instagram. Sorry, I don't sell them, but they are not difficult to make, so you can try them out yourself using the recipe I'll be sharing at the end of the post. On a side note, I've been getting emails regularly asking me whether I make charabens for sale as well. No, I don't, but maybe one day when I've too much time on hand and my boys refuse to eat my charabens, I might consider doing so, lol.

IMG_1769

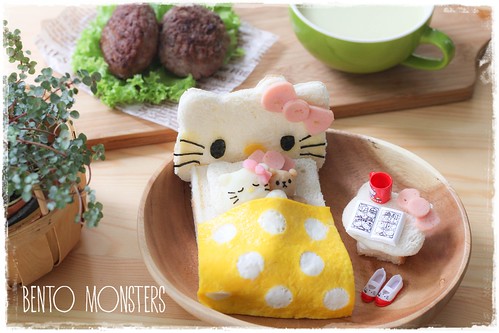
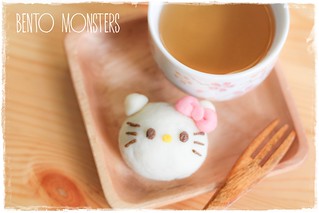
This is actually my first attempt at making cream puffs, there's still room for improvement, nonetheless I'm happy with how they turned out.

IMG_1794
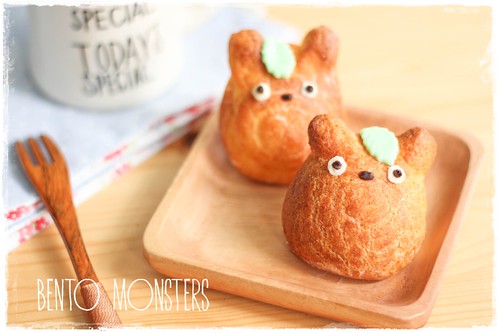
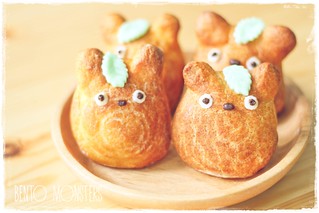
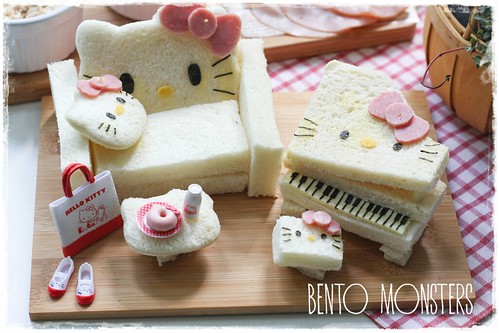
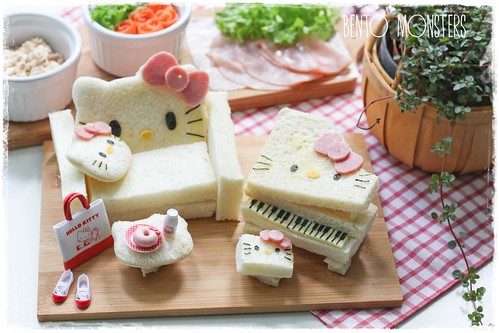
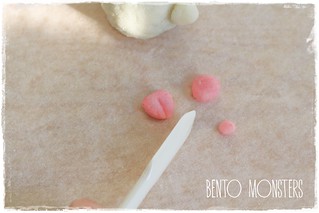
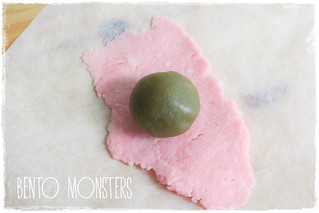
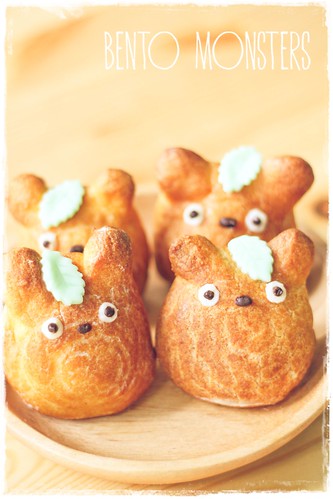
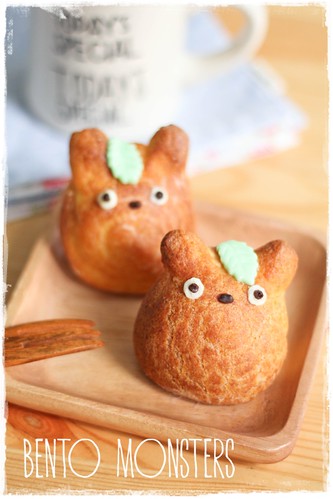
I filled the Totoro cream puffs with pastry cream or crème pâtissière. The leaf on Totoro's head was cut out from fondant using a leaf cutter.

IMG_0992
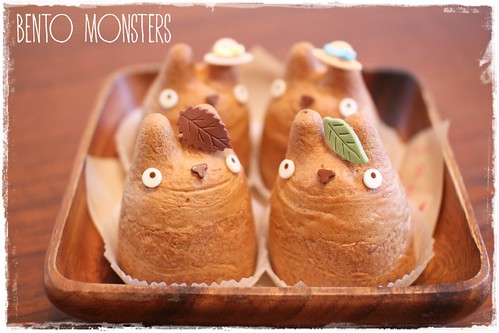
These were the inspiration for my Totoro cream puffs. We had these at Shiro-Hige Cream Puff Factory. I missed that place and their cream puffs. For more photos of Shiro-Hige Cream Puff Factory, you can click HERE to check out my blog post last year.

IMG_1793
Ah.....as I type out this post, I feel like making these cream puffs tomorrow but I'm busy this weekend, need to get our Teacher's Day gifts and cards done.

collage6
Please continue on for the detailed recipe for these Totoro cream puffs.

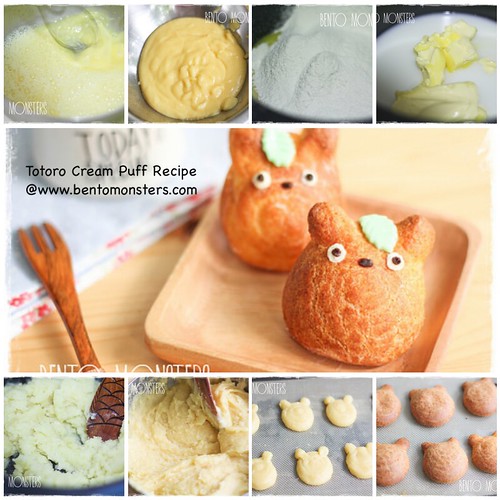
TOTORO CREAM PUFF RECIPE

Ingredients:
pâte à choux pastry:
150ml Water
100ml Milk
125g Unsalted butter
150g Plain Flour
4 medium sized eggs
1 tbsp sugar
pinch of salt

crème pâtissière:
500ml milk
4 egg yolks
120g caster sugar
4 tbsp cornstarch
1 tsp butter
1 tsp vanilla extract


Method:
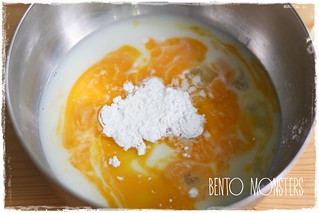
To make crème pâtissière:
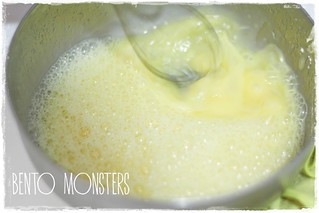
  1. In a mixing bowl, add egg yolks, 100ml milk, sugar, cornstarch and vanilla extract in a bowl.
  2. IMG_1735
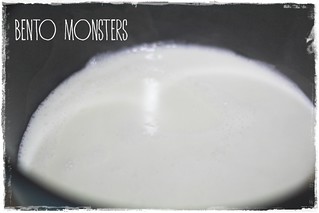
  3. Heat the remaining 400ml milk to a scald in a saucepan. Pour the milk into mixture in step 1, whisking continuously as you pour. Once incorporated, pour everything back into the saucepan.
  4. IMG_1736IMG_1737
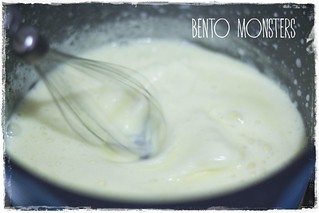
  5. Whisk mixture over medium-low heat, keep stirring till it thickens. Remove from heat and whisk in butter.
  6. IMG_1738
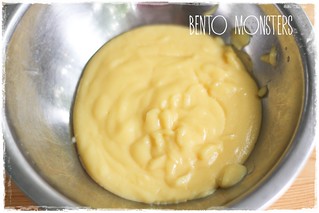
  7. Remove from heat, transfer to a bowl. Once it reaches room temperature, fill into a pipping bag and refrigerate till ready to use. 
  8. IMG_1741
To make pâte à choux pastry:
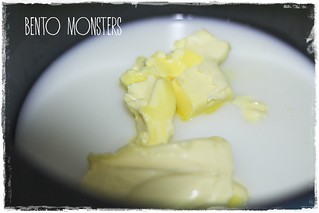
  1. Heat butter, milk, water, sugar and salt in a saucepan on low heat till butter has melted. Turn off heat when the mixture boils. 
  2. IMG_1739
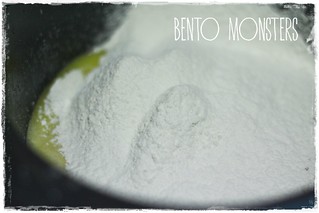
  3. Remove saucepan from heat, add in sieved flour and mix well. Stir quickly till a dough is formed and does not stick to the saucepan. If the dough is still liquid, continue cooking till it forms a dough.
  4. IMG_1742IMG_1743
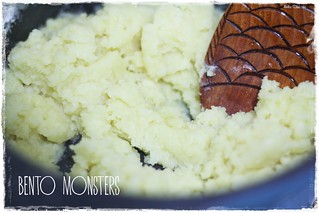
  5. Transfer the dough to another container, use a wooden spatula to mix and cool down the mixture a little.
  6. IMG_1744
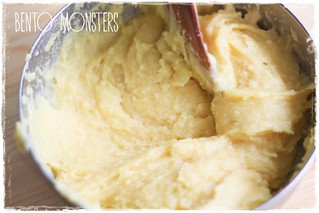
  7. Beat in the eggs one at a time using an electric mixer on low speed until the mixture is well combined and sticky.
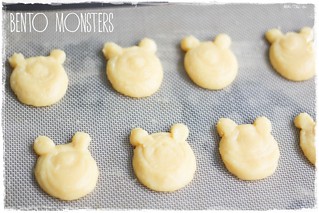
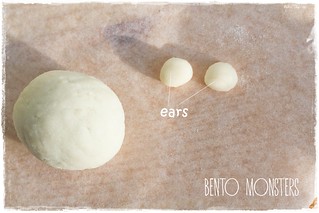
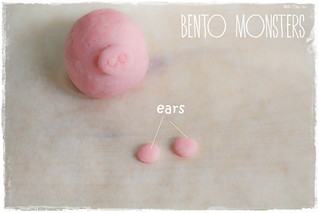
  8. Transfer the mixture into a pipping bag, snip off the end and pipe out the shape of Totoro on a baking sheet. I piped an oval for the body, followed by 2 ovals for the ears.
  9. IMG_1745
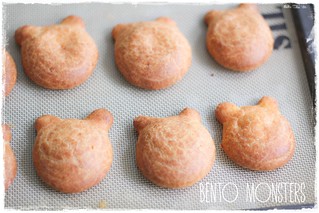
  10. Bake at 180C for 15 minutes, then reduce the temperature to 160C for another 25 minutes. Do modify the time according to how your oven heats up, once your puffs have rise to their maximum, you can turn down the temperature and continue baking till they are all golden brown.
  11. IMG_1747
  12. Remove from oven and let the puffs cool down. Poke a hole at the bottom of the puffs and pipe the crème pâtissière into the puffs. This way, they will be able to stand upright.
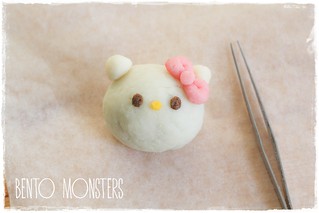
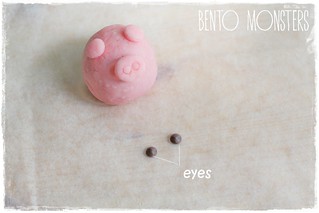
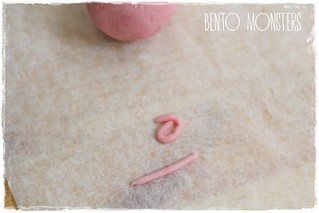
  13. Draw Totoro's features using melted chocolate.
  14. IMG_1773

Tuesday 26 August 2014

Hello Kitty Living Room & Bedroom

I've been sleeping early the past two nights, felt a little feverish and thought I better rest more in case I come down with flu. Thank goodness I feel a lot better today. :)

IMG_9707
Remember the Rilakkuma living room I shared before? You can click HERE to take a look if you missed it. This is the Hello Kitty version of that living room. This time, I added in a grand piano as well. I had wanted to make Hello Kitty, but I ran out of time.

IMG_9703
Yah, I know the proportions are kind of wrong, the sofa looks gigantic next to the grand piano. :P Ingredients used to make this food art were sandwich, nori, ham and cheese. Rather simple ingredients. The bag, shoe and food on the coffee table were all from my Re-Ment set.

IMG_9710
I let my boys create their own sandwich, I gave them lettuce, ham, smoked salmon and tuna mayonnaise for the fillings.

IMG_1649
This Hello Kitty bedroom food art was done on a different day. I made Hello Kitty and her bear plush out of mashed potato. Ingredients used to create the bedroom were bread, egg, ham and nori.

IMG_1644
My boys ate this with a beef patty and lettuce. It's like a burger, except I swapped the burger bun with bread instead. I also made some asparagus soup for them.

IMG_1650
I think I will be making Rilakkuma's bedroom next. :)
Bunting---Dots-and-Stripes---Rainbow---11
Where to get same or similar items used in today's post:

Friday 22 August 2014

Hello Kitty Snowskin Mooncake

It's another mooncake post today, want to clear off this post before Mid-Autumn. Thought of updating this next week, but I was afraid if I were to procrastinate any longer, I'll probably end up updating this after Mid-Autumn is over.

IMG_2346
I made these Hello Kitty mooncakes on the same day as the piggies mooncakes I just shared on Wednesday. The sun was almost setting when I was done with the piggies, so it was a super rush job making these, as I wanted to get a shot of them before the sky turns dark.

IMG_2327
The recipe to make this is exactly the same as the piggies mooncakes.

IMG_2349
These were hand moulded like the piggies mooncakes. You can actually use a Hello Kitty cookie cutter/stamper set or rice mould to make your mooncakes too. However, if you do not own one, you can try moulding them using my recipe below.

HELLO KITTY SNOWSKIN MOONCAKE

Ingredients:
150g Gao Fen (cooked glutinous rice flour)
150g Icing Sugar
50g Shortening
180g cold water
A little Wilton pink gel food colouring
A little Wilton brown gel food colouring
A little Wilton yellow gel food colouring
Mooncake filling - I used green tea white lotus paste

Method:
  1. Sift Gao Fen and icing sugar together in a bowl.
  2. Add in shortening to the mixture and combine. 
  3. Slowly add in the cold water, you might not need to use all. You can stop once you are able to knead into a dough. Take out 3 small portions of dough, using a toothpick, colour the dough pink, brown and yellow using Wilton gel food colouring. Knead till colour is evenly mixed.
  4. IMG_2309
  5. Weigh white dough and fillings, I used 30g of fillings to 25g of dough. Flatten dough with rolling pin, roll fillings into a ball and place on top. 
  6. IMG_2311
  7. Seal and wrap mooncake using your hands. Mould into oval shape.
  8. Take a little  white dough, mould into triangular shape for Kitty's ears.
  9. IMG_2315
  10. Take a little pink dough, mould into 2 triangular shape and 1 round shape for Kitty's bow. Using a knife/toothpick, make indentations on the 2 triangular portions.
  11. IMG_2318
  12. Assemble the ears and bow. Using the yellow dough, mould an oval for Kitty's nose.
  13. IMG_2320
  14. Take a little brown dough, mould into oval shape for Kitty's eyes.
  15. IMG_2321
  16. Take a little brown dough, roll it out and cut into sections for Kitty's whiskers.
  17. IMG_2323IMG_2331

Wednesday 20 August 2014

Piggy Snowskin Mooncake

It's been a few years since I last made mooncakes. Nobody really likes them much at home. I don't really fancy the baked ones but I love snowskin mooncakes. I always buy a box every year, since nobody at home eats much, I always end up eating everything, lol.

IMG_2358
I did not use back my usual recipe this round, came across a super easy recipe sometime back in a magazine, took it down with the intention of giving it a try this year. Not the best recipe I've tried but it's the easiest one. I'm sharing the recipe at the end of this post. Feel free to use back your own recipe if you like. :)

IMG_2354
I made some Hello Kitty mooncakes with this batch, I'll leave those for another post. I still have mooncakes ingredients left, might make more designs if I can find the time.

IMG_2432
I filled the piggies mooncakes with store bought green tea white lotus paste. I've not made the paste from scratch before, so I've no recipe to share for that.

IMG_2334
Took quite a number of photos, so allow me to spam another picture of this piggy mooncake. :P

PIGGY SNOWSKIN MOONCAKE

Ingredients:
150g Gao Fen (cooked glutinous rice flour)
150g Icing Sugar
50g Shortening
180g cold water
A little Wilton pink gel food colouring
Mooncake filling - I used green tea white lotus paste

Method:
  1. Sift Gao Fen and icing sugar together in a bowl.
  2. Add in shortening to the mixture and combine. 
  3. Dissolve some pink colouring in cold water. Slowly add in the cold water, you might not need to use all. You can stop once you are able to knead into a dough.
  4. IMG_2306
  5. Weigh dough and fillings, I used 30g of fillings to 25g of dough. Flatten dough with rolling pin, roll fillings into a ball and place on top. 
  6. IMG_2301
  7. Seal and wrap mooncake using your hands. Flatten the base and mould it slightly oval in shape.
  8. Take a little dough, mould into oval shape for piggy's nose, use a straw to poke 2 holes.
  9. IMG_2305
  10. Take a little dough, mould into 2 ovals for piggy's ears.
  11. IMG_2307
  12. Use 2 small chocolate chips for piggy's eyes.
  13. IMG_2308
  14. Take a little dough, roll it out before curling it up, this will be the piggy's tail.
  15. IMG_2419IMG_2362