Friday 2 September 2016

Rilakkuma Pie & ASUS Zenbook Flip

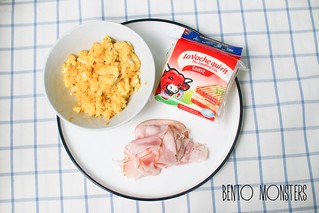
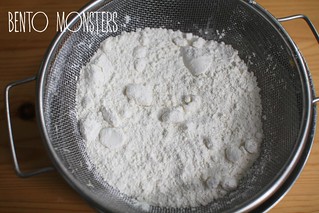
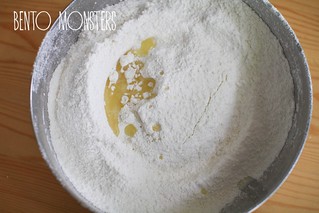
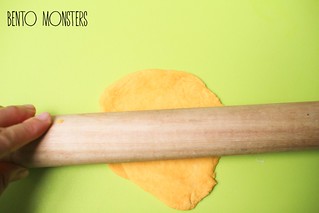
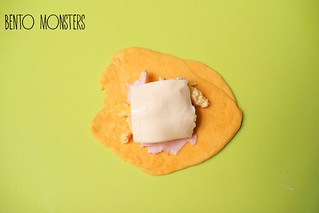
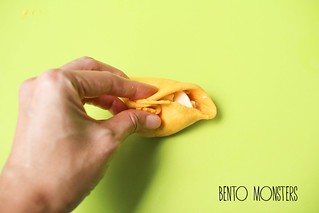
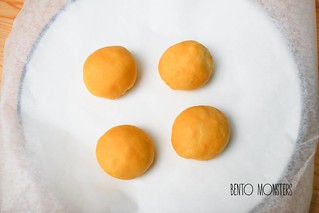
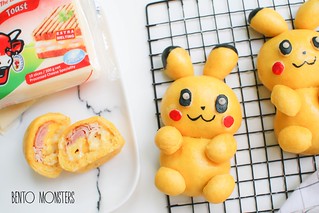
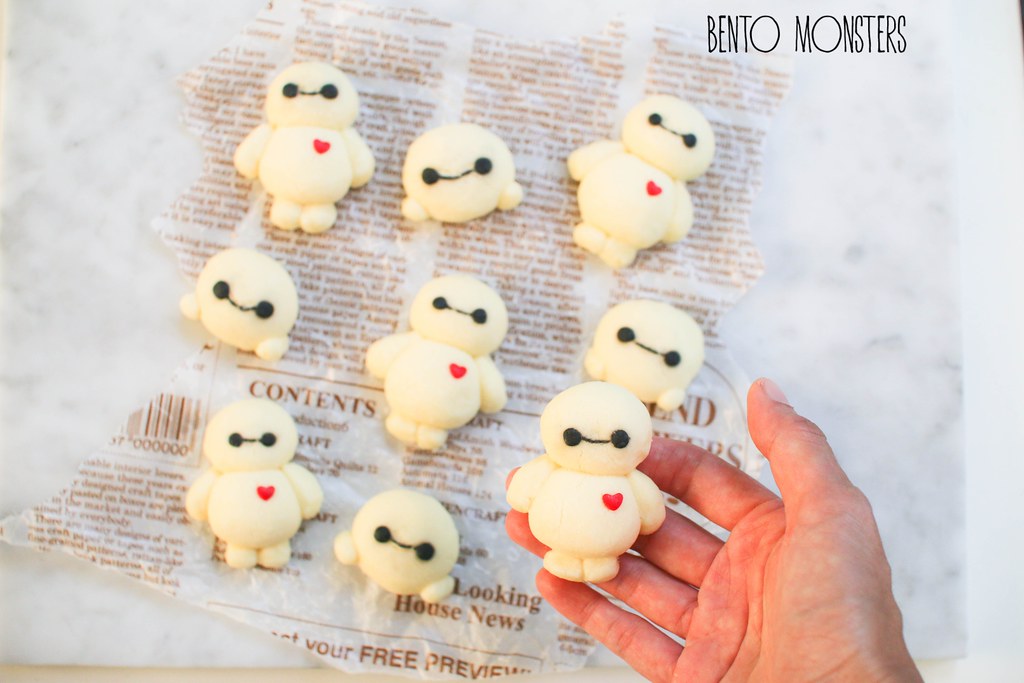
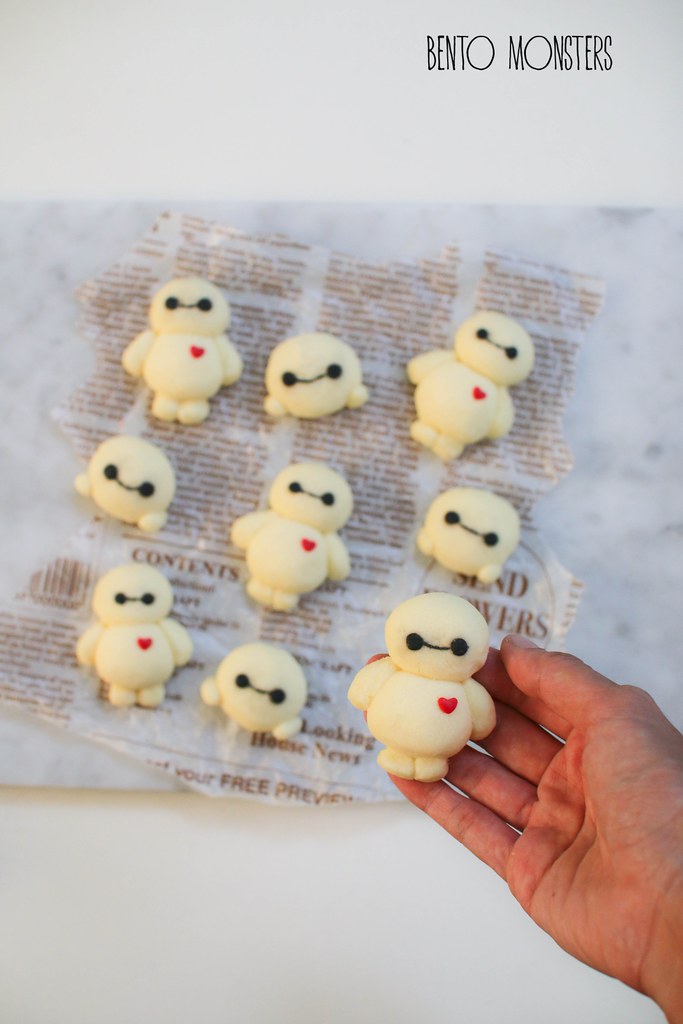
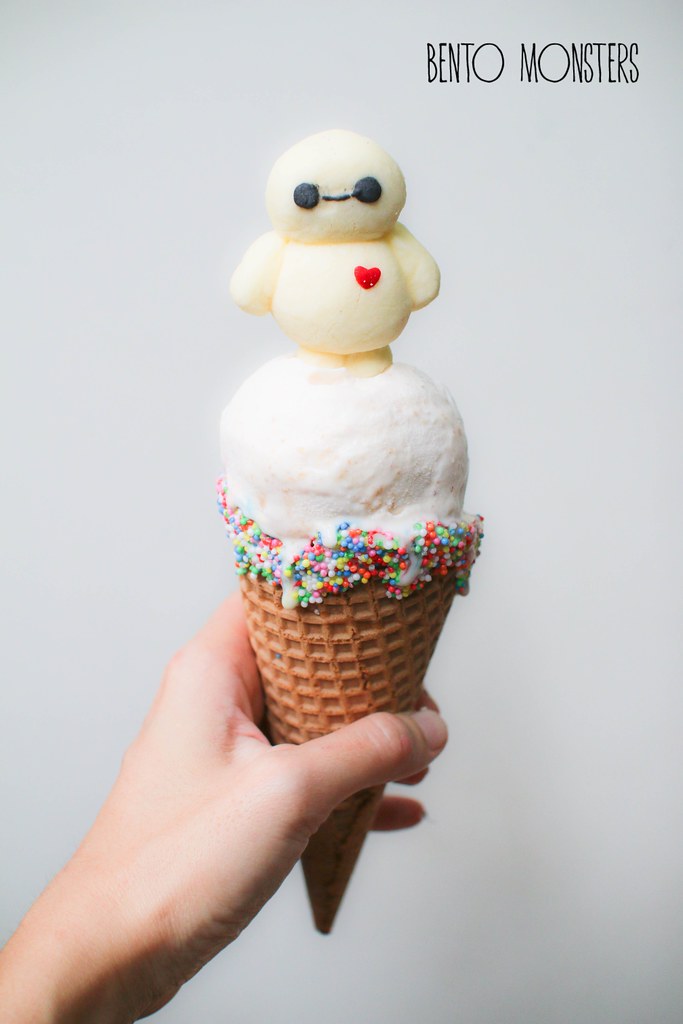
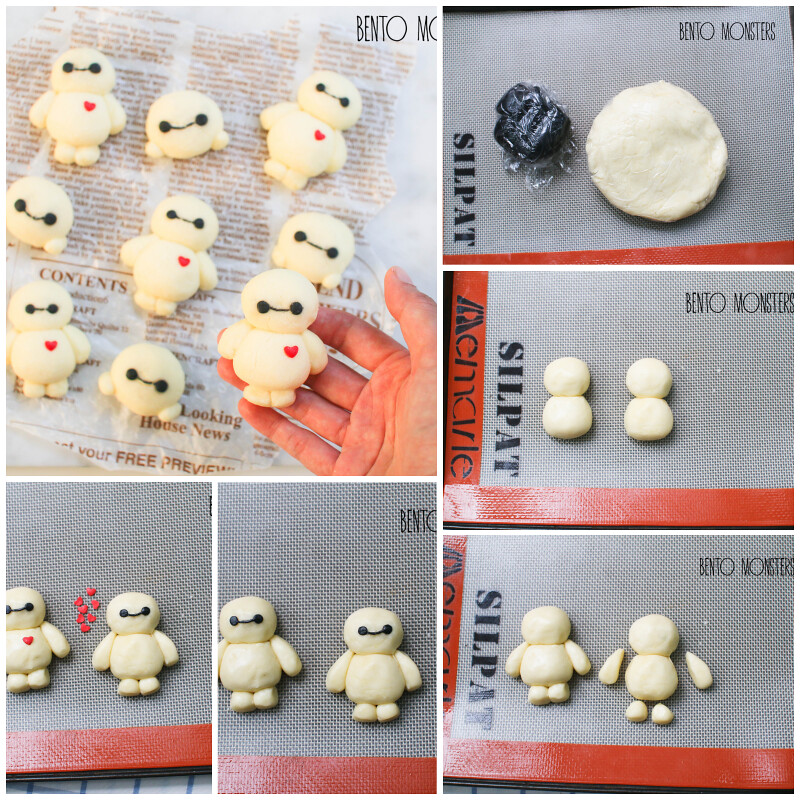
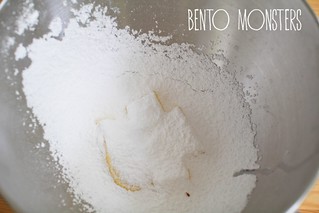
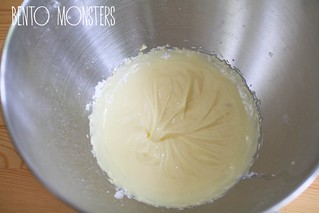
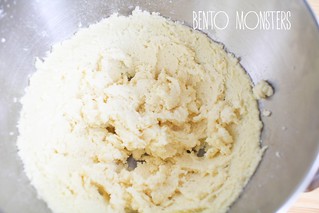
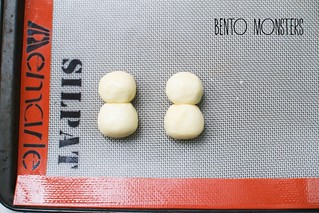
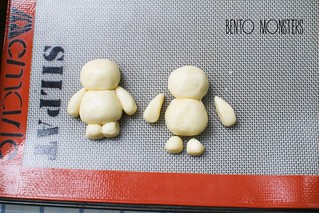
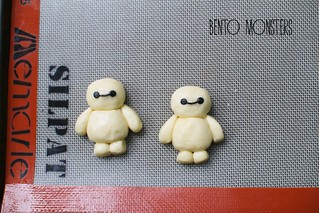
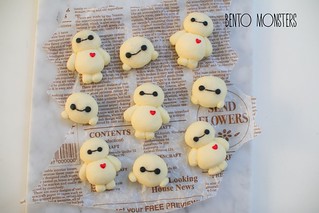
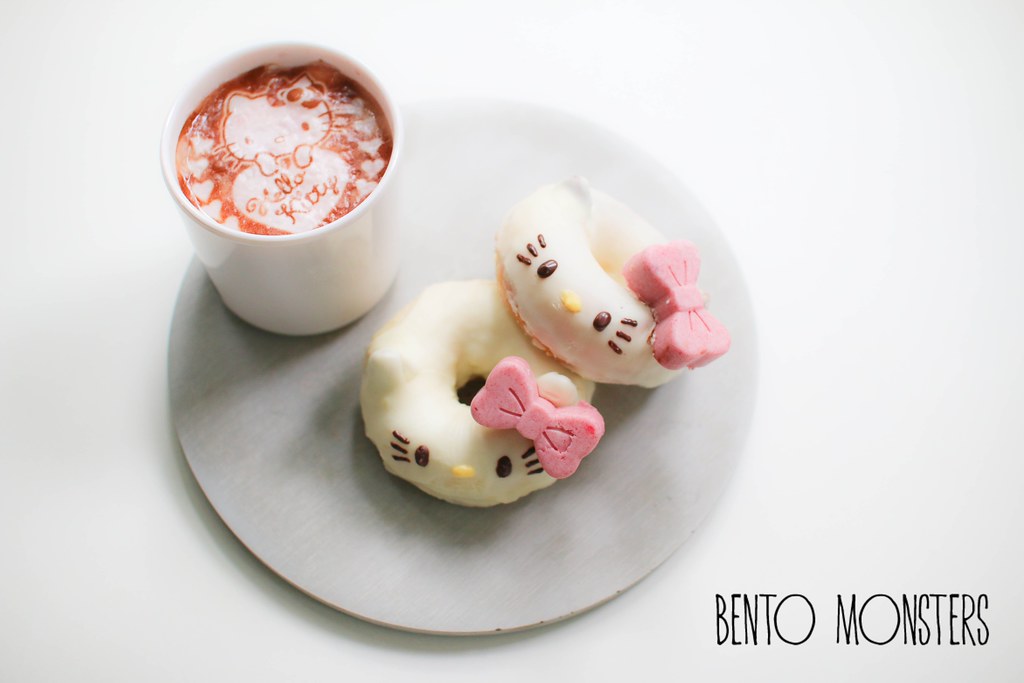
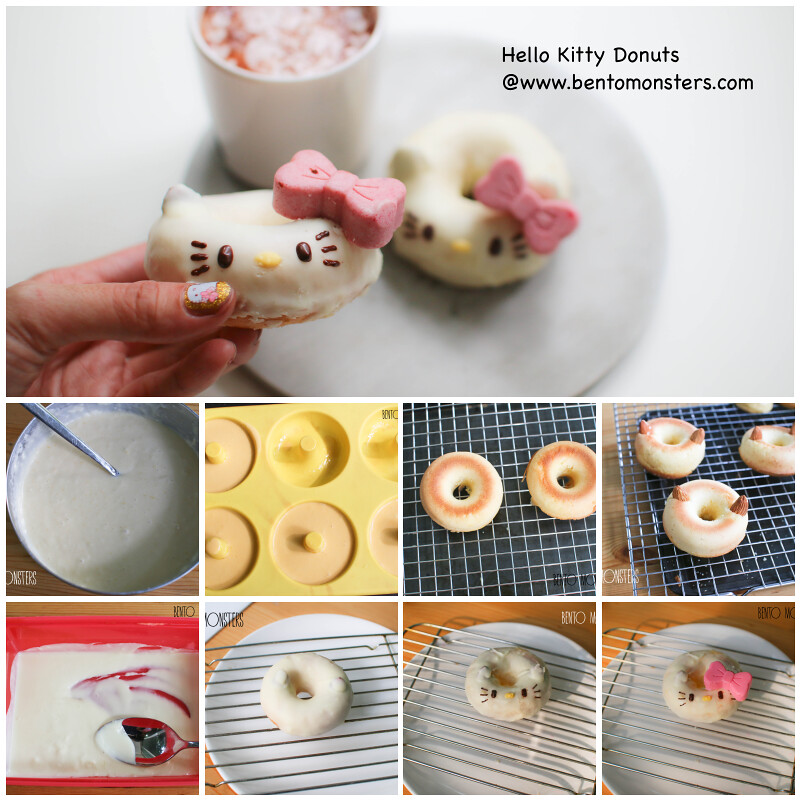
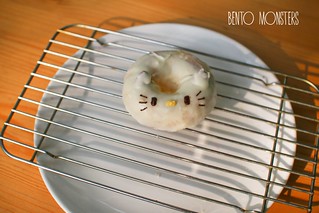
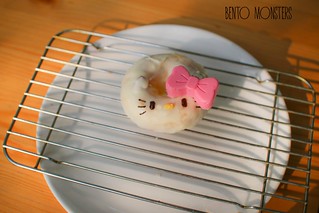
I'm sure most of you know that I'm a stay-at-home mum. Even though I do enjoy staying home with my boys, the never ending chores and mundane tasks are not what I enjoy, but I've long came to accept them as part and parcel of my job. Over the years, I've also learnt to find joy in simple things, something we often take for granted. And finding time to indulge in making some cute food is one of the simple thing that flips my day.

IMG_5077

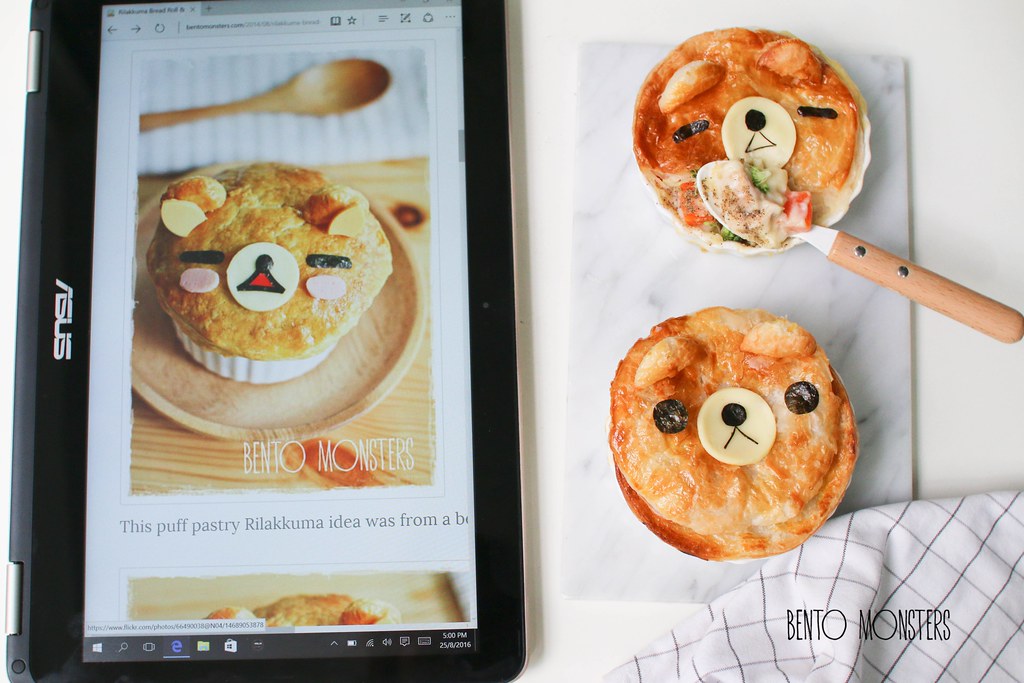
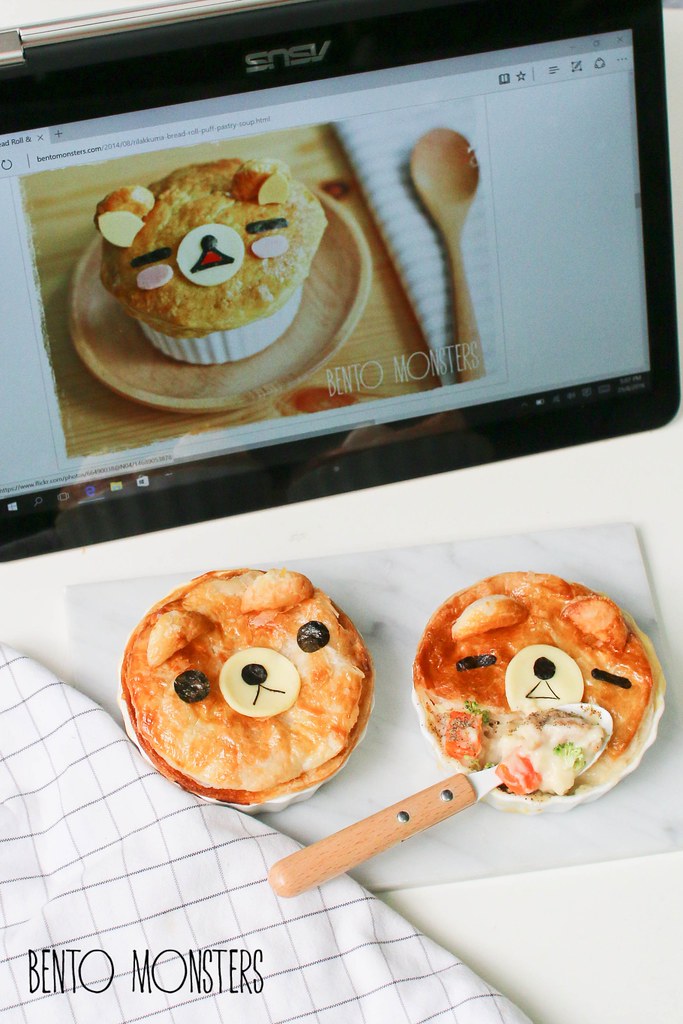
Over the past week, I had the chance of trying out the The ASUS Zenbook Flip, their latest laptop launched. Yes, you read it right, it's a laptop, though it looks like a tablet in my picture above. This is because, the laptop not only comes with a touch screen, it can also be flipped 360 degrees, allowing you to adjust the screen into four convenient viewing mode. The one I'm using above is the tablet mode.

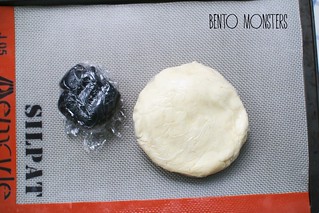
I found it especially useful when I need to search for recipes to refer to when preparing food. In the picture above, I was searching for the Rilakkuma puff pastry soup on my blog, as I wanted to do a remake of it. This time, I used the same idea but made it into a pie instead.

IMG_5112
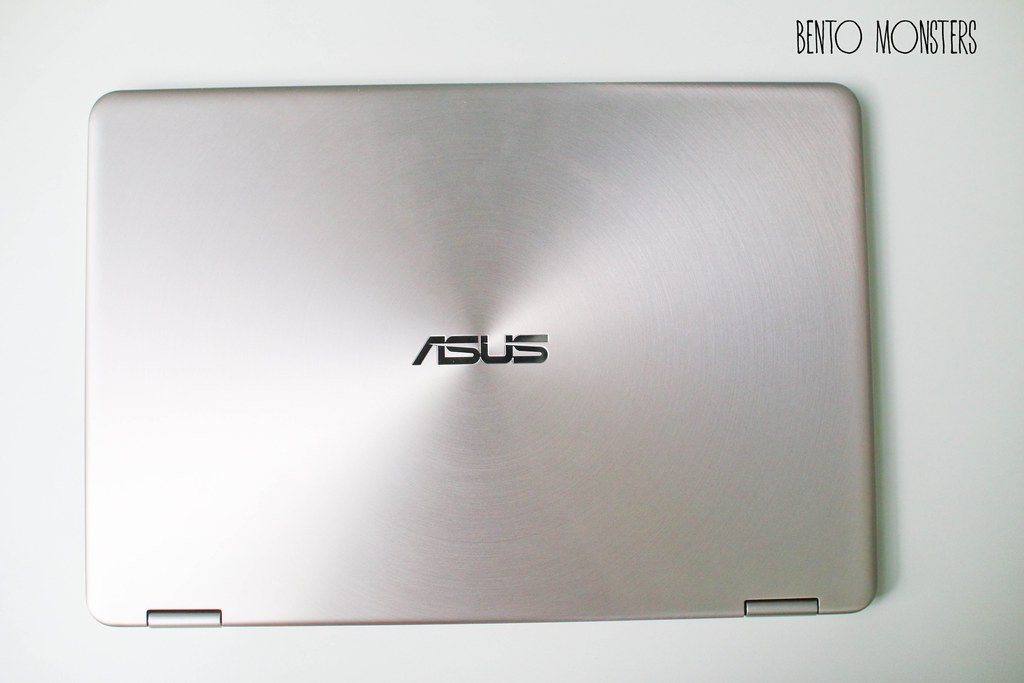
Here's how the Zenbook Flip looks when it's closed. I love the sleek and stylish design.

IMG_5115
As you can see in the picture, it is ultra slim, ultra light and compact. The best part is that it also comes at an attractive price, the Zenbook Flip is only retailing at $1298.

IMG_5098
Other than the tablet view, my other favourite view is the tent view, where it can be open up like a tent on the table. This view, together with the large screen, is perfect for me to watch my favourite variety shows and K-dramas, while I'm eating. You can find out more about the Zenbook Flip at this link.
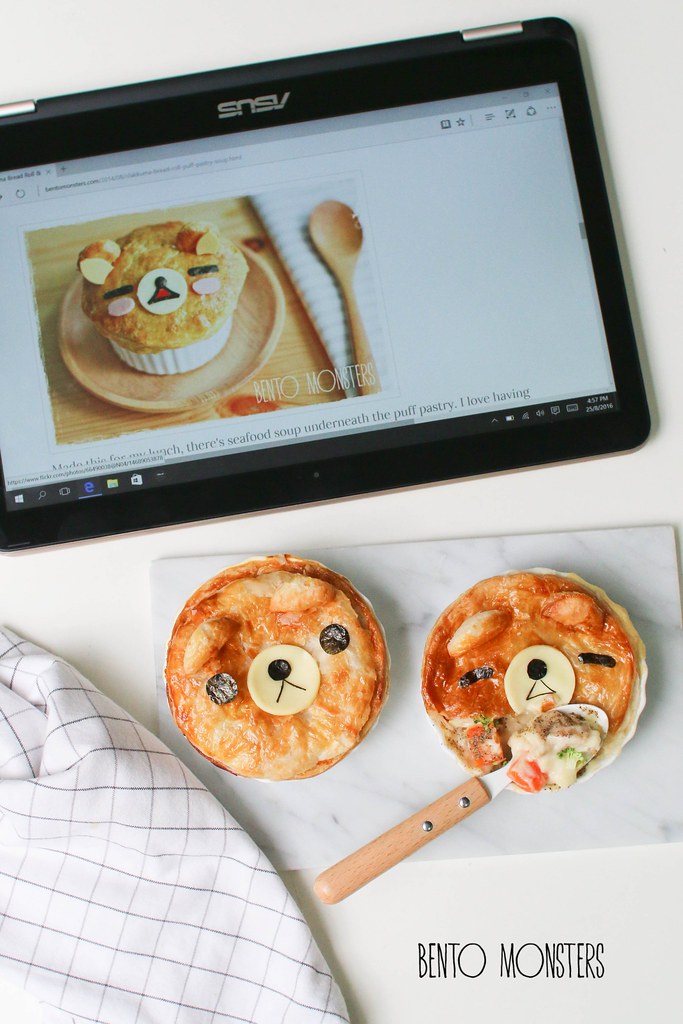
IMG_5072
Now here's your chance to own a ASUS ZenBook Flip. To win a ASUS ZenBook Flip worth $1,298, simply follow the steps below:
  1. Like the ASUS Singapore Instagram page. 
  2. Share a photo on Instagram on an event OR item that will change your day around (“Flip your day”), tell us why and how is it so in the caption,
  3. Use the #flipmyday hashtag and tag ASUS Singapore (@ASUSSG) in your post to enter! Don’t forget to set your account to public so that your entry is visible!
Contest ends at 11.59 pm on 30th September 2016!  Good luck! 

Monday 22 August 2016

Pikachu Steamed Bun

Pokemon Go has finally found their way here and we have been busy catching 'em all. It has been a long time since I last played games on my handphone, I much rather spend my free time reading up stuff or watching shows, but this game is surprising rather addictive, lol. And thanks to my Pokemon Go addiction, I've been making lots of Pikachu food art lately, he's the only character I used to know from Pokemon. Now thanks to the game, I'm slowly learning more characters, but I think he still remains my favourite out of the lot.

IMG_4841
Here are the Pikachu steamed buns, which I filled with ham, cheese and scrambled eggs. It's not the usual bun fillings, but this combi goes well with the steamed buns. It perfect for breakfast, though it can be eaten any time of the day. I'll be sharing the basic recipe for this at the end of this post.

IMG_4808
The cheese I'm using is The Laughing Cow Toast,  as the name implies, this cheese is extra melting and is great for using in toast. It tastes really nice, and goes very well with the eggs and ham in the steamed buns.

IMG_1362
The Laughing Cow is celebrating its 95th birthday this year, and the prizes are really good! It is holding a draw with the top prize being a trip to France for four! 

Here are the details: 

Full list of prizes:
a.       1 x trip to France for 4 
b.       10 x pairs of tickets to Hong Kong
c.       20 x IPAD 64GB
d.       64 x shopping vouchers worth $500

From 1 August to 31 October 2016, simply purchase any of The Laughing Cow product and stand a chance to win. Entry forms available at customer service counter in supermarkets or on website. 

3 ways to submit:
  1. Mail entry form and original receipt to Natrad Food Pte Ltd, 149 Ubi Avenue 4, Singapore 408778.
  2. ONLINE via www.natradfood.com/tlc. Please retain original receipt to claim prizes. 
  3. SMS “TLC<space>full name<space>NRIC<space>receipt no.” to 73333. Please retain original receipt to claim prizes.    
The Laughing Cow products and the promotion are available at all major supermarkets. Check in-stores for more details.

IMG_4835
I'm sharing the recipe for the basic ham, cheese and scrambled egg buns, you can shape them into any characters you fancy. I've coloured mine yellow and shaped them into Pikachu. If you do not want to use food colouring, you can replace with this pumpkin steamed buns recipe over here instead.

STEAMED HAM, CHEESE & EGG BUNS 

Ingredients:
300g Morinaga pancake mix
1 1/2 tbsp salad oil
90 to 100ml water
1 tsp cocoa powder
yellow food gel colouring(optional)

Fillings:
The Laughing Cow toast cheese slices
Scrambled eggs
Shave ham

Method:
  1. Prepare fillings and set aside.
  2. IMG_4795
  3. To make the dough, sieve pancake mix.
  4. IMG_8830
  5. Add in salad oil.
  6. IMG_8831
  7. Add in water gradually, use your hands to keep mixing till the dough comes together. Dust work surface with some flour, use your hands to knead for around 5 minutes, till the dough becomes soft and smooth. If you are colouring the dough, you can do so at this point, add in food colouring and knead till the colours are even.
  8. IMG_4793
  9. Divide dough into 6 parts and roll each into a ball. Use a rolling pin to flatten each ball. 
  10. IMG_4797
  11. Place scrambled eggs, shaved ham and cheese in the middle of the dough, wrap it up and pleat the edges to seal. 
  12. IMG_4798IMG_4799
  13. Place the buns on wax paper and steam them on low heat for around 15 minutes.IMG_4801IMG_4844
Note: If you can’t get hold of Morinage pancake mix. You can also use 270g plain flour and 1.5tsp baking powder to 140ml water. You need to add in 3 tbsp of sugar and a pinch of salt as well. Cover the dough after step 7 and leave it for half an hour before you start rolling out.

Tuesday 2 August 2016

Baymax German Cookie

Sorry, another long absence again, I don't really know what happened, for some reason, I just ended up doing other stuff. I guess I just got used to not blogging, lol. I doubt I will be updating my blog as much anymore from now on, but I will still try to update recipes now and then.

IMG_3490
For today, I'll be sharing the recipe for these Baymax cookies. I know I promised to update about watermelon bread piggies before this and some of you are asking me where that recipe is. Sorry, I was actually drafting up that post a couple of weeks back, but I misplaced some of the measurements I took down for that recipe, so I will have to make that again before I can share.

IMG_3488
These Baymax cookies were made with my usual german cookies recipe. These cookies have a crumbly texture that just melts in your mouth. This recipe only requires a few ingredients, is very easy to make, and it's very versatile, as you can mould the dough into almost any characters you fancy.

IMG_3567
I used one to decorate my boy's ice-cream, just for fun, lol.

baymaxcookie
I used charcoal powder to colour the dough black, but if you can't get hold of it, please replace with either dark cocoa powder or black food colouring.

BAYMAX GERMAN COOKIE RECIPE

Ingredients:
125g butter
50g icing sugar, sifted
125g potato starch
80g cake flour
1/2 tsp charcoal powder

Method:
  1. Beat butter and icing sugar till light and fluffy.
  2. IMG_0739IMG_0740
  3. Sift in potato starch and flour, mix till a soft dough is formed.
  4. IMG_0741IMG_0742
  5. Scoop out around 3 tbsp of the dough and mix with charcoal powder. Mix till it turns black. Wrap both the black dough and the white dough separately with cling wrap and refrigerate for half an hour.
  6. IMG_3510
  7. Take out the white dough, mould into 2 balls, 1 for the head and 1 for the body(mould the body slightly bigger than the head) and join them together. I measured the dough for this so that it's more consistent, but you can choose not to do so if you prefer. For your reference, I measured 8g for the body and 6g for the head.
  8. IMG_3511
  9. Mould out Baymax's arms and legs and join them to the body. I did not weigh the dough for the limbs.
  10. IMG_3512
  11. Take the black dough and roll into two small circles for Baymax's eyes. Roll out a thin  strip for Baymax's mouth. Alternatively, you can also add water a few drops at a time to the black dough, till you get a thick paste, that you can fill in a pipping bag and pipe on the details.
  12. IMG_3513
  13. Add on heart shaped sprinklers.
  14. IMG_3514
  15. Bake cookies at 130 degrees celcius for around 25 minutes. To prevent cracking, please place at the middle to low rack and insert an empty tray above it.
  16. IMG_3493

Saturday 28 May 2016

Hello Kitty & Friends Donuts

PHello!! I'm finally back to dust off the cobwebs from this space, lol. Sorry for the long hiatus, I don't really know why, was just feeling lazy after exams were over, just not motivated to switch on my laptop to update my blog. -_-

IMG_8950
If you have been following my Instagram, you might have seen these Hello Kitty donuts I made last year. I am finally going to update the recipe for these in today's post, sorry for the long wait.

IMG_8957
These donuts are baked, so the texture would be similar to cakes instead.

IMG_8958
I happened to have matchy Hello Kitty nails that day. Sadly, my pretty nails can never last past a few days, due to all the housework I do. :(

IMG_1070
I also went on to make Hello Kitty friends, Keroppi, Pompompurin and my melody on another day.

IMG_1066
These batch was rather messy though, as I had some problem with the chocolate consistency.

IMG_1576
I thought I'll share this Hello Kitty milkshake in this post as well, since there is a donut on it. I made this to share with my boys after their exams. I've seen lots of version of this ultimate milkshake and thought I'll try to recreate it.

IMG_1580
There's strawberries blended with vanilla ice-cream and milk in the glass. I frosted part of the glass with white chocolate and sprinklers. For the layers on top, I added donut, Kit Kat, Pocky, Hello Kitty and bow chocolates. This was quite fun to make and fun to share, definitely would be too much for one person to finish this.

hellokittydonuts
I used the Morinaga pancake mix for this recipe. If you can't get hold of them, you can use this old recipe of mine over here instead.

HELLO KITTY DONUT RECIPE

Ingredients:
150g Monrinaga pancake mix
100ml soya milk/milk
1 egg
3 tbsp honey
10g cold pressed coconut oil/vegetable oil/melted butter
Almonds
White chocolate
Pink chocolate/Wilton pink icing colouring
Chocolate
Yellow Chocolate/Wilton yellow icing colouring

Method:
  1. Put pancake mix, soya milk, egg, honey and coconut oil in a bowl and mix until all the ingredients are evenly distributed. 
  2. IMG_9042
  3. Lightly grease donut pan with vegetable oil. Spoon mixture into donut mould till around 80% full. Bake in preheated oven at 180C for 15 minutes.
  4. IMG_7756
  5. Remove from mould and leave it to cool down fully.
  6. IMG_9411
  7. Using a knife, make slits on top of the donut, just enough for you to insert the almonds for the ears.
  8. IMG_9449
  9. Melt white chocolate either over a hot water bath or in a microwave.
  10. IMG_9413
  11. Dip the almonds in white chocolate before placing them back in the slits. Dip the donut in white chocolate. If you find your almonds dropping when you turn over the donut to dip it in the chocolate, you can scoop the chocolate over the donut to coat it instead. 
  12. IMG_1042
  13. Draw on Hello Kitty's nose using yellow chocolate. If you can't get hold of this, add on a yellow icing colouring to white chocolate to colour it yellow. Draw on the rest of the features using chocolate. 
  14. IMG_1043
  15. You will need a ribbon mould to make Hello Kitty mould. Alternatively, you can also use two heart shaped sprinklers to form the bow. Melt pink chocolate, pour into the mould and leave it to set in the fridge before removing. If you can't get hold of pink chocolate, add on a pink icing colouring to white chocolate to colour it pink. 
  16. IMG_2198IMG_1044