Saturday 19 August 2017

Animals Themed Breakfast Set

Breakfast is the most important meal of the day and in today's post, I will be collaborating with Magnolia, to share with you a kawaii animals themed breakfast set.

IMG_16
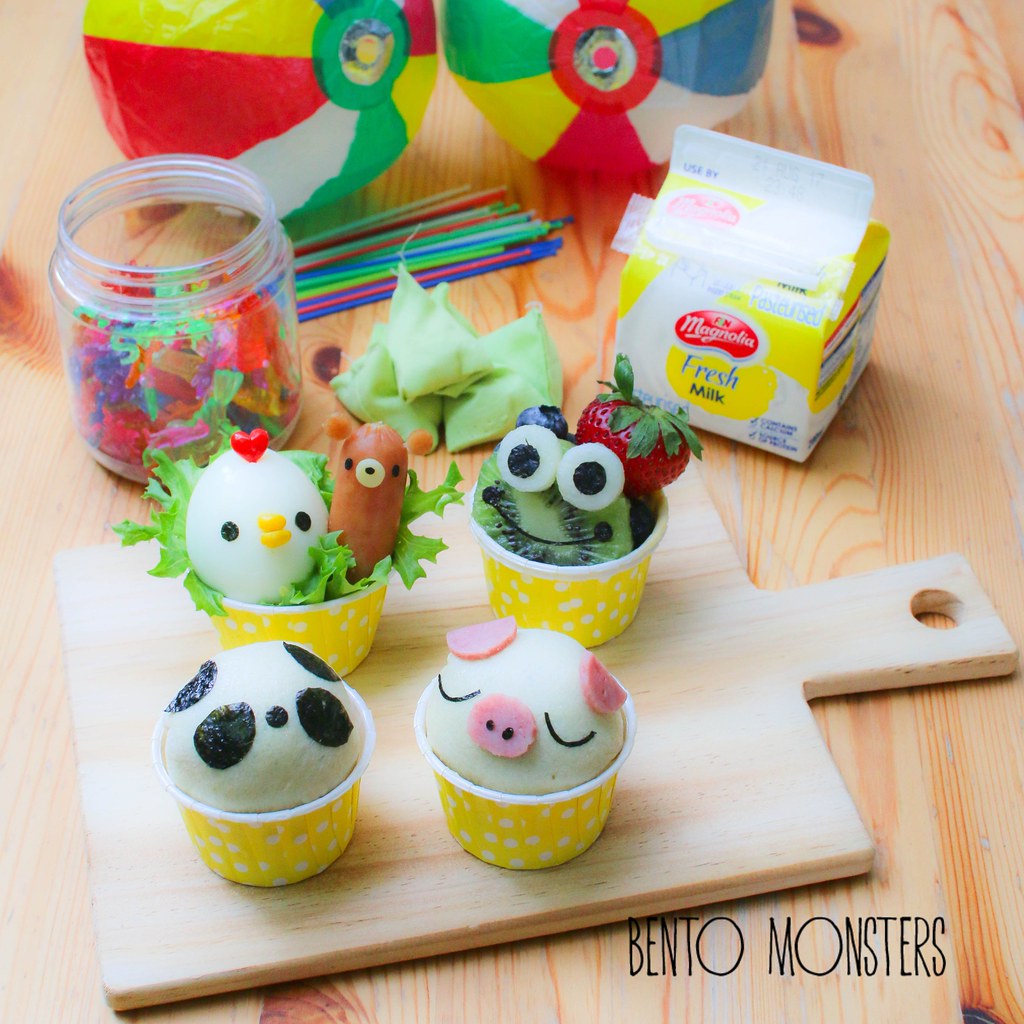
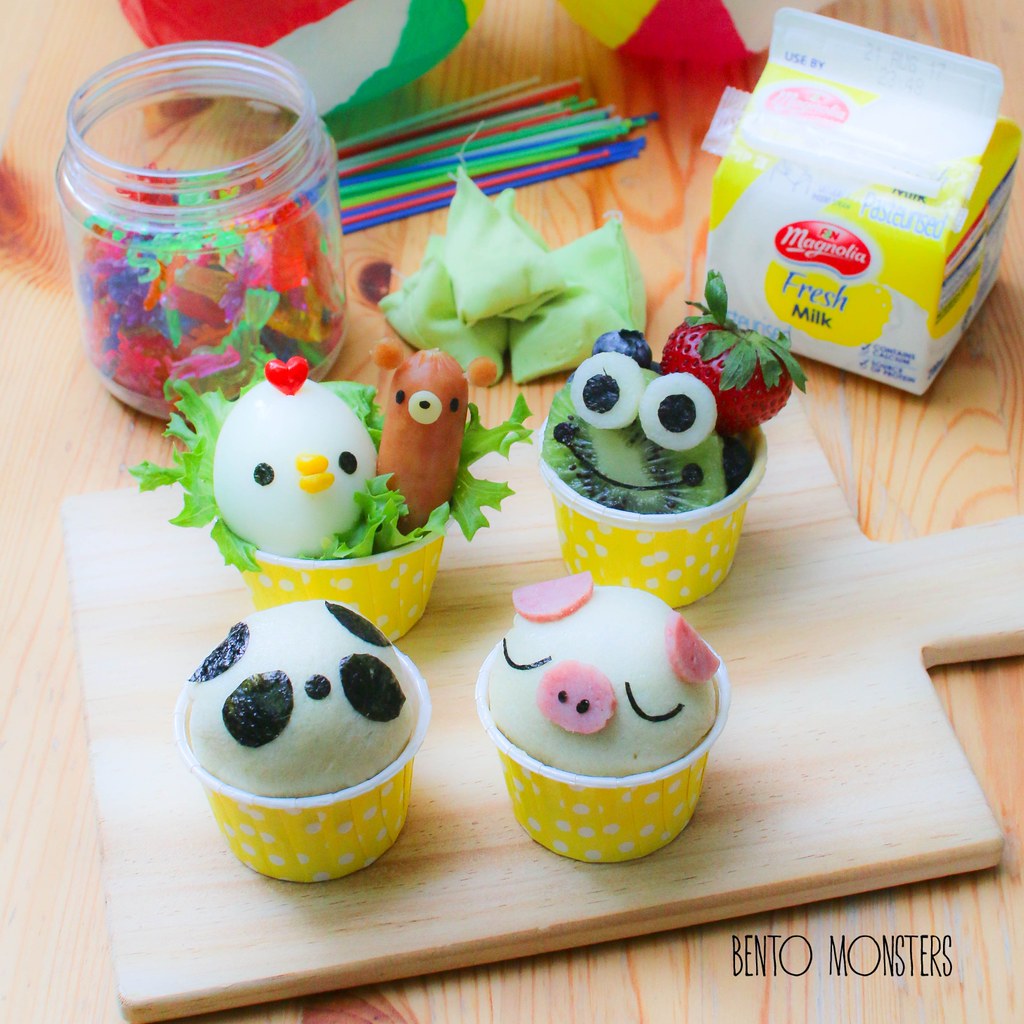
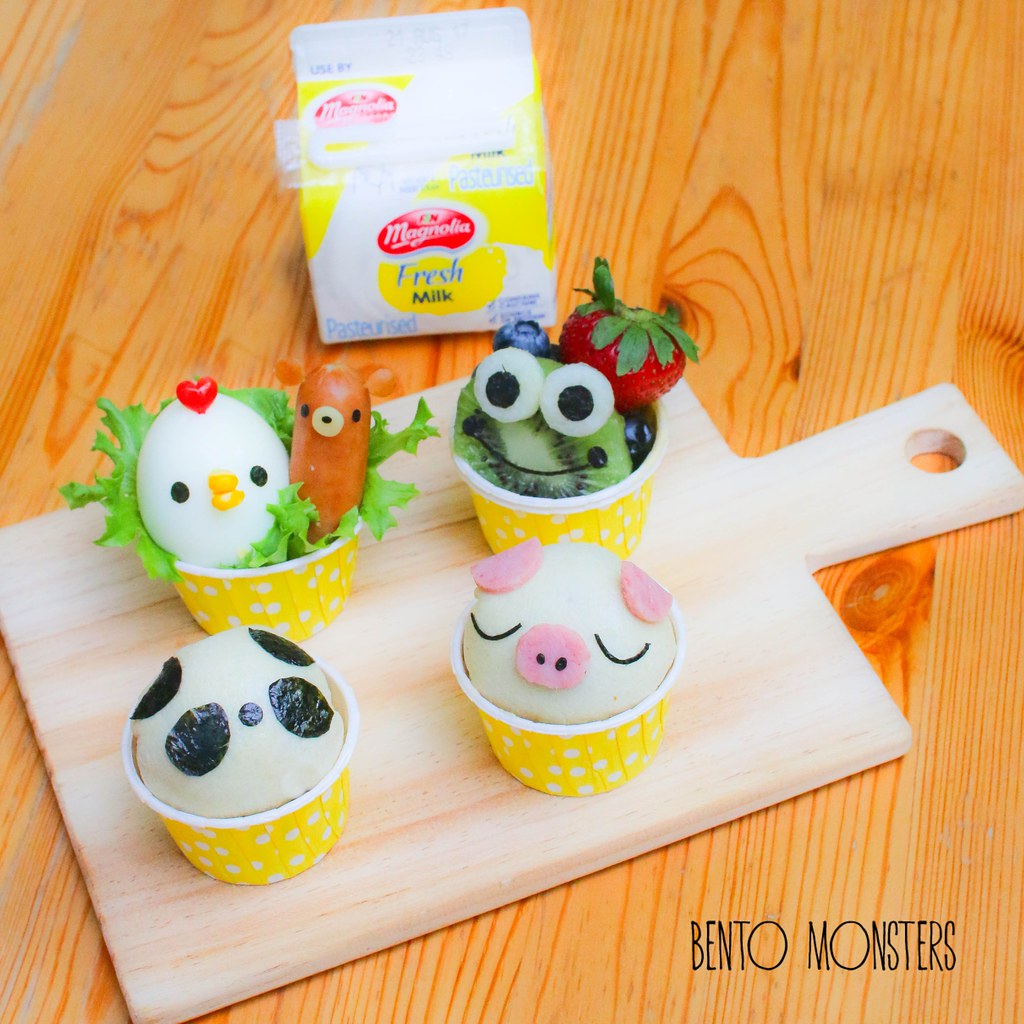
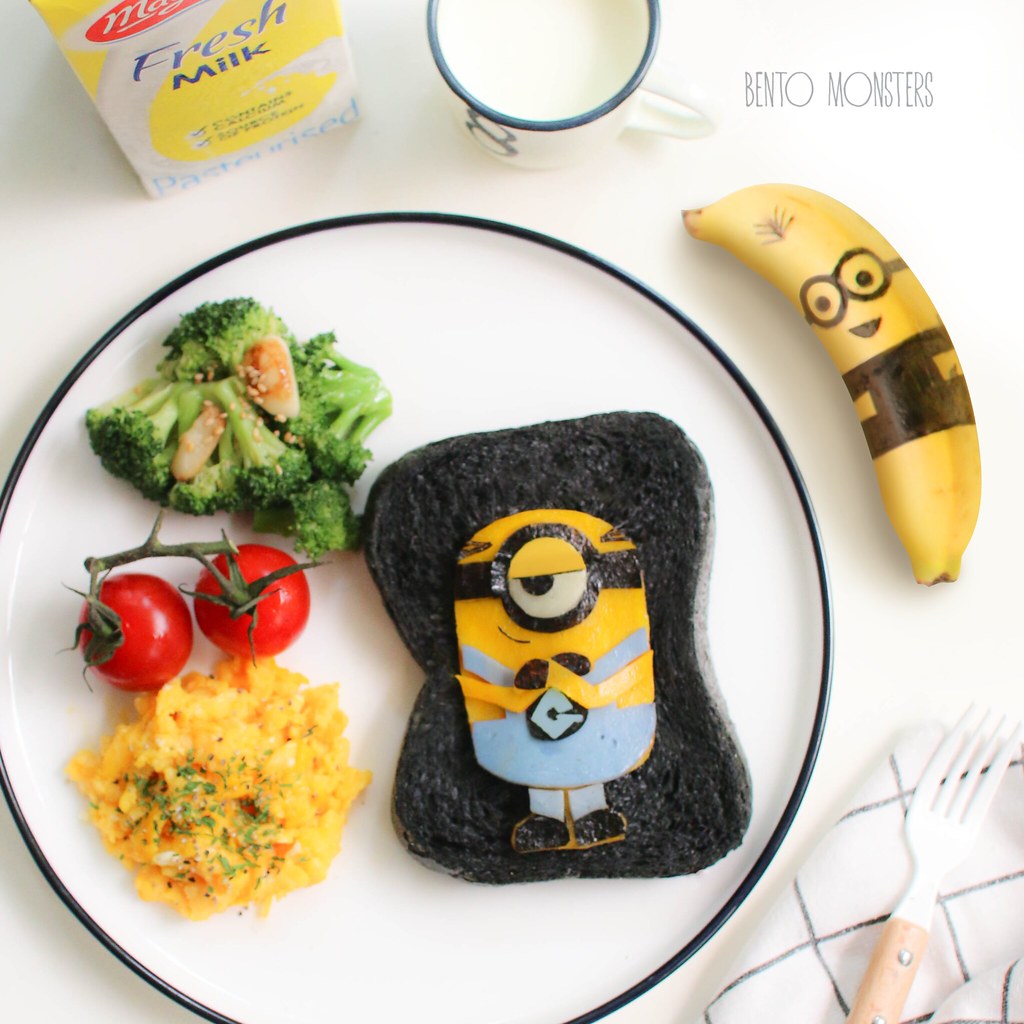
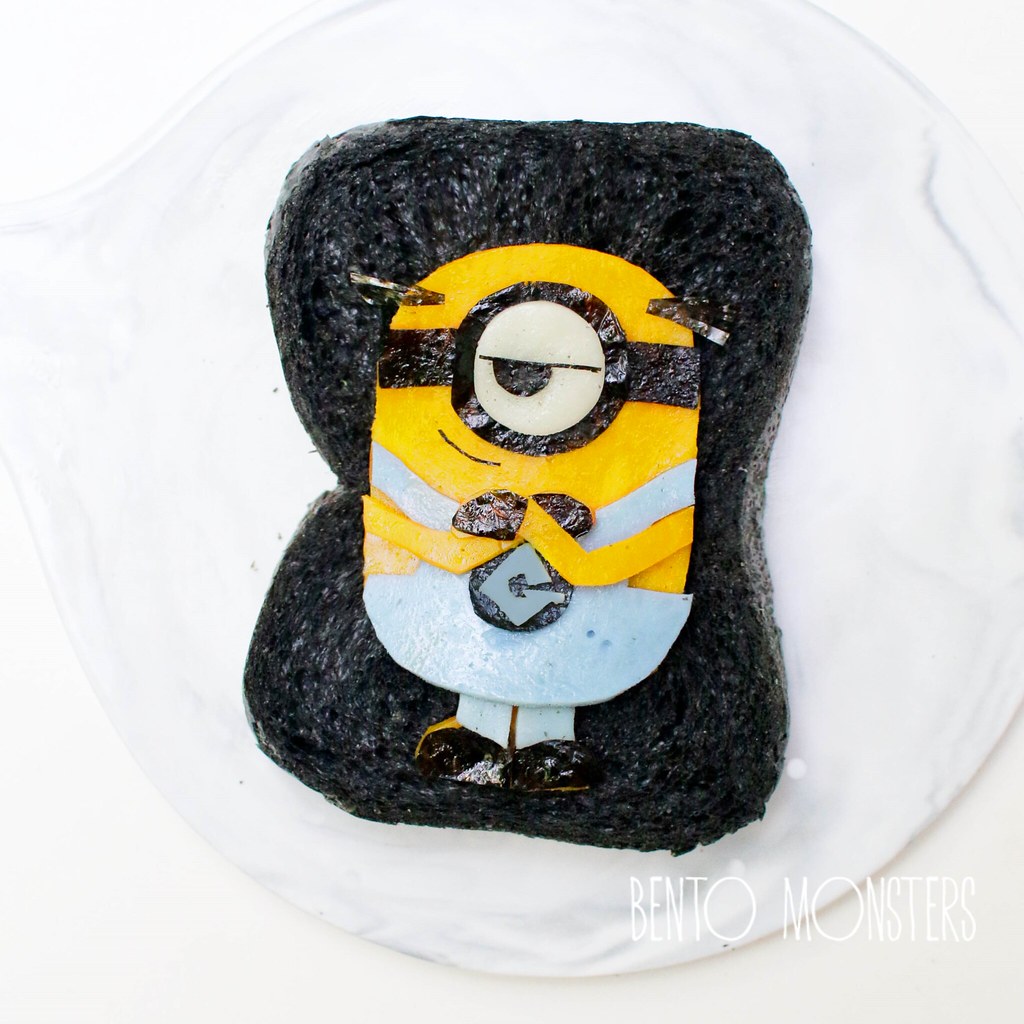
This the breakfast set I came up with, the Panda and Piggy are bread balls which I filled with kaya and red bean. The chicken is made from a hard boiled egg, the bear is made from sausage and the frog is made from kiwi.

IMG_2153-2
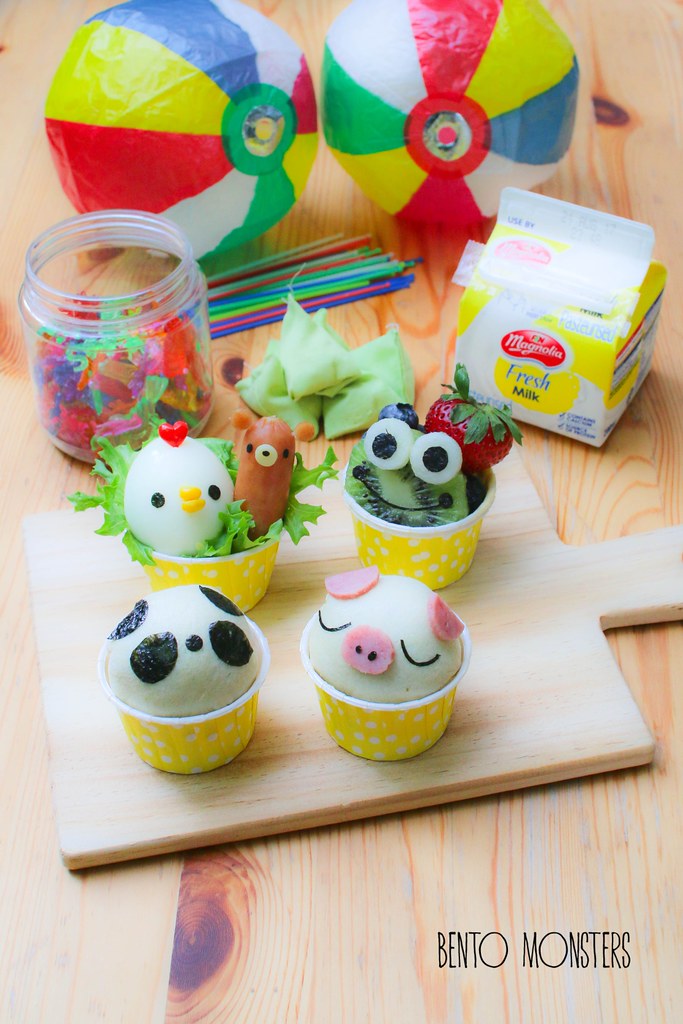
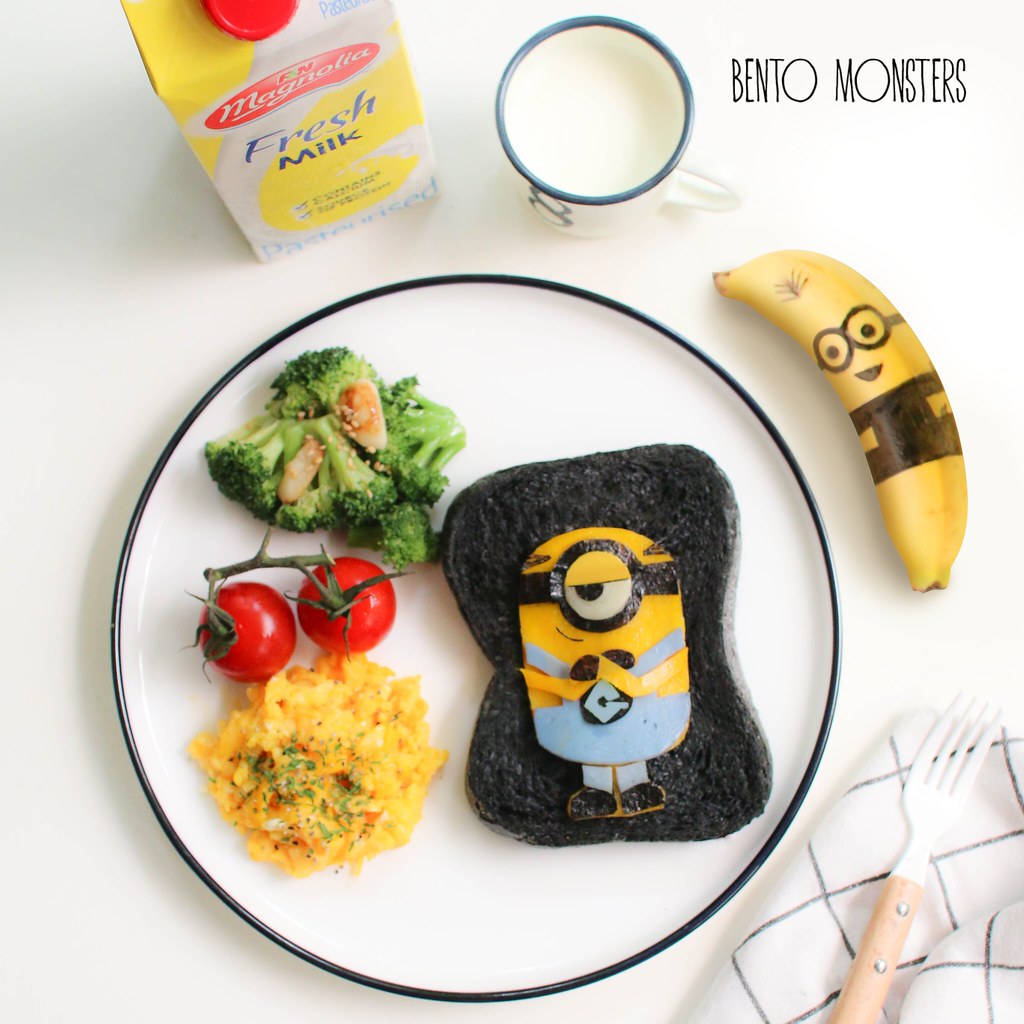
I've paired this breakfast set with Magnolia's fresh milk in a 200ml pack. I love this size, I always buy this for my boys, as it's conveniently packed and just nice for one serving.

IMG_2153-3
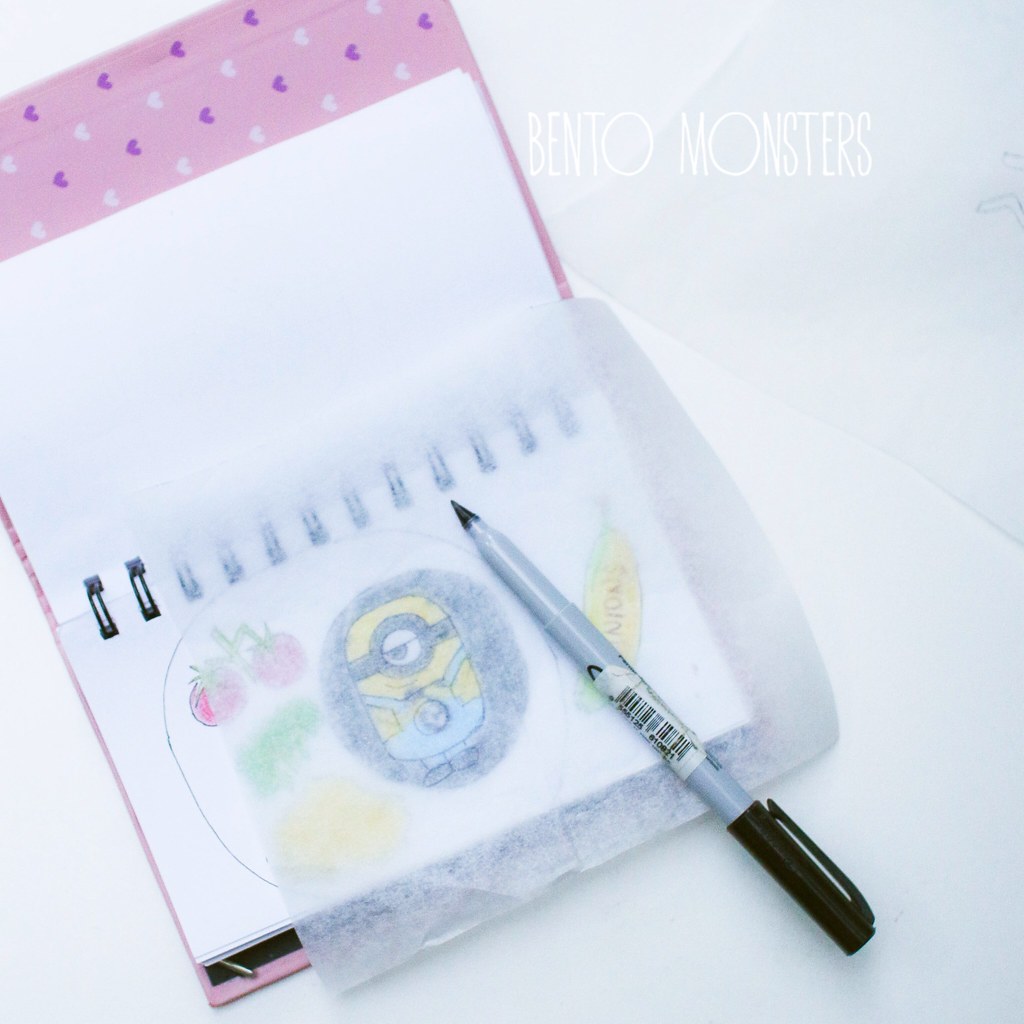
I'm going to share the step-by-step photos, so you can create your own animals themed breakfast set too. Let's begin!

IMG_2118
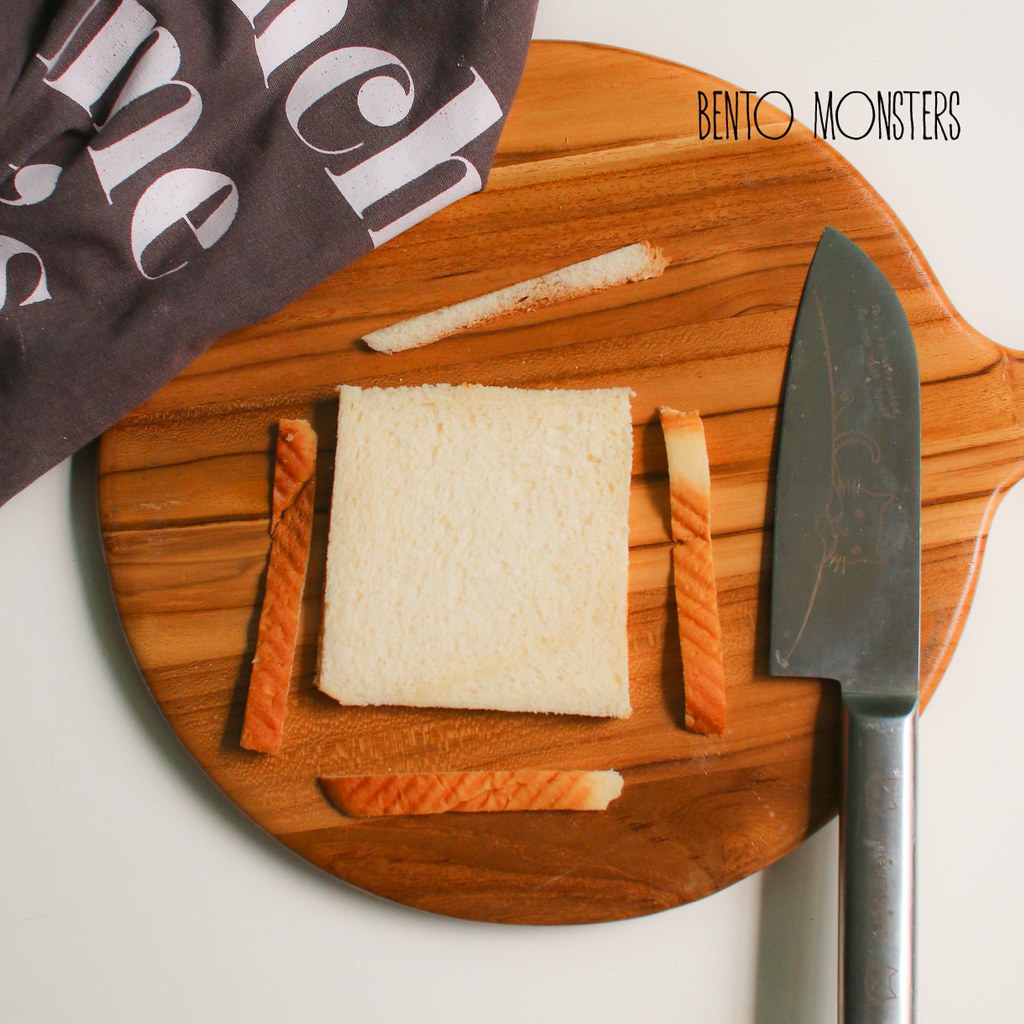
Slice off bread crust.

IMG_2120
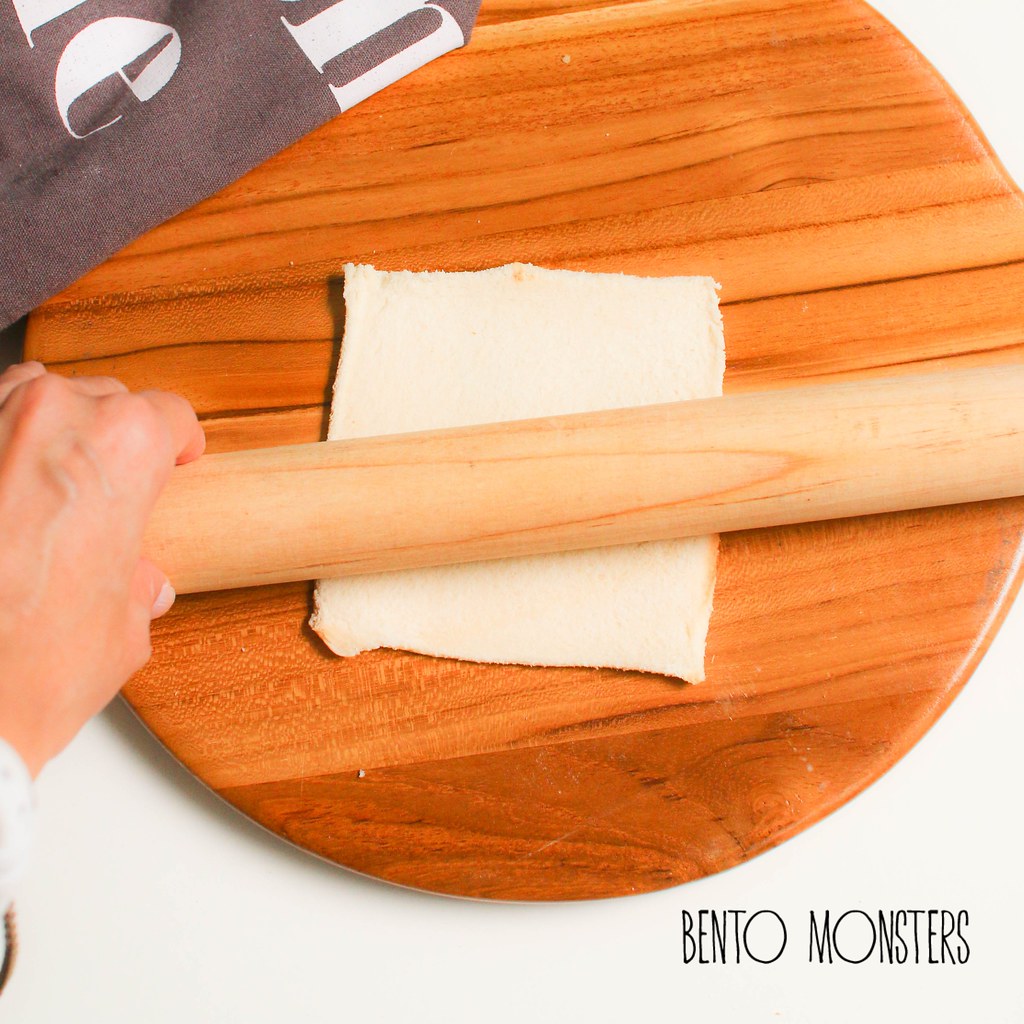
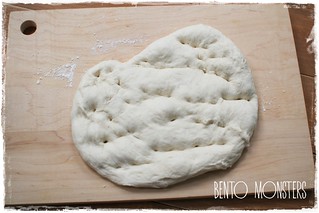
Flatten bread with a rolling pin.

IMG_2121
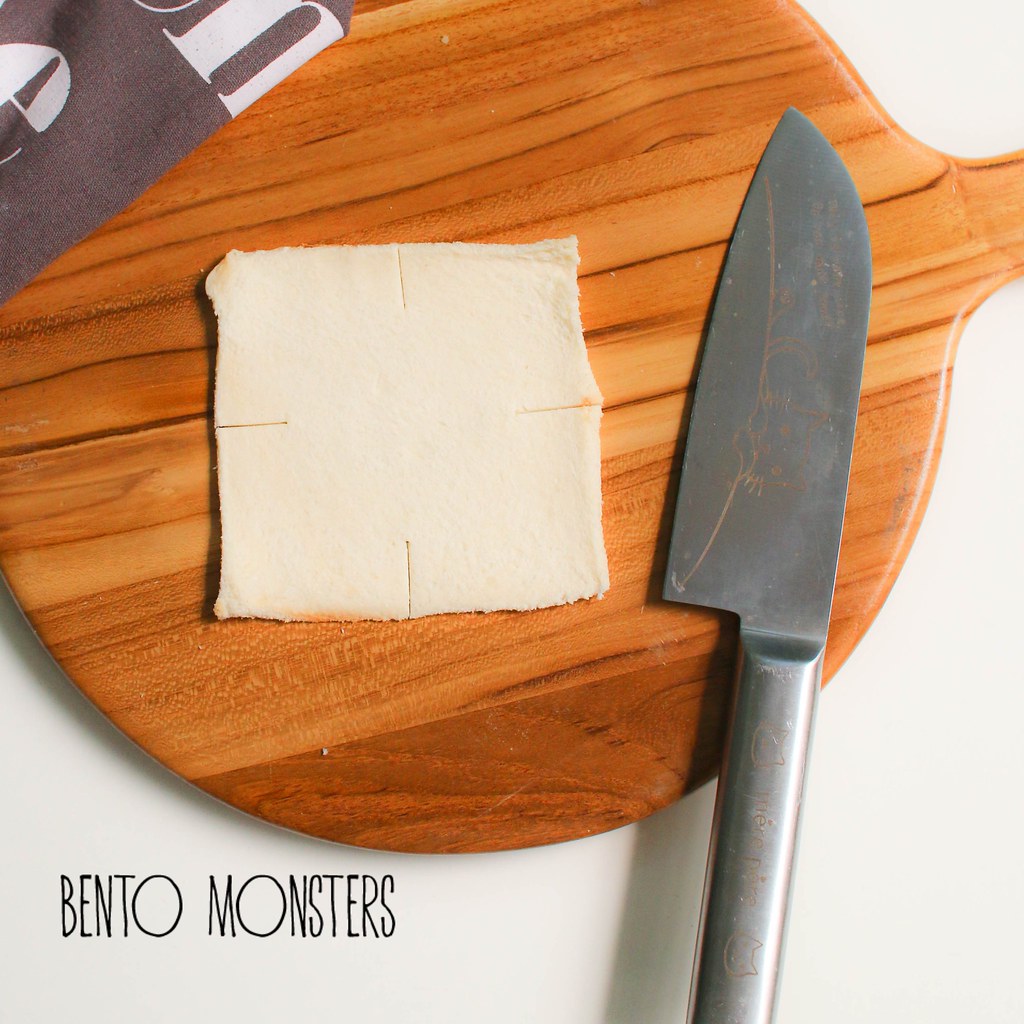
Cut a slit on four sides of bread.

IMG_2124
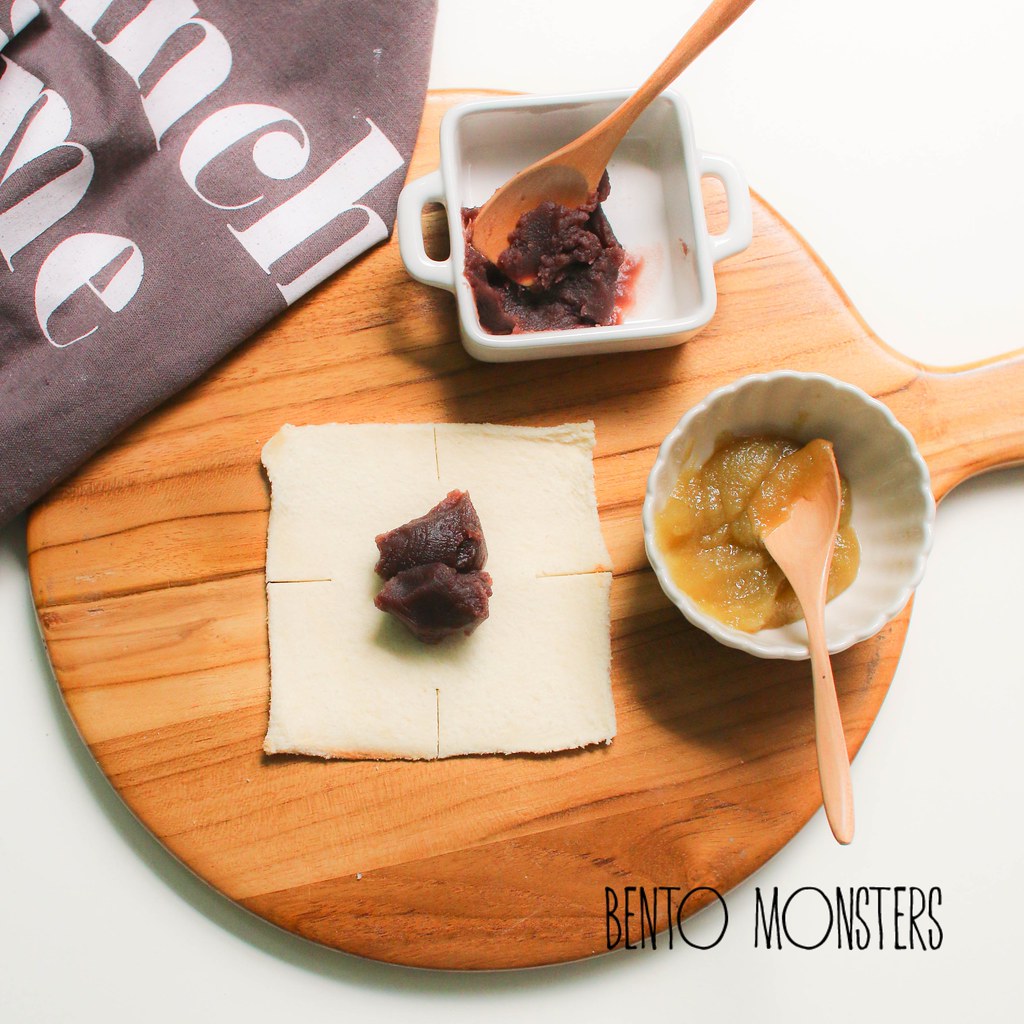
Add in fillings in the middle. (I'm using red bean and kaya.)

IMG_2125
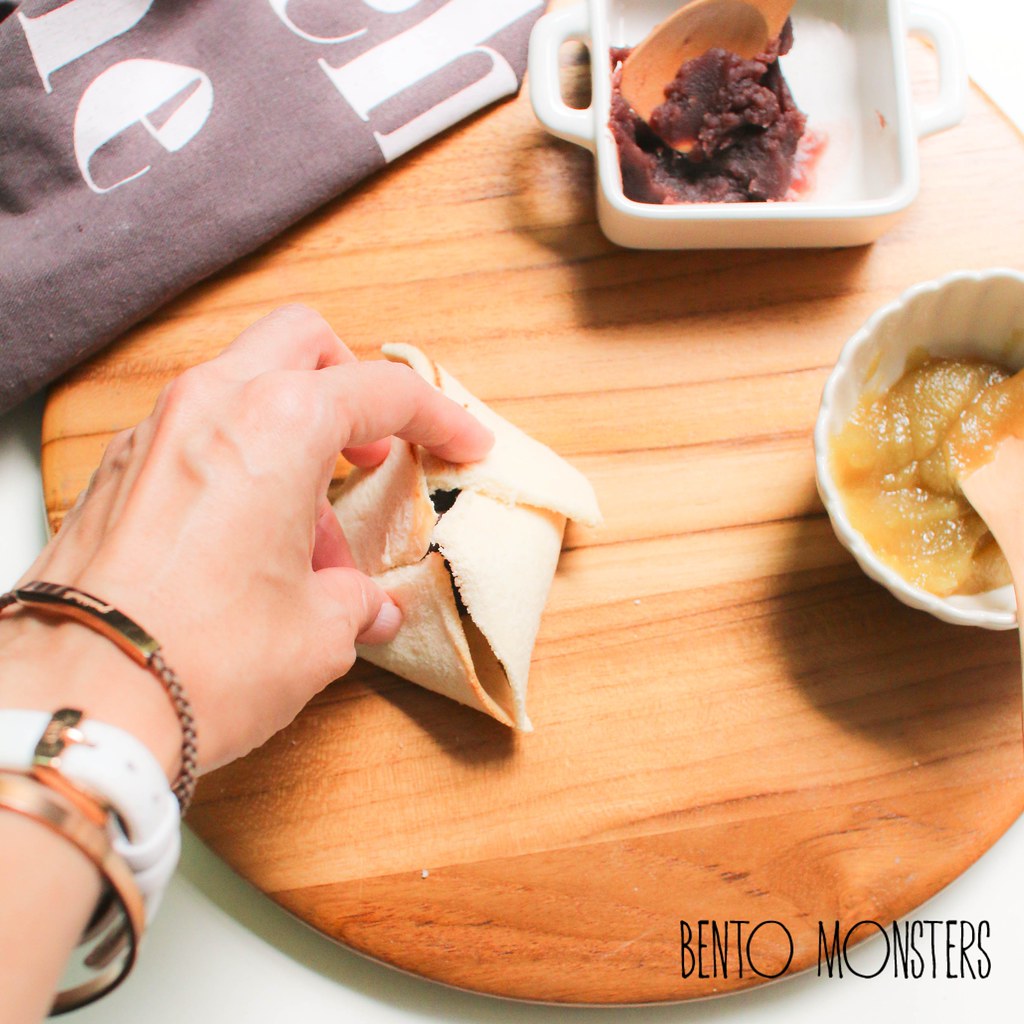
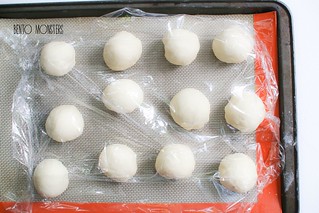
Bring four corners together and wrap up in cling wrap.

IMG_2126
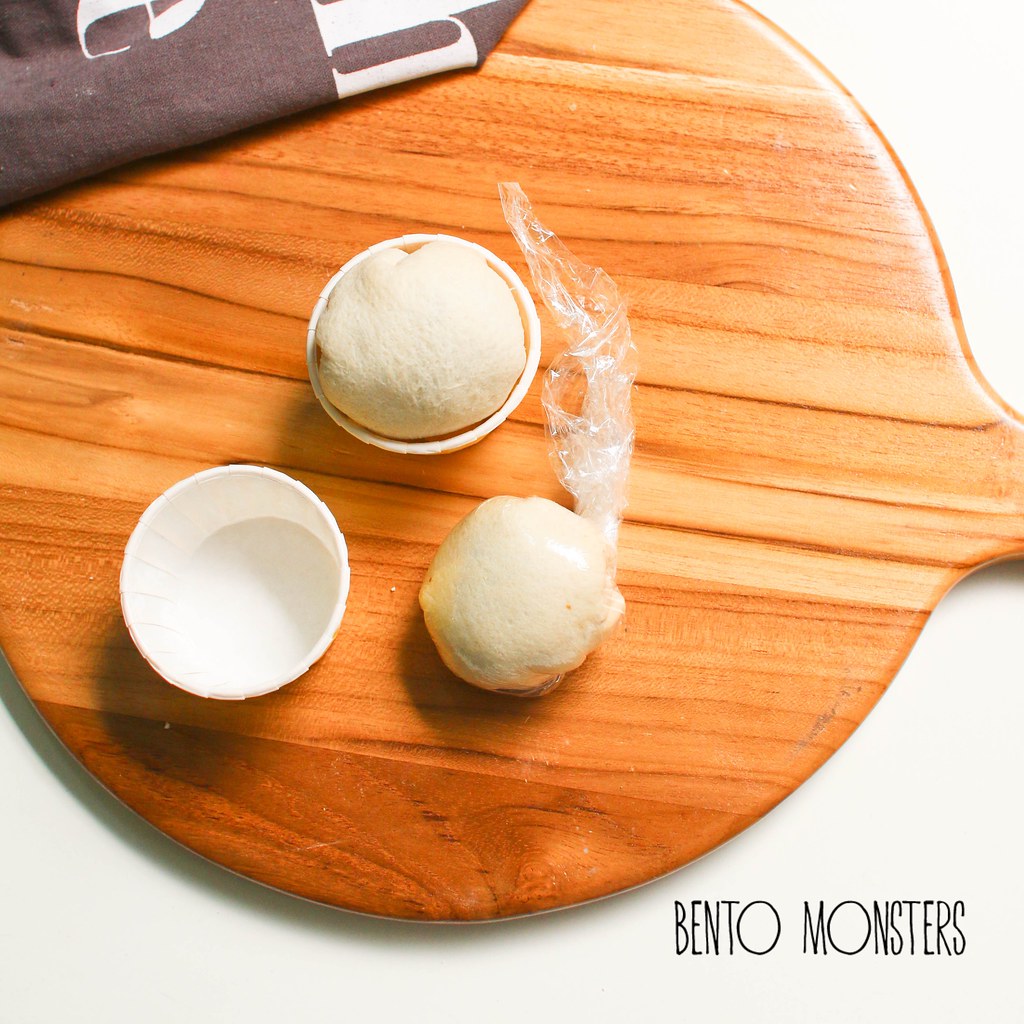
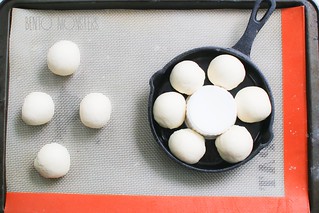
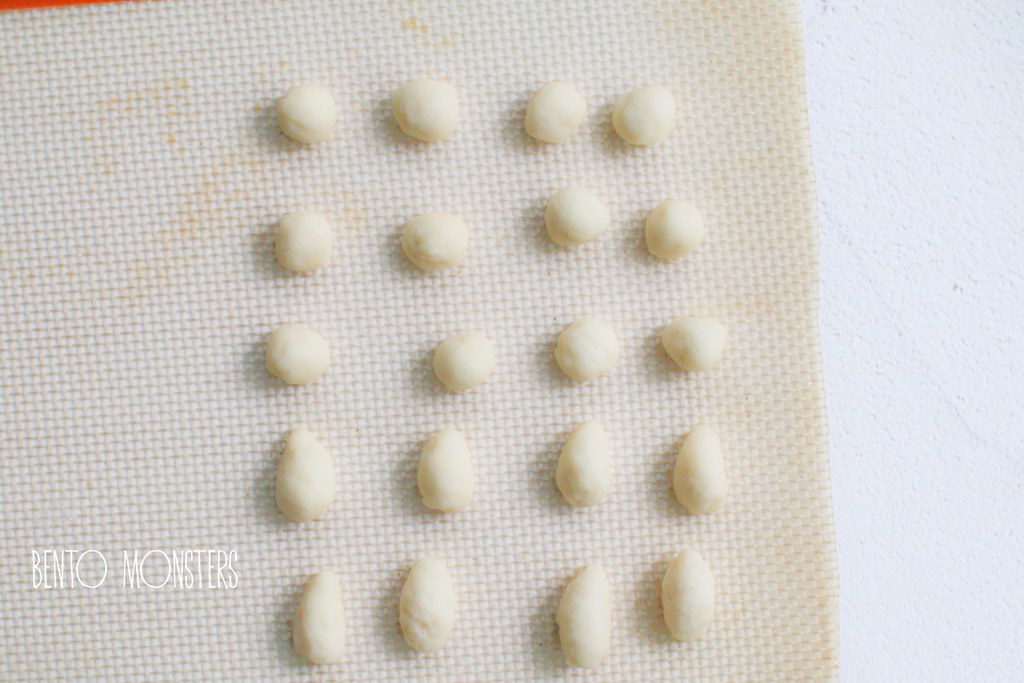
Tighten cling wrap and mould the bread ball into a round shape.

IMG_2142
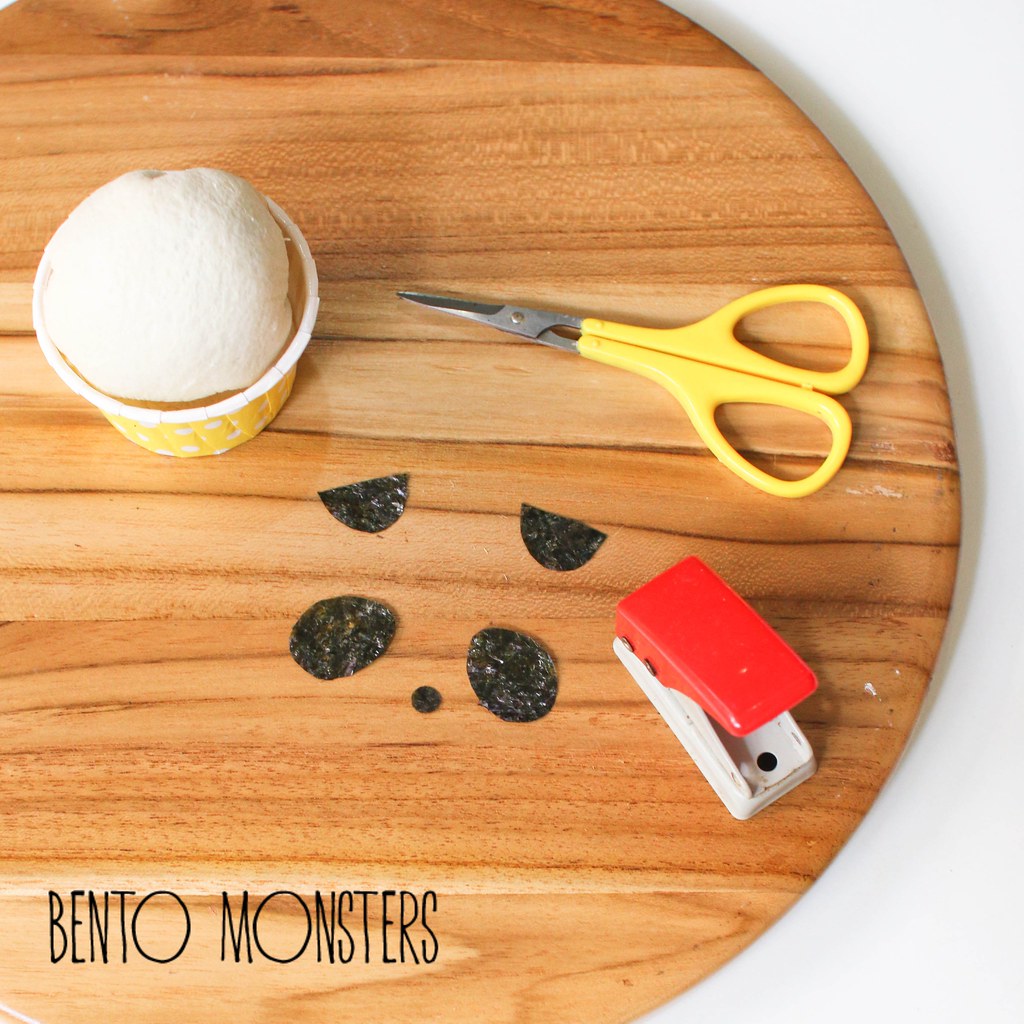
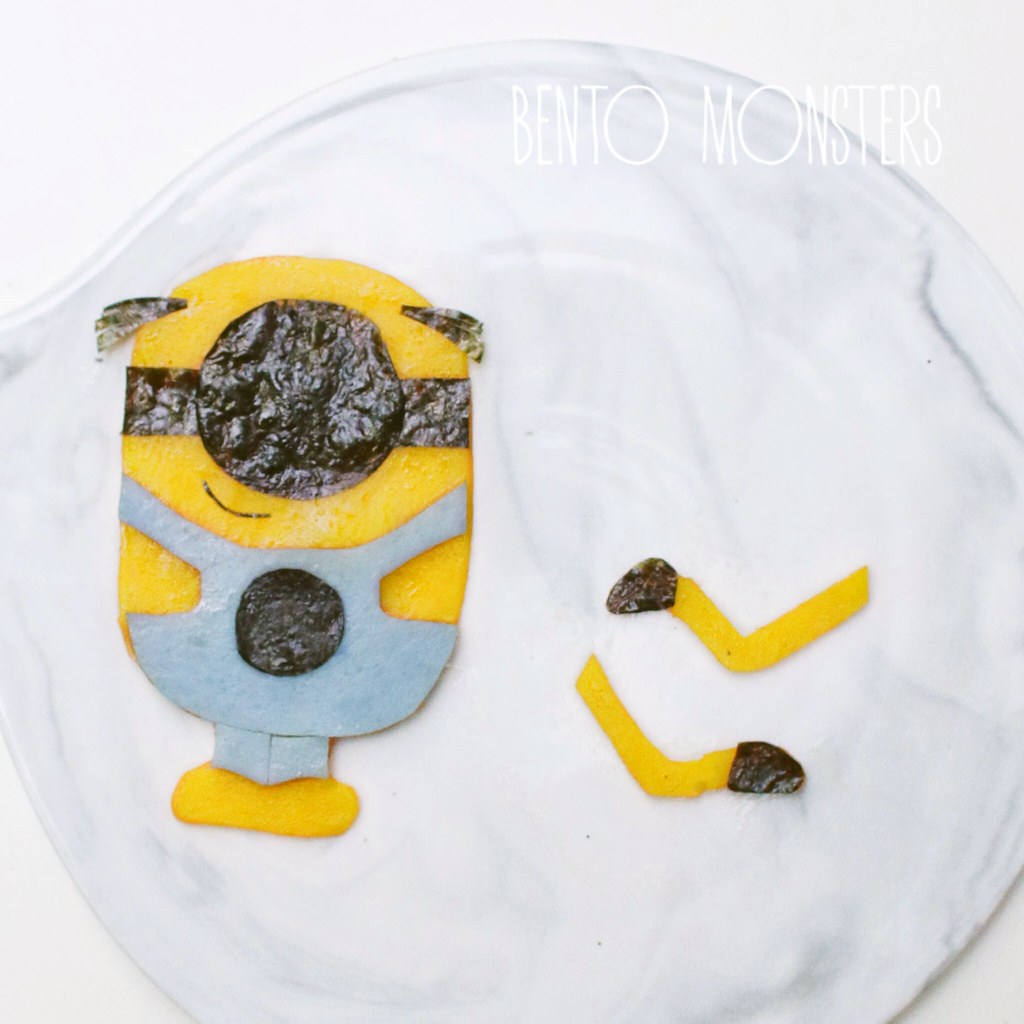
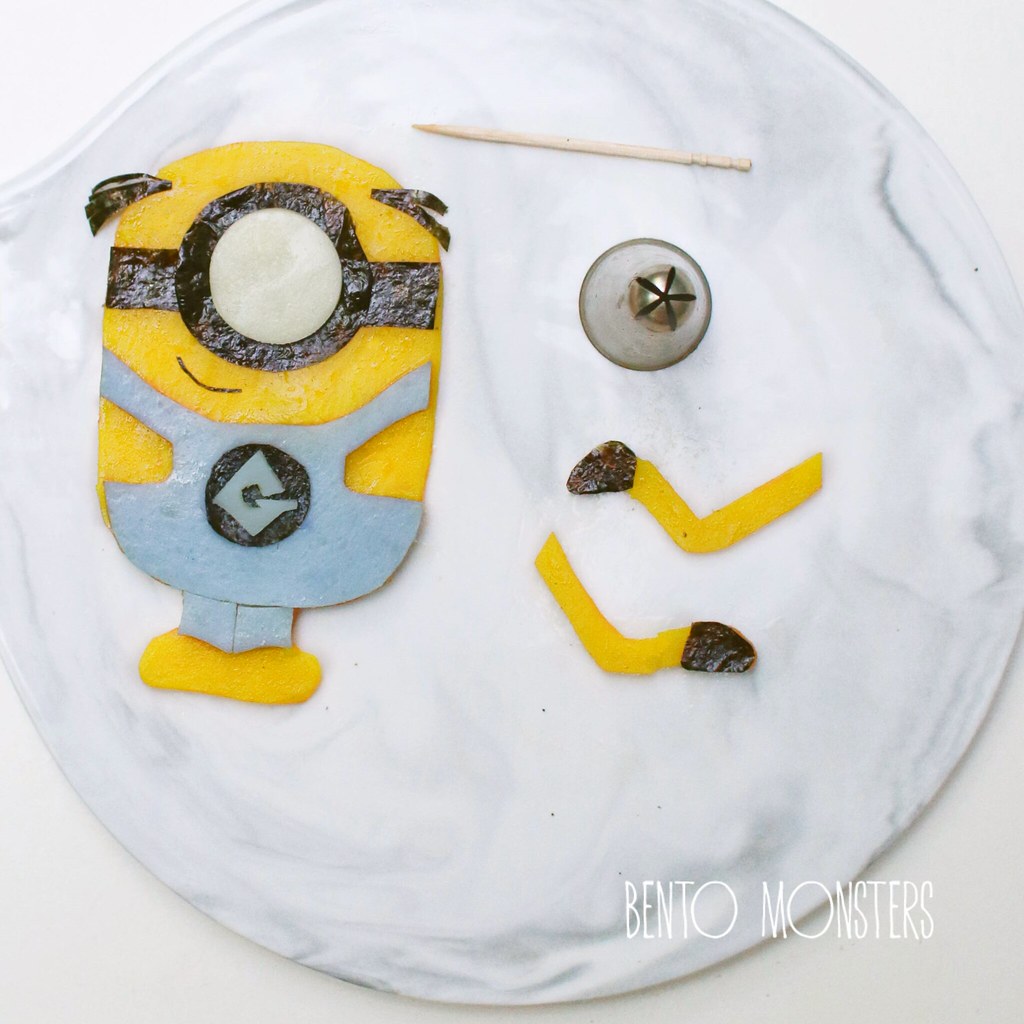
To make Panda, cut out Panda's nose from nori using a hole punch; followed by cutting Panda's eyes and ears from nori using a pair of scissors.

IMG_2143
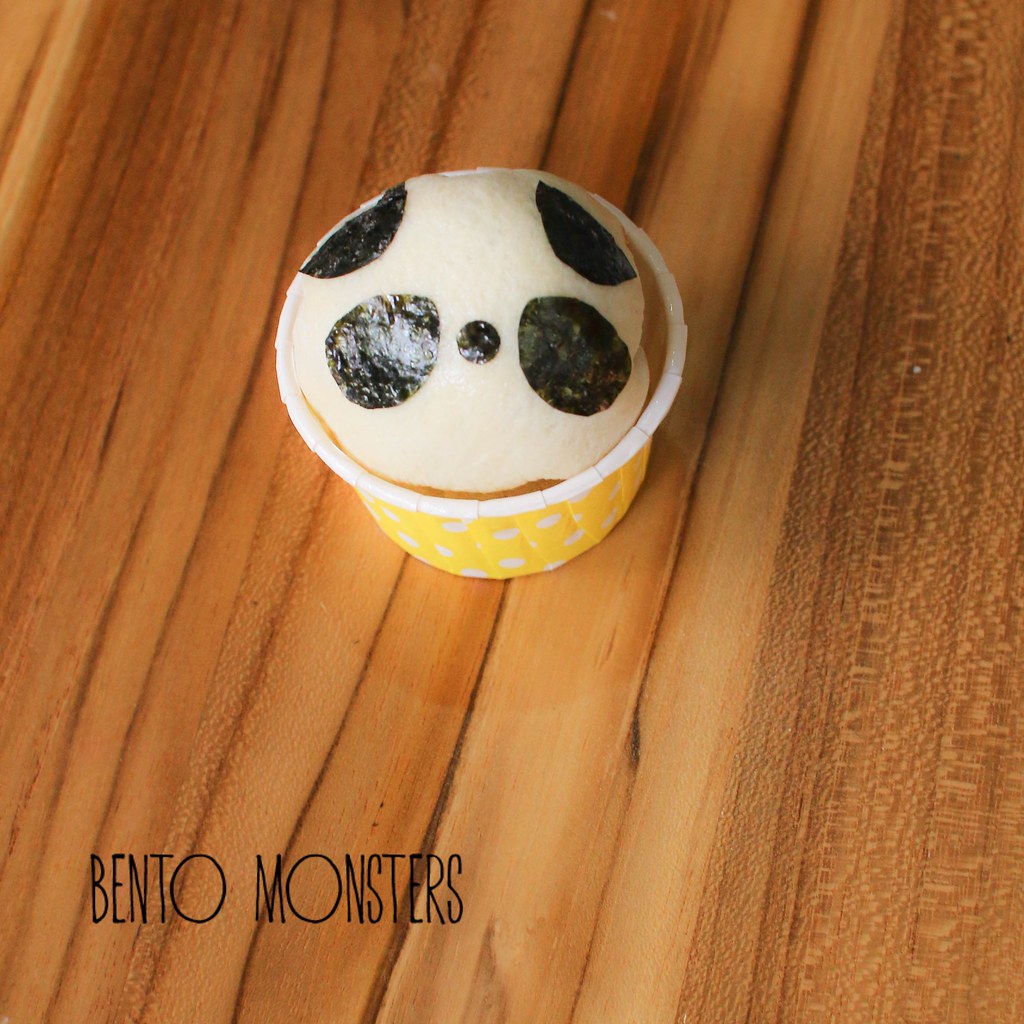
Stick nori onto bread balls with a little mayonnaise.

IMG_2144
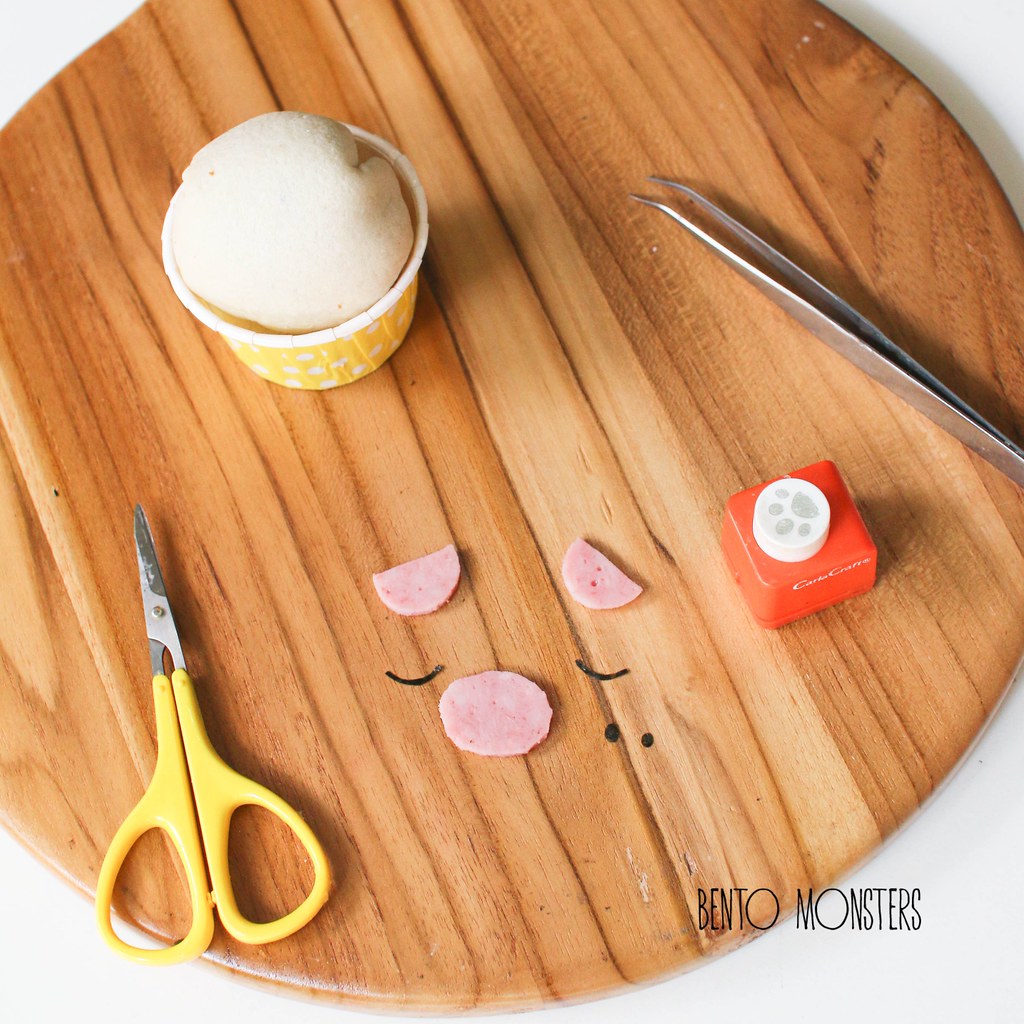
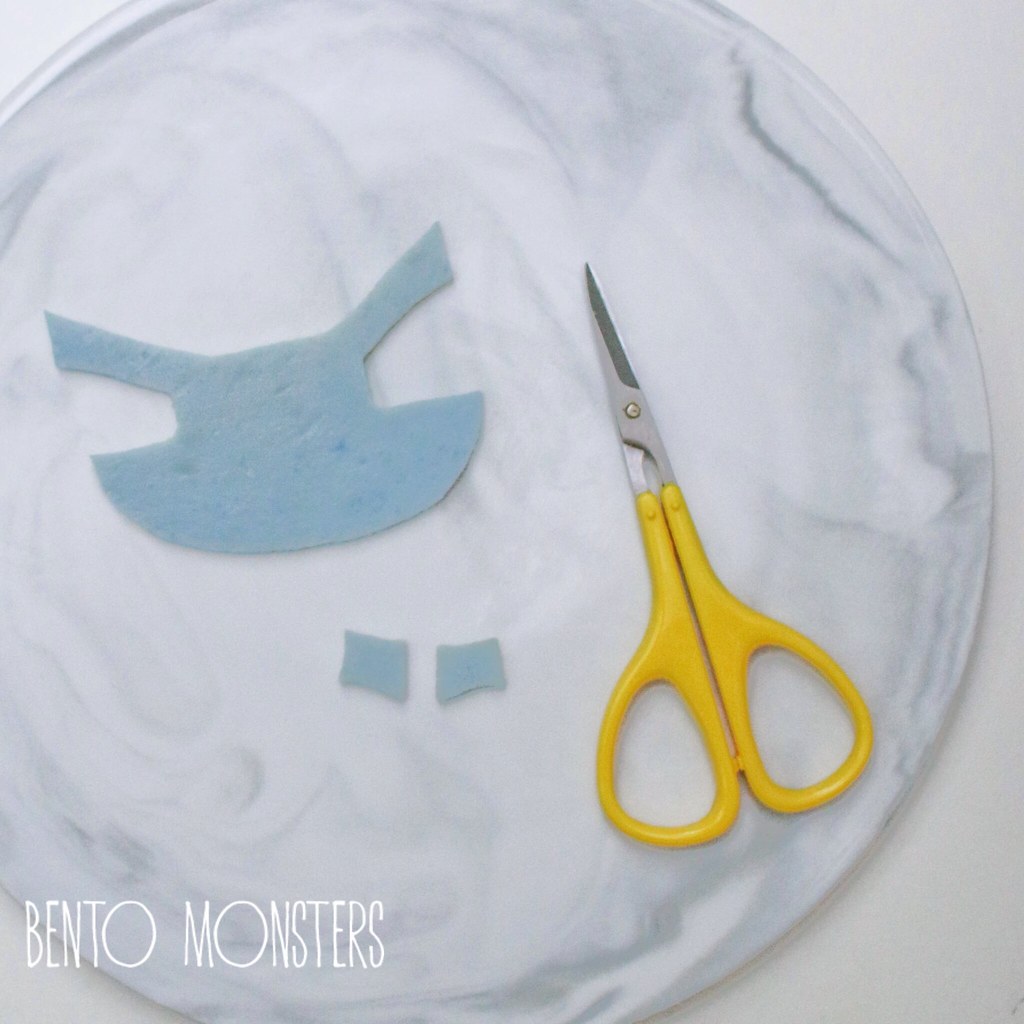
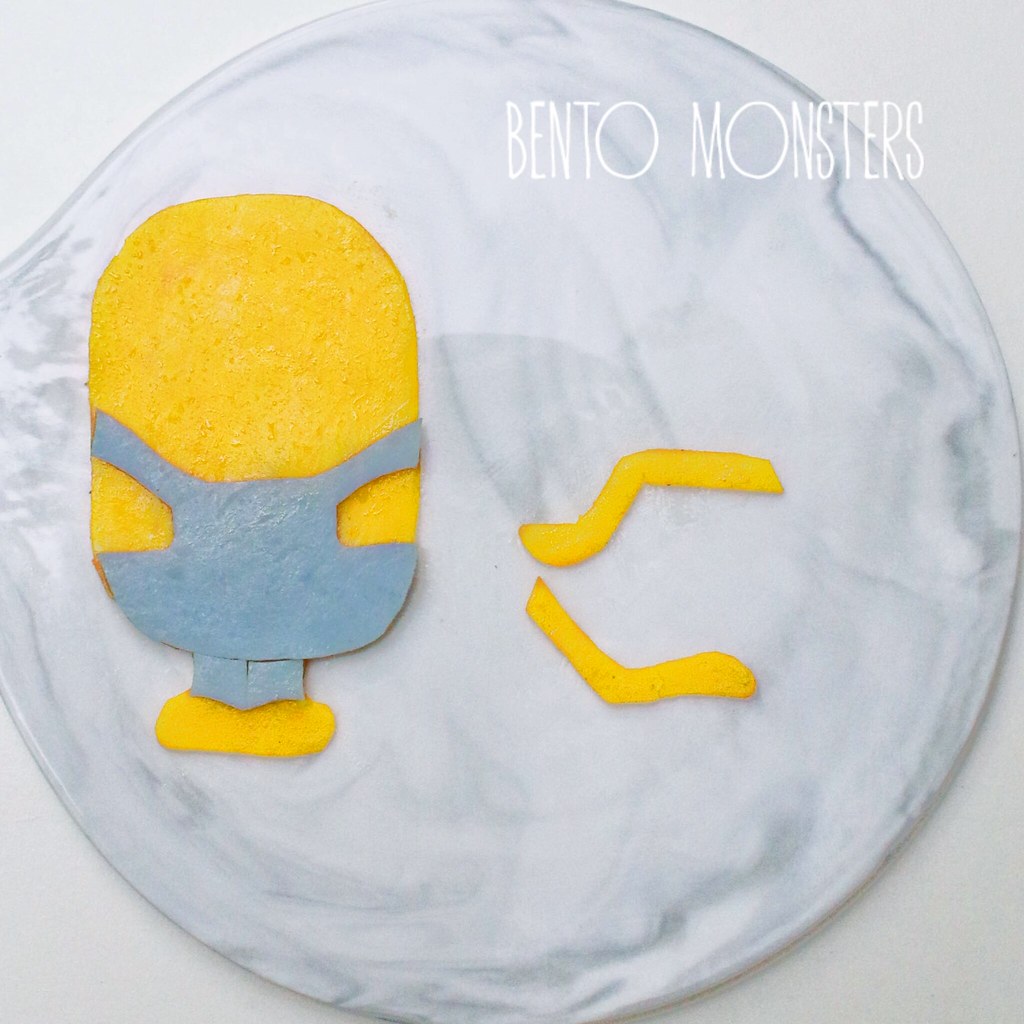
To make Piggy, cut out ears and snout from ham with a pair of scissors.

For snout, make holes from nori using a paw craft punch. Then, cut out Piggy's eyes from nori using a pair of scissors.

IMG_2146
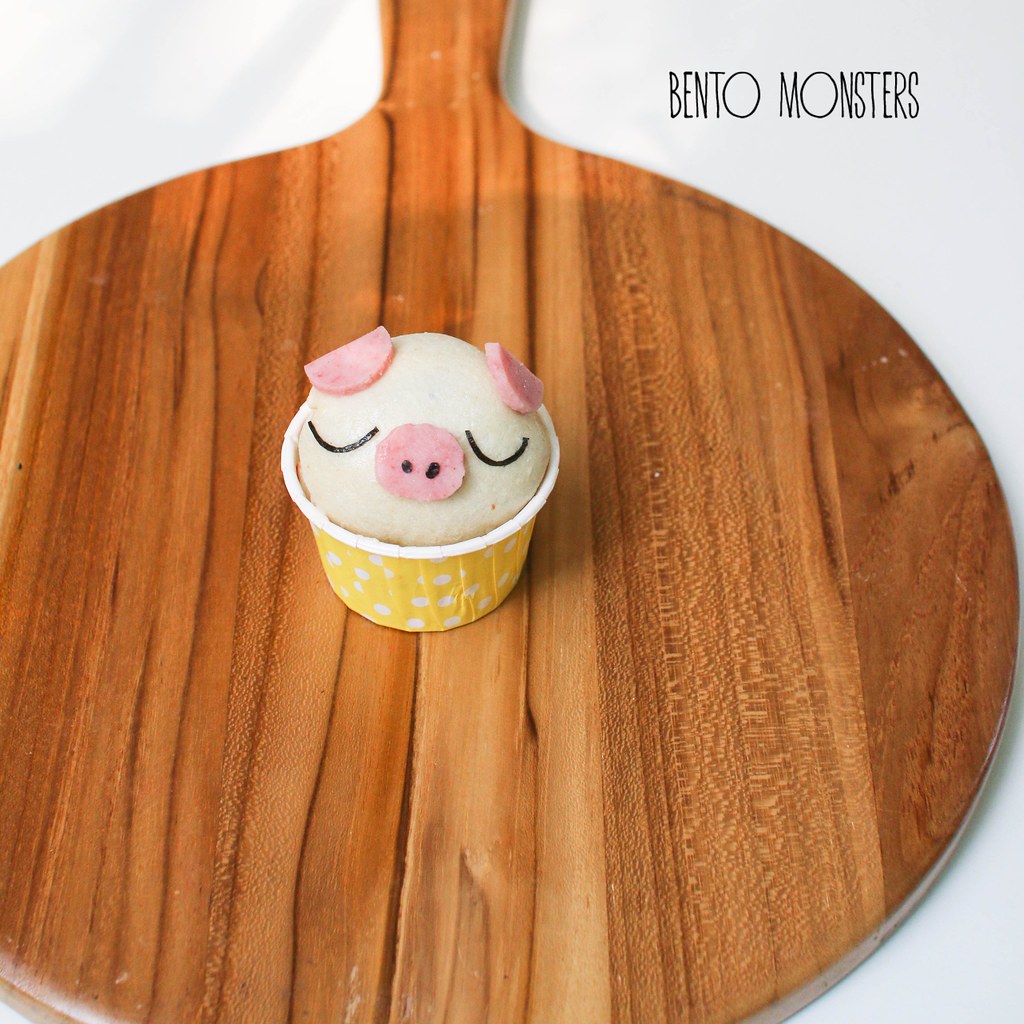
Stick ham and nor pieces onto bread ball with a little mayonnaise.

IMG_2129
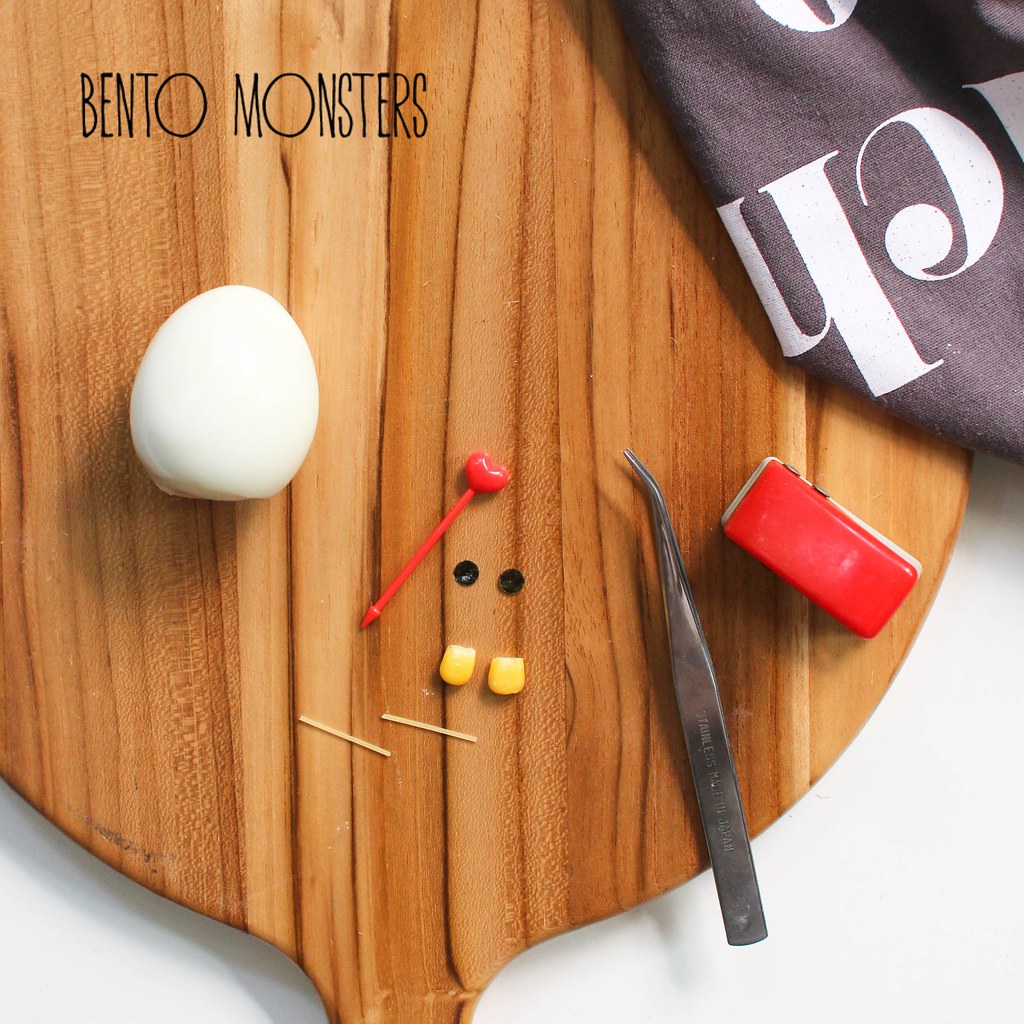
To make chicken, firstly use pasta sticks to attach corn (as chicken's beak) onto the hard boiled egg.

For chicken's eyes, cut out nori using a hole punch. For chicken's comb, use a heart shaped food pick. (Alternatively, you can also cut from red bell peppers and attach them on using pasta sticks. )

IMG_2130
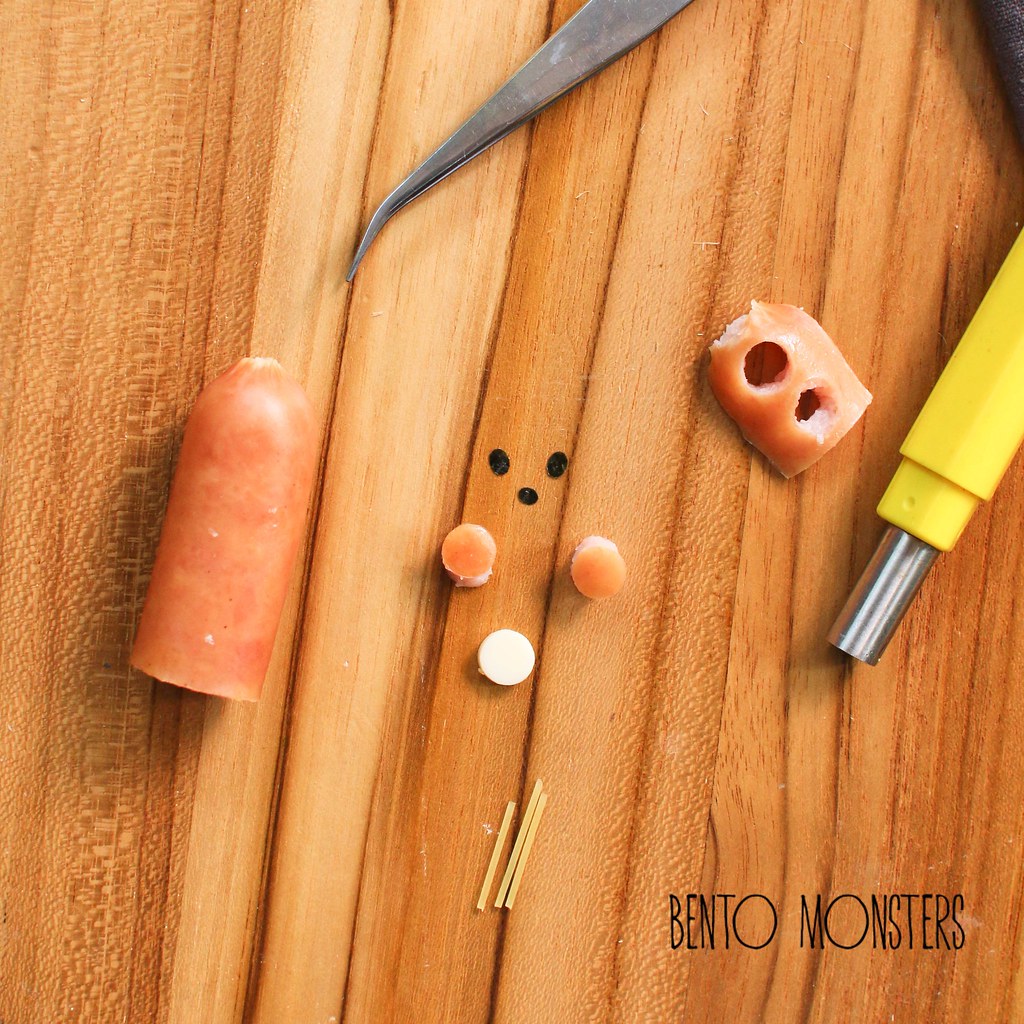
To make bear, firstly slice a little off the sausage's bottom, and use a round cutter or straw to cut out as bear's ears. Attach the ears using pasta sticks. Using nori, cut out a round shape for the muzzle, and create eyes using a paw craft punch.

IMG_2136
Place chicken and bear into a container, arrange accordingly with some lettuce as backdrop.

IMG_2137
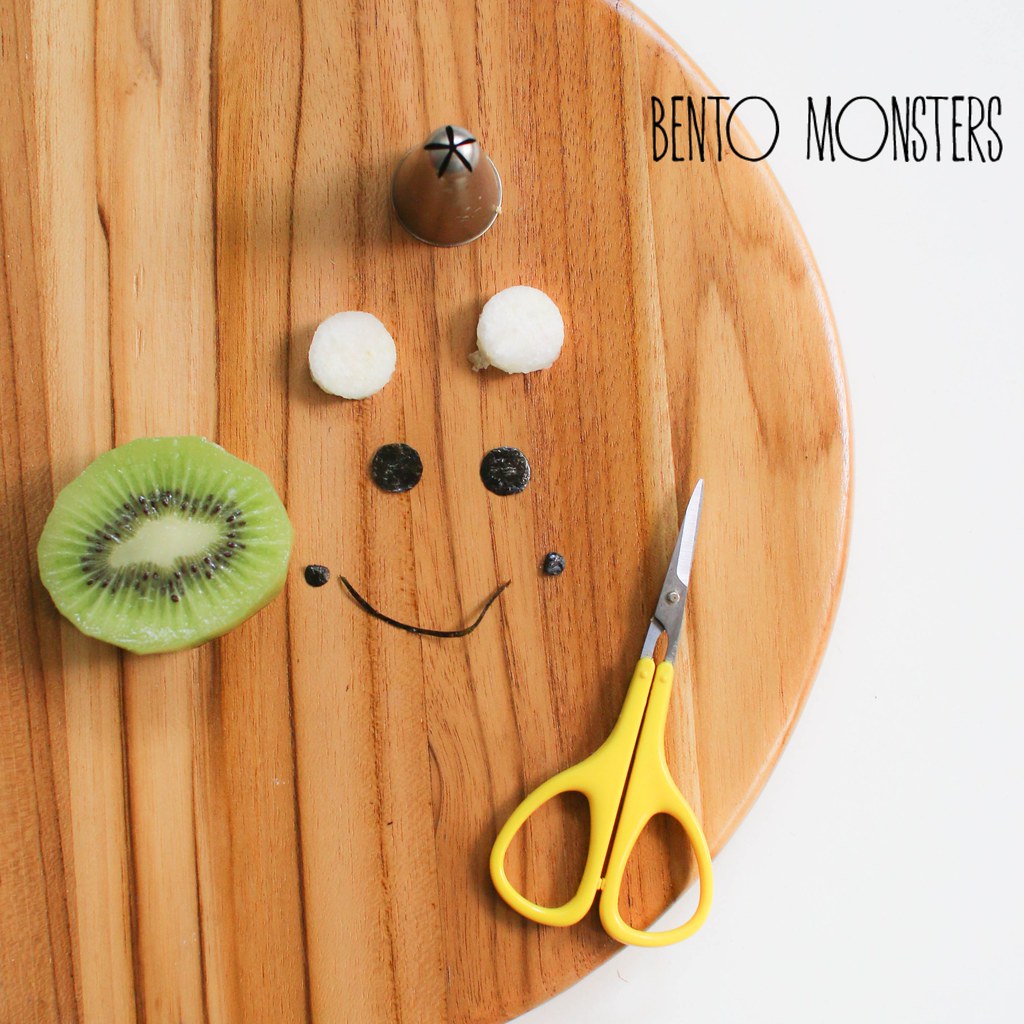
To make frog, use a round cutter to cut out two circles from guava, place it onto a slice of kiwi. Cut out eyes and mouth from nori, using a pair of scissors.

IMG_2141
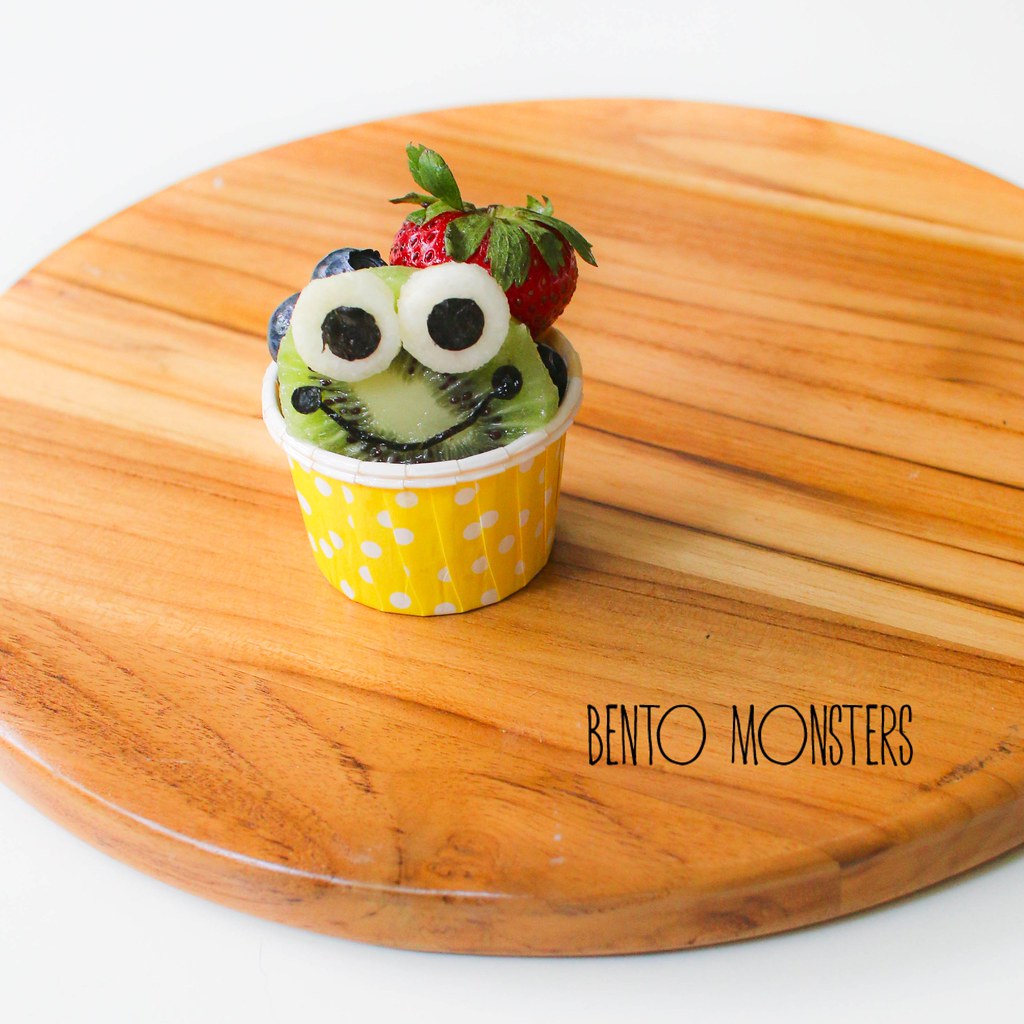
Place frog into a container, arrange accordingly with fruits like strawberries and blueberries.

IMG_2165-2
Assemble and serve.

Magnolia 
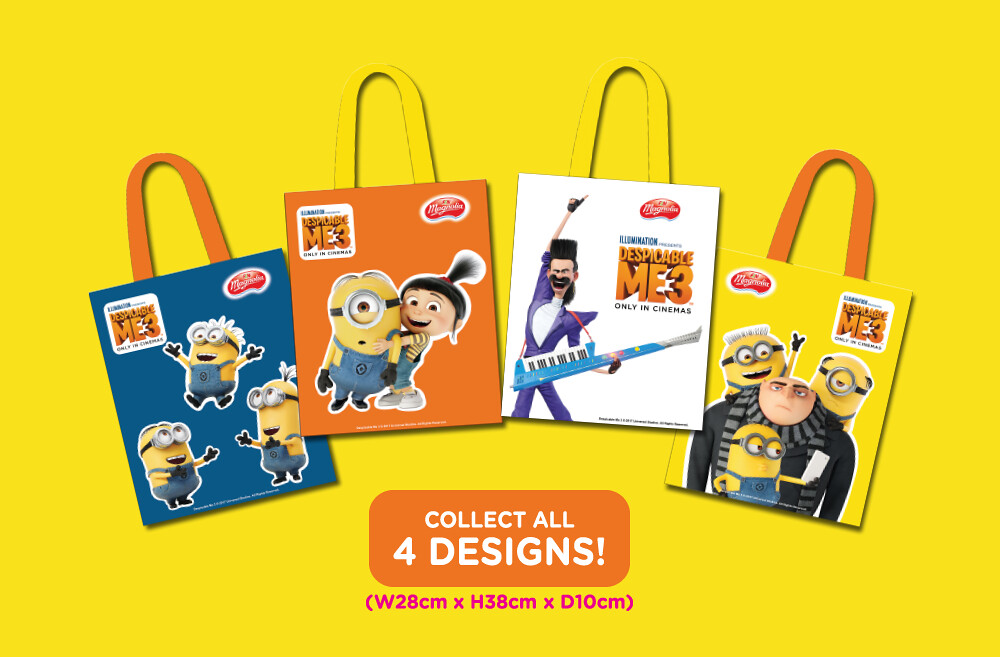
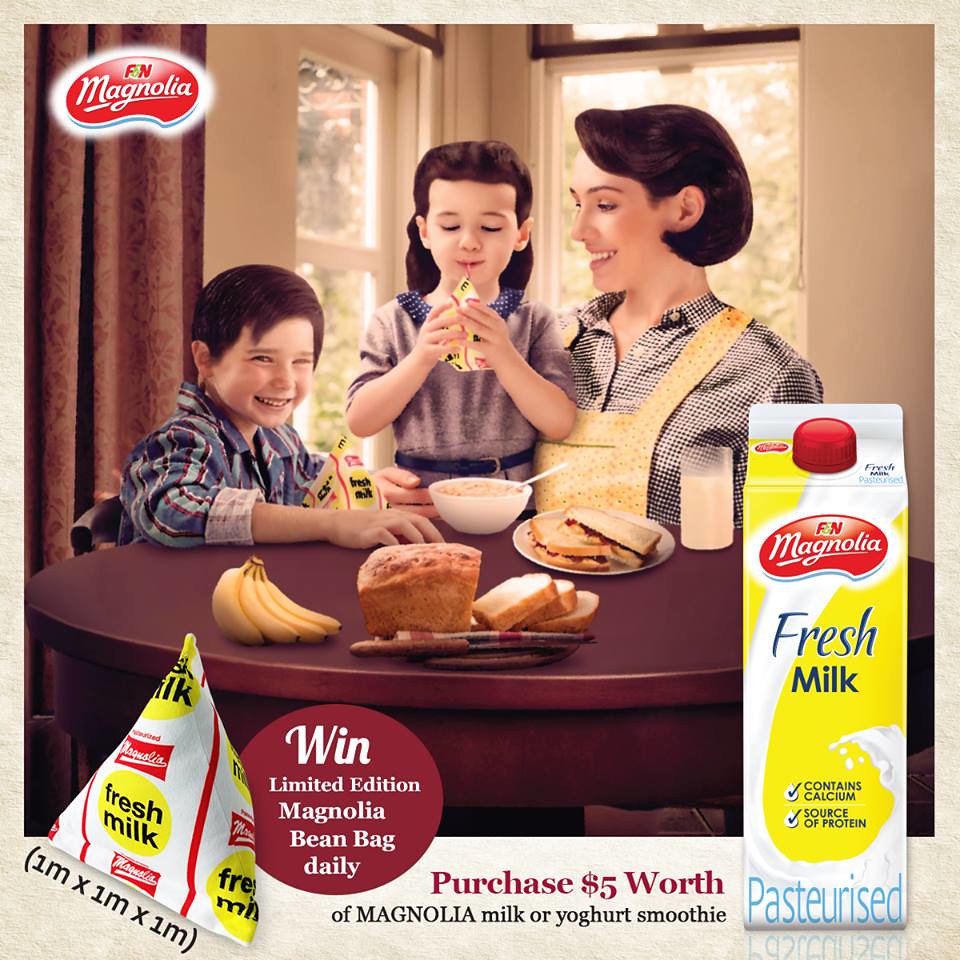
Did you know: F&N Magnolia is currently giving out exciting prizes like a limited-edition pyramid pack-shaped Magnolia Bean Bag worth $200? Find out more here: bit.ly/MagnoliaLuckyDraw

Saturday 12 August 2017

Hedgehog Pork Floss Bread Bun

Hola!! It's been a while again. When I was blogging regularly, I used to think it would be so hard for me to stop this routine of mine, it was the norm for me to turn on my computer then after my boys have gone to bed. I don't know why exactly I stopped doing so, I guess I just got lazy along the way. The me now find it hard to imagine why I can find the energy to stay up to blog then, I would now much rather go to bed early or do other stuff instead. And once I stopped this routine, it's so difficult to blog again. I doubt I will ever go back to blogging regularly again, but I do hope I can drop by at times to share some recipes. Meanwhile, I'm still sharing my creations over at Instagram, not as active as I used to be too, but I still update there weekly. And please don't ask me questions using comments on the blog, I don't check that anymore. -_- You can email me instead, I'll reply (sometimes a little slow) unless it ends up in the junk mail.

Just some updates that I've been meaning to jot down on the blog at the beginning of the year, they are more for myself, I guess. The last week of 2016 actually ended very badly for me. :( Something I dreaded/hate had to come true, it's something I won't be able to forget for the rest of my life, the many doubts I have won't ever be cleared up. I'm not going into any more details, but I am trying to move on, much as I want to, I know I won't be able to forget the hurt and pain, but I will move on, and I have to move on.

2016 also marks the end of a chapter in making bentos for IT, he has moved on to secondary school this year, and I finally stopped packing bentos for him. He was the reason I started on making charabens, it has been a good 6 years of packing bentos for him. I never expected to last that long, since bringing bentos is not common here, I'm really grateful he has never asked to stop and rejected bringing them all these years. He has been doing well in secondary school so far, it's not the school he thought he would be going initially, but I guess it turns out to be a blessing in disguise. He is happy at the school, and since hours are so much longer now, he is thankful for the close proximity. He even gets to come home for lunch on some days before going for CCA.

IMG_2219 Enough updates for now, it's getting too lengthy. Let's go on to the recipe for these pork floss hedgehog bread buns I did a while back. I made two designs, pull-apart ones and bread rolls. The recipe is for the pull-apart ones, but you can also use them for the bread rolls, the design for bread rolls are easier, as I skipped the limbs.

These were my second batch, as I did not bothered to take step-by-step photos for my first batch. I liked how the first batch turned out, so I decided to make them again, so I can take those photos.

IMG_2223
I've been using this modified version of a pull-apart bun recipe I found on Cookpad. I quite like it so it has been my to-go recipe for pull-apart bread buns, it works quite well when you need to have different coloured bread rolls for your pull-apart bread bun's designs too. You just need to portion your dough and colour them prior to proofing.

IMG_1996
This one was from my first batch. The bread buns are a little brown here. I experimented with having the bread buns white in my second attempt. I can't decide which version I prefer. The recipe below is for the white version, if you prefer them a little brown, just up the temperature by 10 degrees celcius and don't bother covering with aluminium foil.

hedgehog
Pork floss can be replaced by chicken or fish floss is you don't take pork. :) And if you are from Singapore, chocolate pens can now be found at Daiso. Yay, I don't have to stock them up whenever I go Japan anymore. :)

HEDGEHOG PORK FLOSS PULL-APART BREAD BUN RECIPE

Ingredients:
200g bread flour
1 tbsp sugar
1 tsp salt
5g corn syrup
10g unsalted butter, at room temperature
5g instant yeast
140g milk
Pork Floss
Baked/fried pasta sticks
Chocolate chips
Chocolate pen(optional)
Pink food marker(optional)

Mayonnaise coating:
- 3 tbsp condensed milk
- 9 tbsp japanese mayonnaise
- 1 tbsp corn syrup

Method:
  1. Mix all the ingredients, except butter, in a large bowl to get a dough. Add in butter and knead until dough is springy and soft, this takes around 10 minutes. If you have a bread maker, you can just use the dough function for this step, as well as step 2.
  2. IMG_1925
  3. Cover the dough with cling wrap and keep in a warm place for it to rise. This takes around an hour and the dough should double in size. Do a finger test to check if it's ready.
  4. IMG_1792
  5. Take dough out and punch out the air from the dough with your fist. IMG_1794
  6. Using the plain dough, roll out 13 portions of dough around 25g each, one at a time and form them into balls. Cover with a damp cloth or cling wrap and set aside for 5 minutes.
  7. IMG_2199
  8. Roll out the 12 portions (the remaining 1 portion is for the limbs) of dough again, one at a time and form them into balls. Grease two 4in round pan, place an overturned ramekin in the centre of each. (I only used 1 pan in the picture, I used the rest for other designs) Arrange 6 dough in each pan. At this point, there will still be space, as the dough will expand in size. Cover with cling wrap or damp cloth and let the dough proof for 40 minutes.
  9. IMG_2202
  10. Using the last dough, shape into hedgehog's limbs. Cover with cling wrap or damp cloth and let the dough proof for 40 minutes. Preheat oven to 180 degrees celcius, for the bread rolls, bake for 5 minutes. Turn down to 140 degrees celcius and bake for 20 minutes, cover with aluminium foil in the last 10 minutes.  For the hedgehog limbs, just bake at 140 degrees celcius for 10 minutes.
  11. IMG_2207
  12. While the bread is cooling down, prepare mayonnaise mixture by whisking all ingredients together. Spread on mixture generously on the parts you want the pork floss to be on. Top on the pork floss.
  13. IMG_2209
  14. Use baked pasta sticks to poke in hedgehog's limbs. Use chocolate pen to draw on the features, I used a chocolate chip for the nose. If you do not have a chocolate pen, melt the chocolate chips and use a toothpick to dip in to draw. Use a pink food maker to draw on the blush.
  15. IMG_2211IMG_2216

Sunday 7 May 2017

Despicable Me 3 Themed Breakfast

Hello!! It's been a long time since I last updated this little space of mine and I hope all is well with everyone. Today, I'm back with a tutorial post of one of our favourite character, Minions. Since Despicable Me 3 is going to hit the cinema soon on 15th June 2017, I came up with a Despicable Me 3 Themed Breakfast, I'm going to share step-by-step photos in this post, so you can create your own too.

12 I chose to make Minion Mel for my boy's breakfast. He's made out of cheese, ham and nori. I dyed the ham blue using butterfly pea flowers. I've shared about this method before, it's always tricky to get nice blue colored food naturally, so a great way to do this without using artificial food colourings, would be to use butterfly pea flowers.

1
Without further ado, let's start off with the steps to create your own Minion. Prepare (by printing or drawing) your desired Minion image.

2
Trace the chosen Minion image with a marker, on a baking or parchment paper.

3
Place the (cut) tracing paper on your choice of food (eg. Cheese), and cut food along the paper outline.

4
You could use cheese as the Minion's body, and cut out the drawn parts with a knife, scissors, or toothpick.

5
To create the Minion's overalls, dye a piece of ham blue by soaking in butterfly pea flower or blue food colouring mixed with hot water. Remove ham from the water when you are satisfied with the shade of blue, dry ham on kitchen towels before using.

6
Cut the ham along the outline of tracing paper with a cutting knife or scissors.

7
Assemble the Minion's body and overalls.

8
With a pair of scissors, cut out the nori (Japanese seaweed) for the Minion's details.

9
For the Minion's eyes, cut out cheese by using a piping tip or a round cutter. For the Minion's G symbol, use a knife or scissors to cut out from nori.

10
Finish off with the remaining nori details, and place Minion on a slice of charcoal bread.

11
Draw Minion on fruit - banana with black food marker.

12
Finally, complete the nutritious Despicable Me 3 Themed Breakfast with scrambled eggs, tomatoes, broccoli, and a cup of Magnolia milk. To save time in the morning, you can also prepare Minion the night before, cling wrap and store it in the fridge in an airtight container. Simply take it out and place it on your bread the following morning, and you will have your kawaii breakfast in no time. If you need more Minions food art idea, please check out my old creations here, you can also search for them on my Instagram.

DM3_bag
Before I end this post, I'll like to share the latest Despicable Me 3 promotion from Magnolia milk. They are giving away a free limited edition bag with any purchase of 2x1L, 1x2L pasteurised milk, or  2x800ml yoghurt smoothie.

DM3_sticker
You can also get a free sticker set with purchase of 6x250ml or 6x230ml Magnolia UHT milk multipack. More information of the promotions and upcoming roadshows can be found here.