Friday 28 August 2015

Baymax Snowskin Mooncake

It's the time of the year for making mooncakes again, actually still a little early to Mid-Autumn Festival, but I see them popping out in stores already and was tempted to start. I first tried hand moulding snowskin mooncakes into characters last year and I've been waiting for this year to try out more designs. :) You can take a look at the designs I did last year here.

IMG_5943
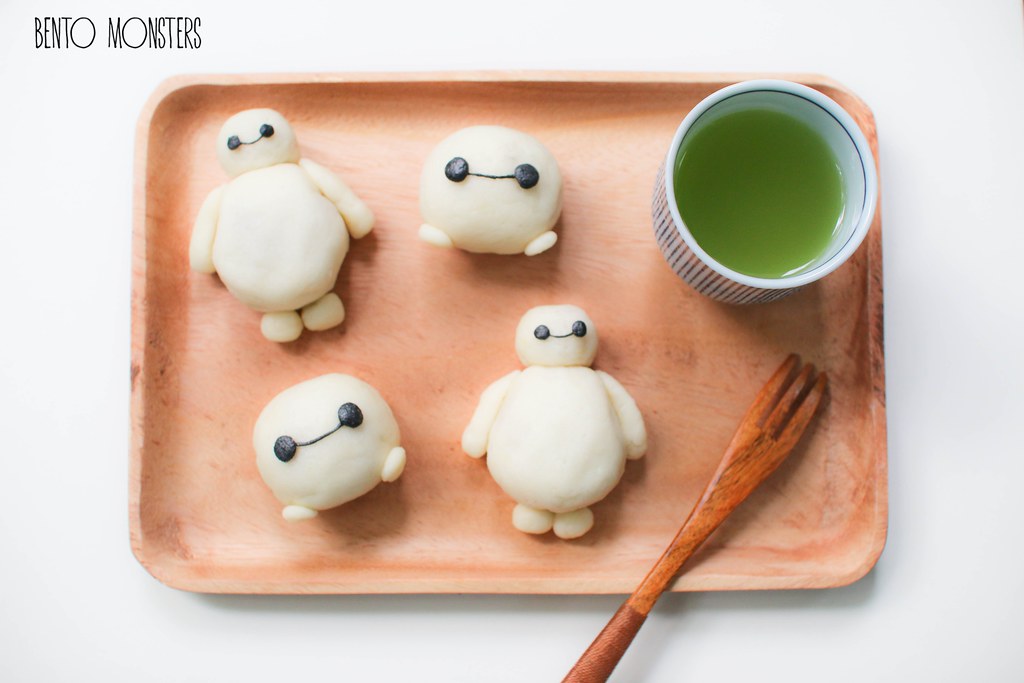
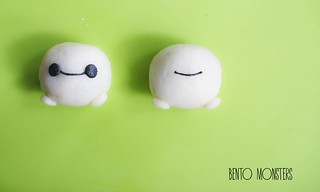
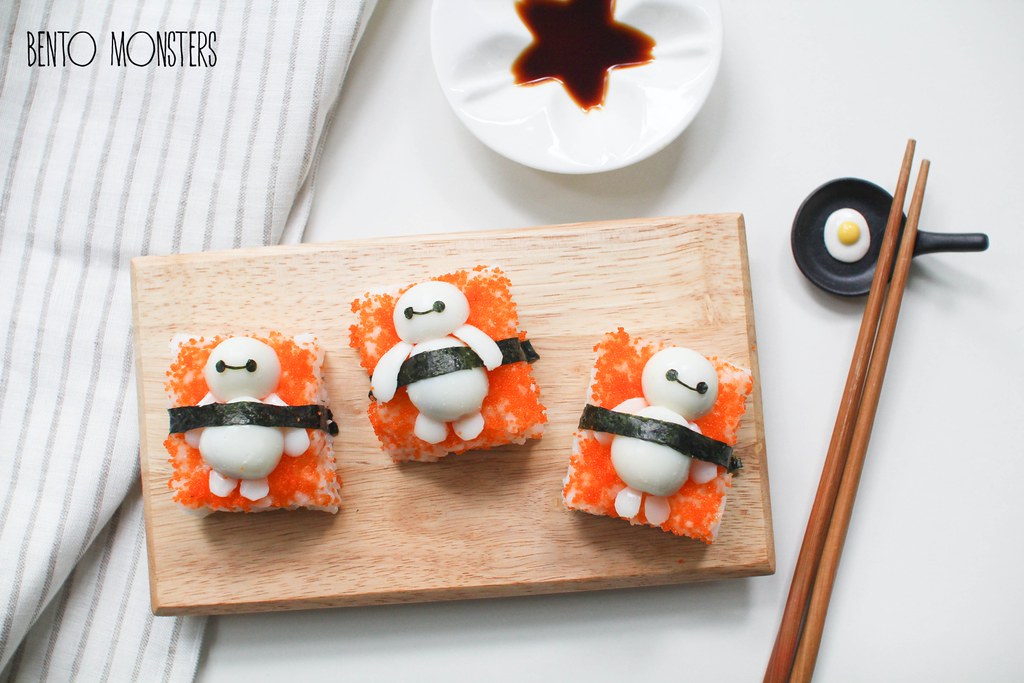
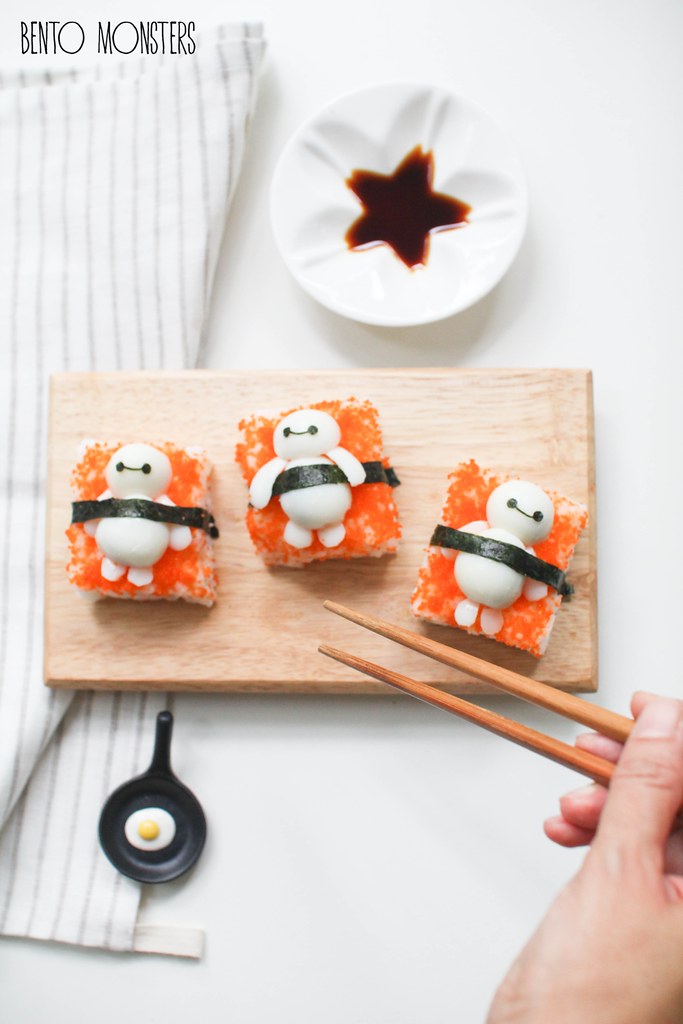
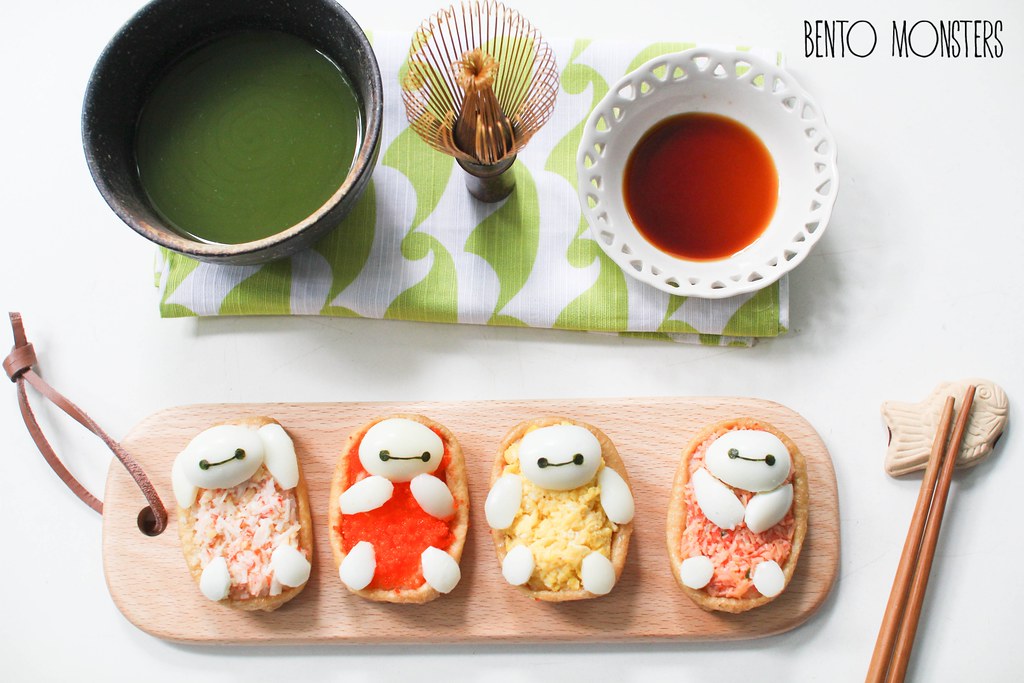
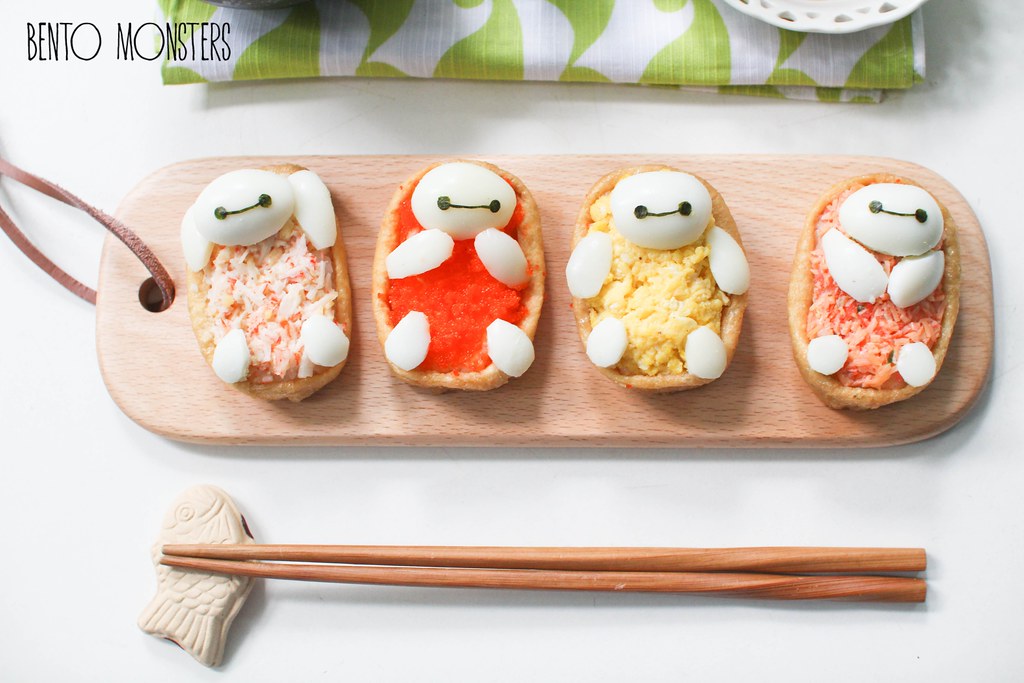
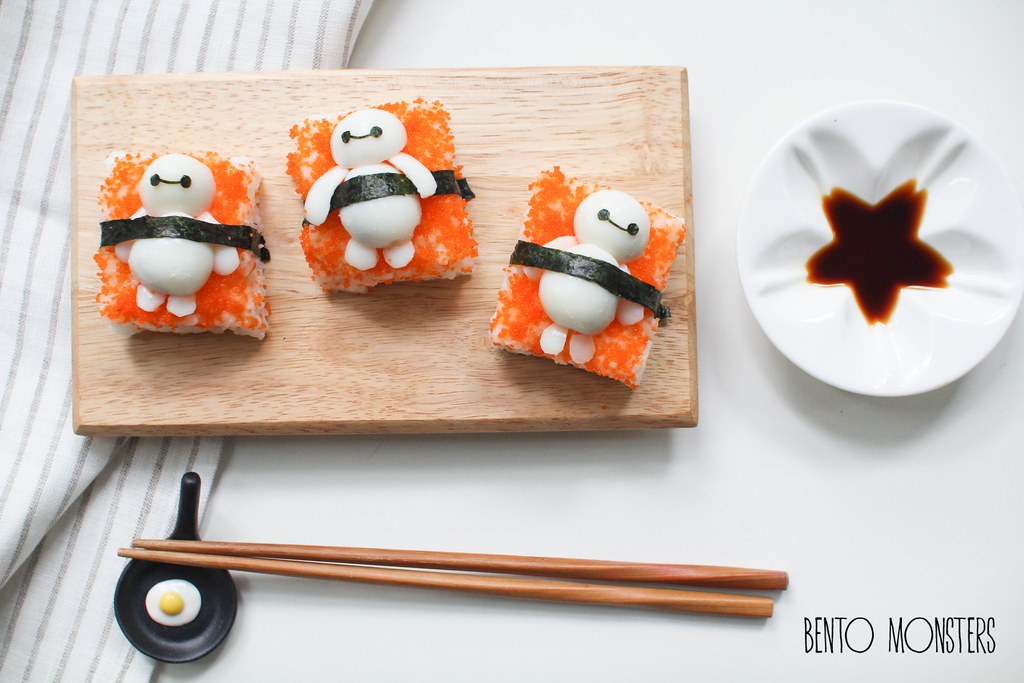
I made a few characters on Tuesday, and the first character I'm sharing for today's post is Baymax. Love how easy it is to make him, lol. For the benefit of my readers who aren't familiar with mooncake, mooncake is a traditional Chinese pastry, eaten during the mid-autumn festival. The one I'm sharing today is a spin-off from the traditional baked mooncake and it's called snowskin mooncake. There is no baking involved, it's heathier and it's really easy to make. Snowskin mooncake is a little like the Japanese mochi.

IMG_5946
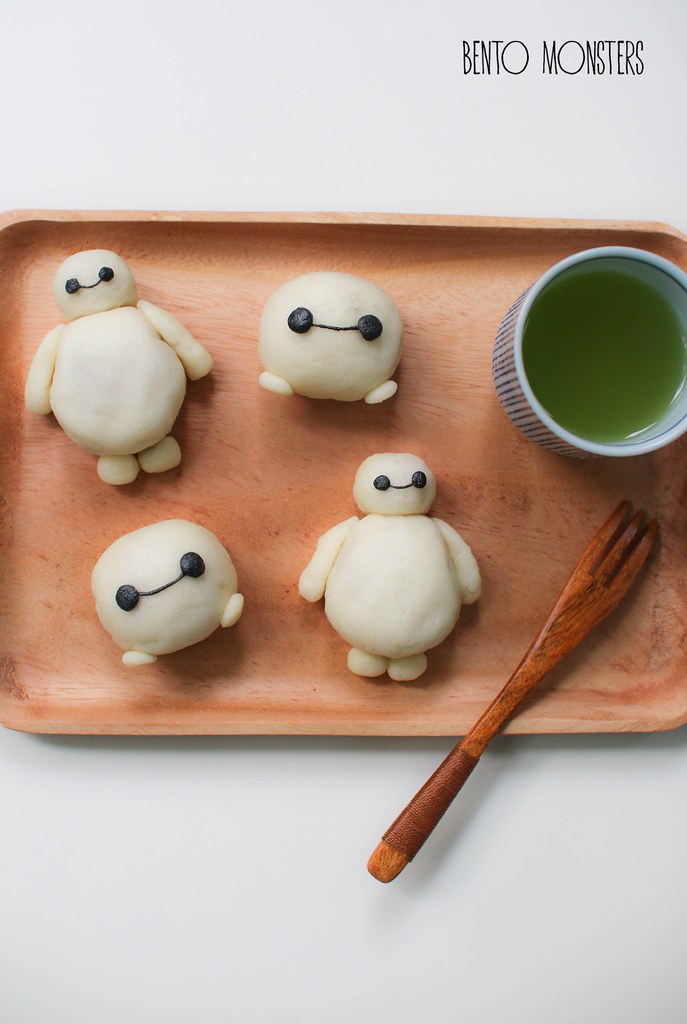
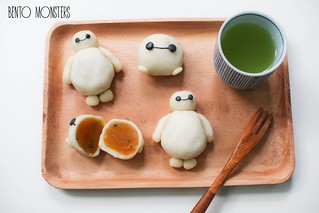
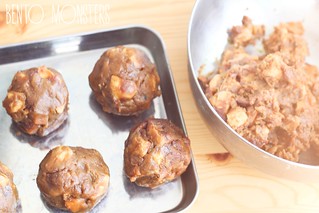
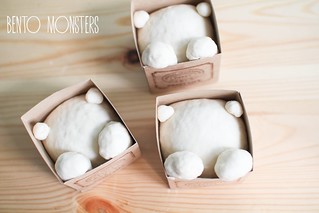
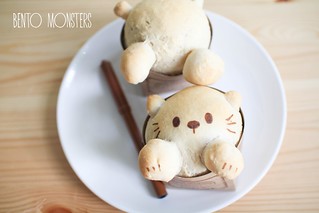
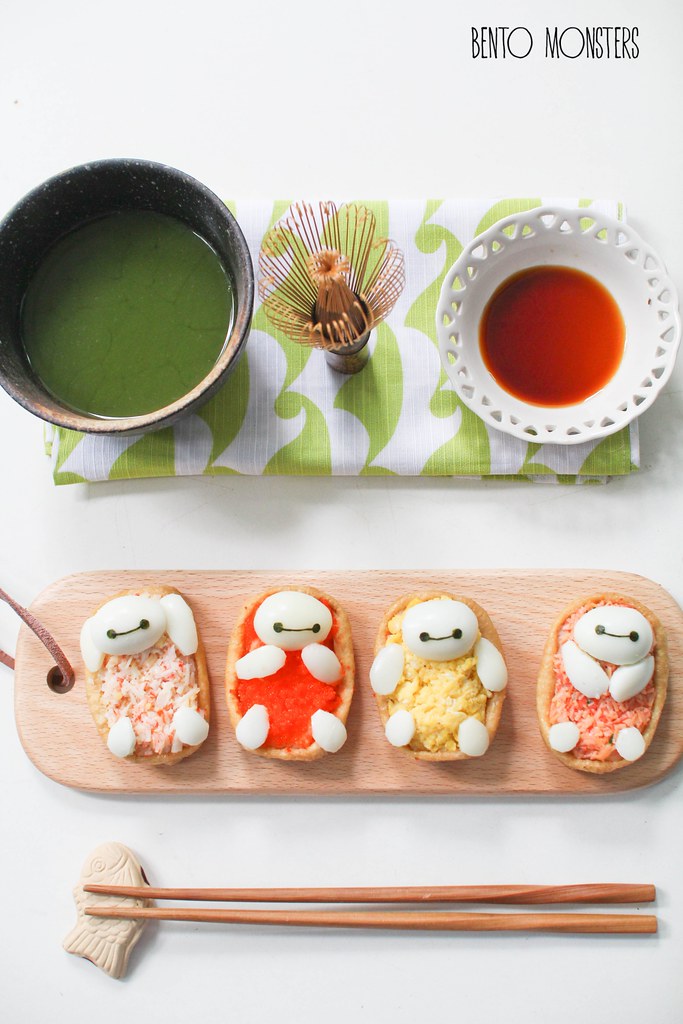
I made two designs for Baymax, I only showed the steps to make the simpler one. For the full body version, I added fillings for both the head and the body, the hands and legs are just moulded using the snowskin. I'm using back the same snowskin mooncake recipe I shared last year, it's the simplest I've found. Not the tastiest recipe I've tried but still acceptable. Feel free to substitute with your own recipe.

IMG_5962
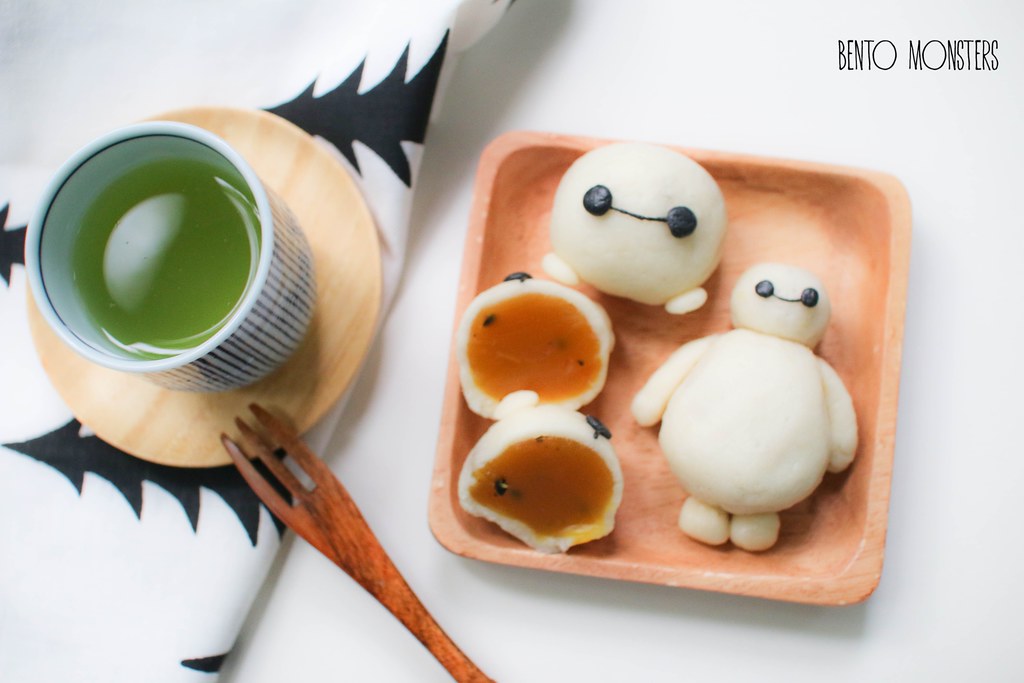
The mooncakes were filled with passion fruit paste. I did not make the paste from stratch, the paste was store-bought. I remembered a few people asking me where I bought the paste last year. My reply then was I would not recommend the shop I bought from but I would recommend them to get the paste from Kwong Cheong Thye instead. This year the paste I'm using is from Kwong Cheong Thye, they have quite a few interesting flavours, in addition to the traditional ones.

baymaxmooncake
Hand moulding the mooncakes does take a little longer than using a mould, but these Baymax ones are still relatively fast to make, as compared to the other characters I've yet to share.

BAYMAX SNOWSKIN MOONCAKE

Ingredients:
150g Gao Fen (cooked glutinous rice flour)
150g Icing Sugar
50g Shortening
180g cold water
1/2 tsp charcoal powder
Mooncake filling - I used green tea white lotus paste

Method:
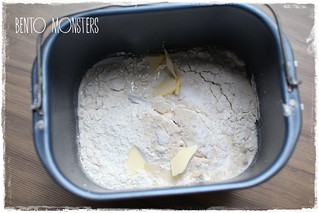
  1. Sift Gao Fen and icing sugar together in a bowl.
  2. Add in shortening to the mixture and combine. 
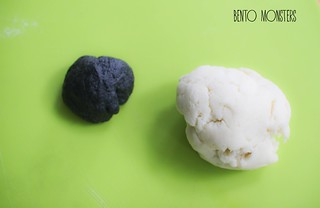
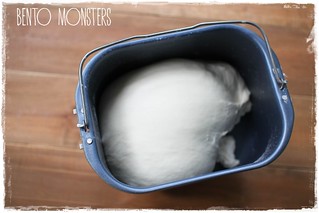
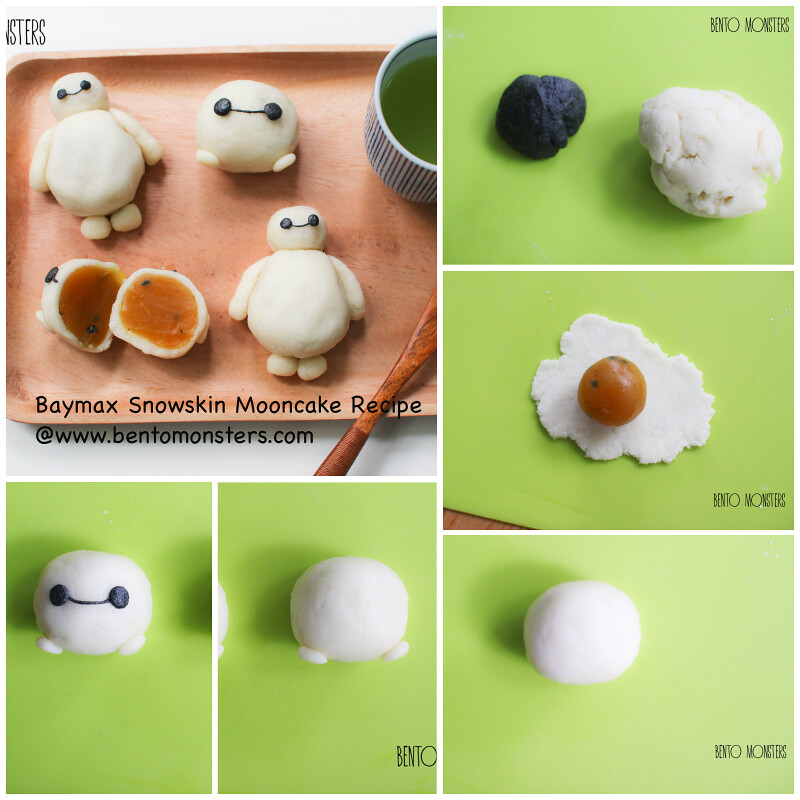
  3. Slowly add in the cold water, you might not need to use all. You can stop once you are able to knead into a dough. Take out 1 small portion of dough and add on 1/2 tsp of charcoal powder, add on more charcoal powder if needed.  Knead till colour is evenly mixed. Cover with cling wrap and let the dough rest for 10 minutes.
  4. IMG_5912
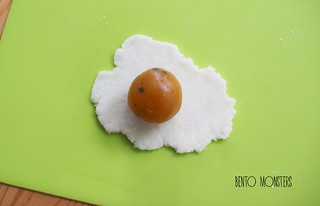
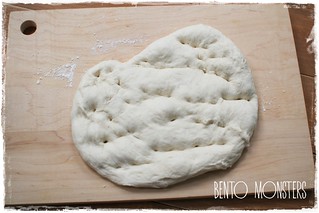
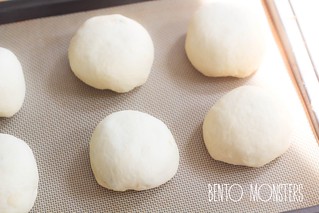
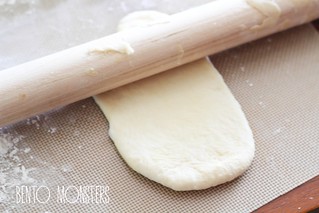
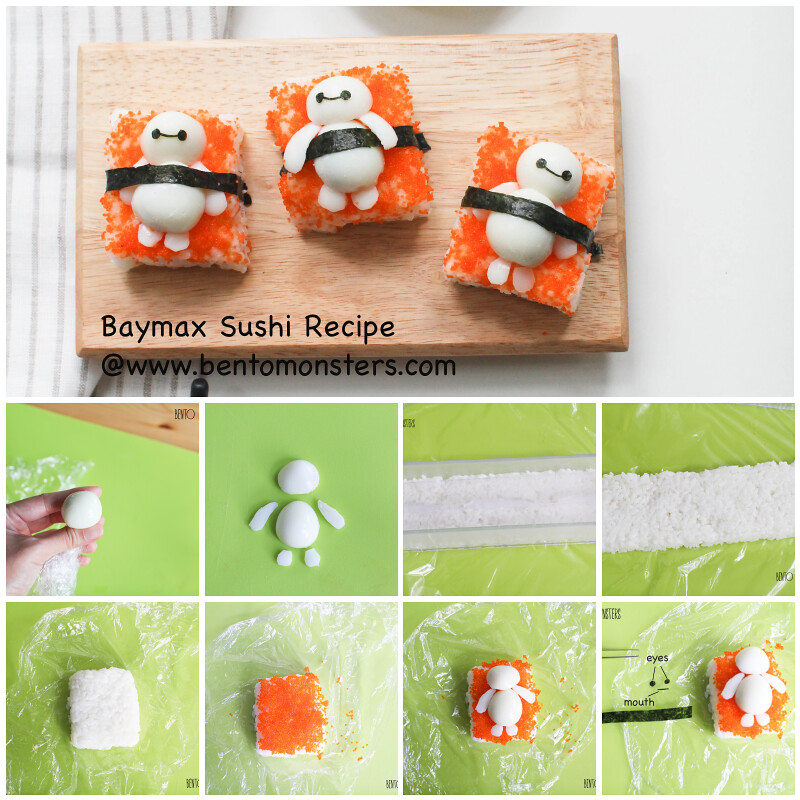
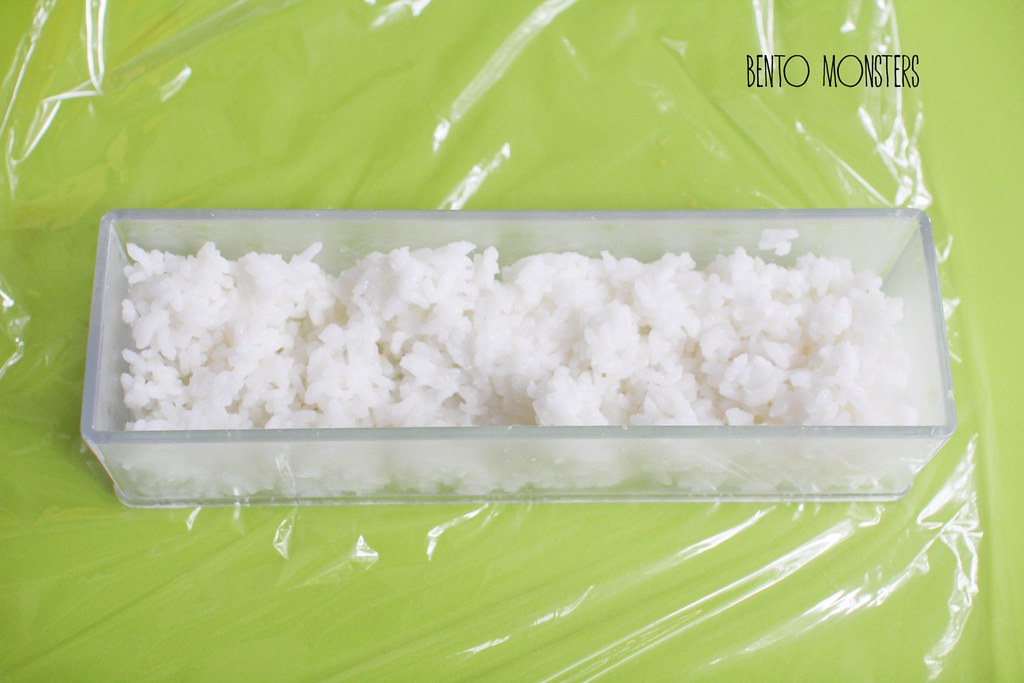
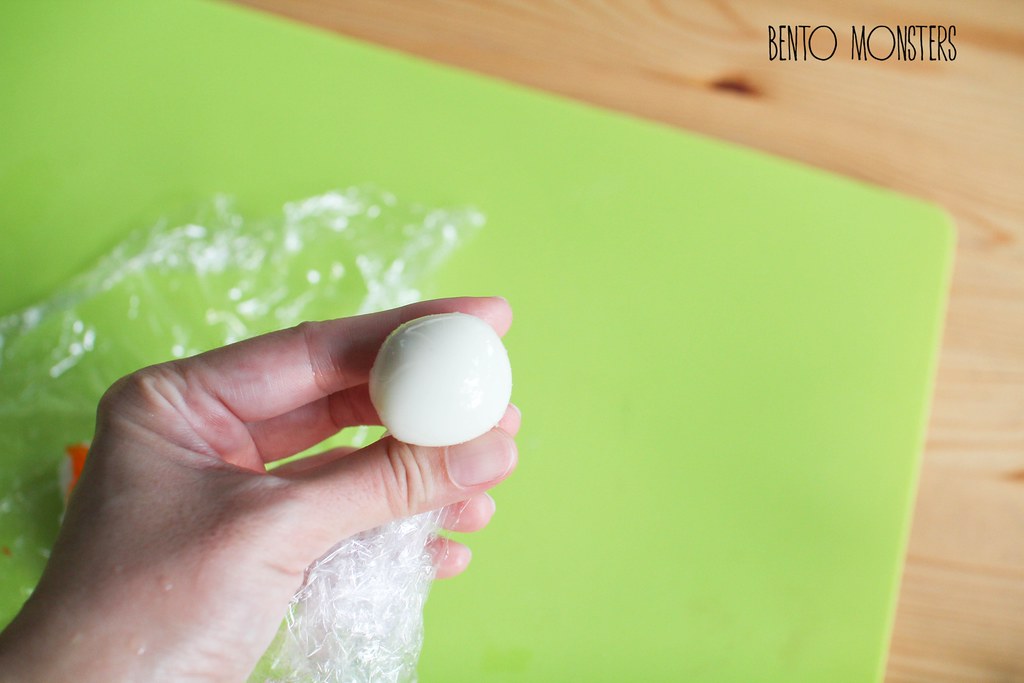
  5. Weigh white dough and fillings, I used 30g of fillings to 25g of dough. Flatten dough with rolling pin, roll fillings into a ball and place on top. 
  6. IMG_5913
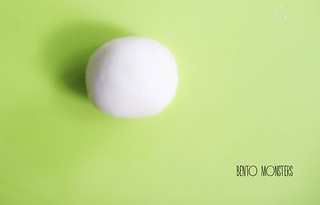
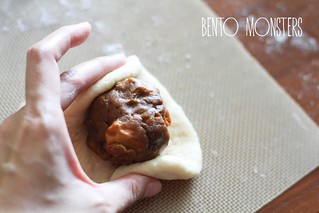
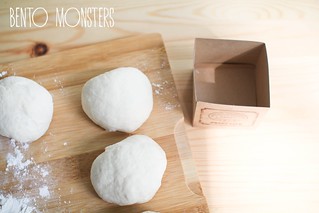
  7. Seal and wrap mooncake using your hands. Mould into oval shape.
  8. IMG_5916  
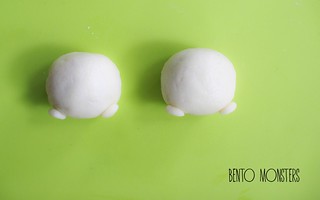
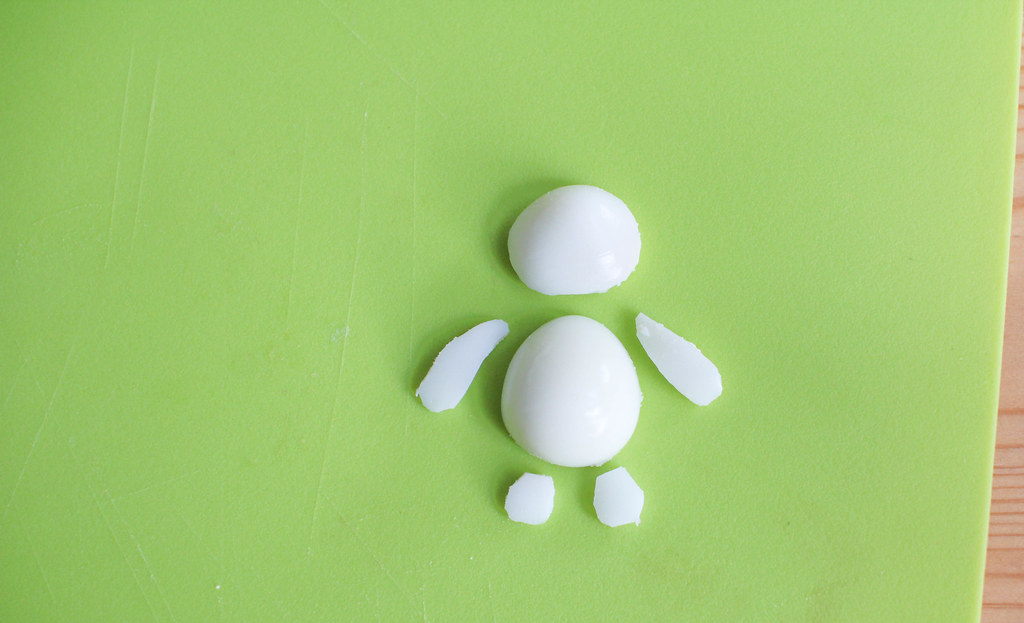
  9. Take some dough, mould two hands for Baymax. This step is optional, if you want it to be even simpler, you can leave out the hands. 
  10. IMG_5919
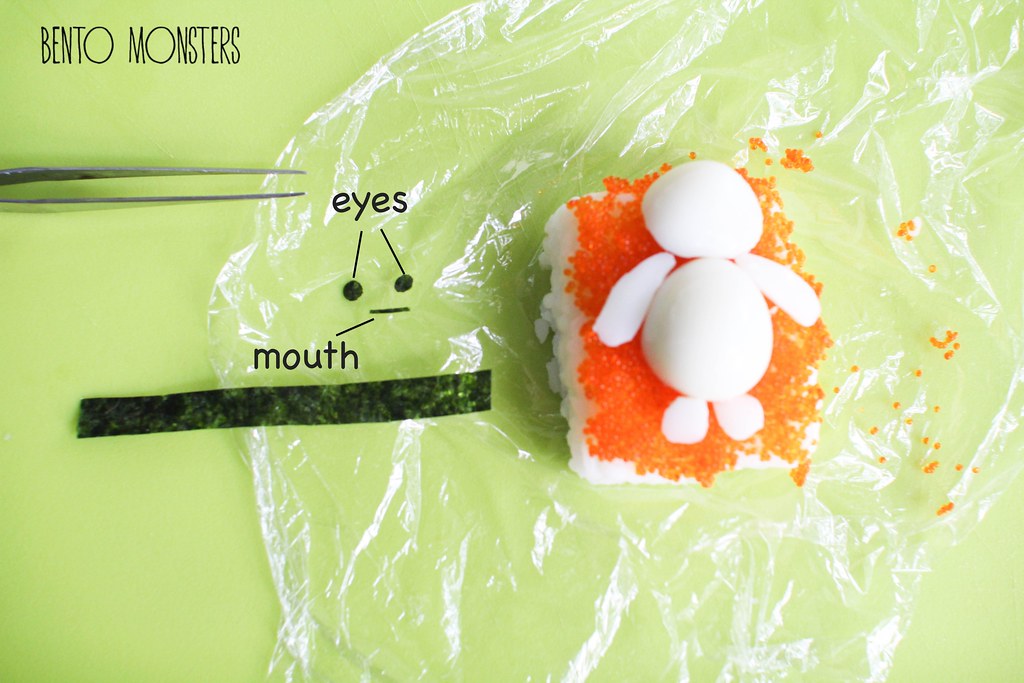
  11. Using black dough, mould two circles for Baymax's eyes. For his mouth, you have to roll out some dough using your hands till you get a long thin strip, then cut to the required length.
  12. IMG_5920 IMG_5949

Tuesday 25 August 2015

Cat Onigiri & Quail Egg

A new routine for me starting this week, an additional commitment so I'm busier in the morning. I'm trying to sleep earlier at night, so I'm finding it a little tough to update the blog, since I usually update at night after my boys have slept. Never mind, I'm sure I'll find another timing to do it after I settle down in the routine.

IMG_2663
Since I already have these photos in my draft folder, I thought I'll do up a post before I sleep. This cat onigiri turned out totally different from what I had in mind. I came across pictures of this cat with gravity defying whiskers, attempted to craft it out of rice, but it turned out disastrous. In the end, I just changed it to the one you see in my picture above.

IMG_2667
Made this for lunch with a quick side dish of nuggets, lettuce and cherry tomatoes.

IMG_2657
The cat was made out of rice, I coloured parts of it with dark soy sauce. Other ingredients used were nori, olives and ham. The fish you see in the picture is a chopstick rest.

IMG_0499
Another cat creation, this time the cats were made out of quail eggs. I dyed the quail eggs pink and blue in beetroot and red cabbage respectively.

IMG_0501
Cats are lying on teriyaki chicken pitas.

IMG_0506
I also dyed some noodles in beetroot and used them as yarn for the cats to play with. :)

Friday 21 August 2015

Cat Bread Bun

This recipe is a rather back dated one, I think I made these cat bread buns around a year back. I had the intention to update the recipe then, hence I took some step-by-step photos, but somehow I forgot to blog about them, lol.

IMG_0153
These kitty cat buns were filled with Japanese curry. The cat buns were actually a combination of two of my recipes, I used the white milk bun bread recipe from here and the Japanese curry fillings recipe from here. So which bread bun recipe goes better with the Japanese curry chicken fillings? I've not conclusion, they both are good.

IMG_0169
I shaped the dough in these cupcake boxes and allow them to proof in them. They are then baked in the oven in the boxes.

IMG_0143
The kitty cats look like they are stuck and trying to get out, lol.

IMG_0165
Just another picture, because I took too many. -_-

catbread
Sharing the recipe to make these below.

CAT BREAD BUN RECIPE

Ingredients:
Bread Dough:
250g bread flour
3g instant yeast
200g milk
10g sugar
10g butter
3g salt

Japanese Curry Fillings:
½ yellow onion, cut into small cubes
½ carrot, cut into small cubes
300g chicken, thinly sliced
75g Japanese curry roux
400g water
40g butter
40g plain flour


Method:

Japanese Curry Fillings:
  1. In a frying pan, pan fry chicken till they are no longer pink.
  2. Heat up cooking oil in a small pot, sauté onion and carrot till aroma, add in water. 
  3. Add cooked chicken slices into the pot, continue to cook over medium low heat for about 15mins. 
  4. Add in curry roux and mix well.
  5. In another frying pan, melt butter over low heat, then add in plain flour, stir to combine well. Add into curry mixture. When the mixture started to turn thick, dish out and cool it completely.
  6. Roll into balls and set aside.
  7. IMG_5626
Bread Dough:
  1. Mix all the ingredients, except butter, in a large bowl to get a dough. Add in butter and knead until dough is springy and soft, this takes around 10 minutes. If you have a bread maker, you can just use the dough function for this step, as well as step 2.
  2. IMG_1925
  3. Cover the dough with cling wrap and keep in a warm place for it to rise. This takes around an hour and the dough should double in size. Do a finger test to check if it's ready.
  4. IMG_1792
  5. Take dough out and punch out the air from the dough with your fist. 
  6. IMG_1794
  7. Divide the dough into 9 portions. Roll them out and form them into balls. Cover with cling wrap and let the dough rest for 15 minutes. 
  8. IMG_5629
  9. Set aside one ball of dough. Roll out the rest using a rolling pin.
  10. IMG_5631
  11. Wrap dough around curry fillings and seal, place them in cupcake boxes. They should be around half the size of the boxes, as they will double in size after proofing.
  12. IMG_5633IMG_0128
  13. Using the ball of dough set aside, shape into cat's ears and hands. Cover with cling wrap and let the dough proof for 40 minutes.
  14. IMG_0132
  15. Preheat oven to 190 degrees celcius, turn it down to 140 degrees before placing in the bread at middle rack. Bake for around 15 minutes. If you want the bread to remain white, you can dust on some flour before baking and use an aluminium to cover halfway through baking. I did not do so, as I wanted the buns to be lightly browned. Draw on details using a food marker.
  16. IMG_0134

Tuesday 18 August 2015

Inside Out Sadness & Anger

Hello! Did you notice the new look for my blog? So happy it's finally ready, been wanting to update the blog for quite sometime, so I'm glad to finally get it done. :) I love how it turned out, special thanks to my illustrator and designer (you can find their links at the bottom of my blog), the blog is exactly how I envisioned it will be. And there's finally a mobile version as well, so it's easier for you to navigate on your handphone. Maybe now I'll be motivated to blog a little more often, maybe only, lol.

IMG_5721
Today's post is inspired by Disney Pixar's new movie, Inside Out. This movie is already out in quite a few countries but it will only be out in Singapore at the end of this month. The movie is about a girl, Riley, and her 5 emotions- Joy, Fear, Anger, Disgust and Sadness. I'm still not sure if I'm going to make all 5 emotions. For now, I've made Sadness and Anger, simply because they seemed the most interesting from the posters and trailers. This one in the picture above is Sadness.

IMG_5715
Sadness was made using rice, somen and ham, which I coloured blue using butterfly/blue pea flower. Other ingredients used were nori and fishcake. This was actually my second version of Sadness because I was not too happy with my first version. That said, I'm not too happy with this one either, lol. -_-

IMG_5689
This was my first version of Sadness, quite similar ingredients used, the only difference was the use of rice to make her outfit.

IMG_5682
There was chicken and bell peppers stir-fry underneath the rice.

IMG_5739
This is Anger, who has a fiery temper, and tends to explode (literally) when things don't go as planned. I made him using bell peppers, fishcake, ham, aburaage, cheese and nori.

IMG_5736
This was meant to be a side dish, to be eaten with rice, whereas the previous two creations were a one dish meal by inside.

IMG_5741
I think I shall wait for the movie to start screening here and see whether I'll be motivated to make the rest of the characters.

Friday 14 August 2015

Baymax Sushi

Today's food art is everyone's favourite healthcare companion, Baymax. And today's food art comes with step-by-step pictures. The truth is I had wanted to update this post much earlier, but I was lazy to edit the step-by-step photos, so I kept changing to another creation to update instead. -_- Okay, finally decided to get it done today.

IMG_4798

I made two different types of Baymax sushi, this one in the picture is sushi rice topped with ebiko. Babymax was made using quail eggs and nori.

IMG_4806
Someone commented Baymax looks like he's strapped to an electric chair. It does seems like so, but he looks quite happy to be electrocuted. -_-

IMG_2031
This is my second sushi design. I first filled the aburaage pouches with rice, then I topped them with different fillings. From left to right, there's crabstick, ebiko, scrambled egg and salmon.

IMG_2035
Baymax was made from quail eggs and nori and arranged in a variety of poses, lol.

IMG_2038
Do they look like they are soaking in a bathtub?

baymaxsushi
I only did the tutorial for the first sushi design, but I'm sure you can figure out the other design from this tutorial.

IMG_4955
I used a rectangular mould to mould the rice, I got this from Daiso. This mould is commonly used for making Spam musubi. It's easier and faster to use this mould, but it's not a must,  you can just use cling wrap to mould the sushi rice too.

IMG_4958
Wet the mould using water, place the mould on a sheet of cling wrap, topped it up with sushi rice. Wetting the mould prevents the rice from sticking.

IMG_4960
Press down hard on the rice to compact it.

IMG_4963
Slide the mould out.

IMG_4982
Using a wet knife, cut out the rice.

IMG_4985
Top the rice with ebiko, you can use other ingredients like scrambled egg, chopped spring onions, etc, if you like. As Baymax is white, you need to top the rice with a coloured ingredient, so that there will be a contrast.

IMG_4987
To make Baymax, you need hard boiled quail eggs. When the quail egg is still hot, wrap it in cling wrap to shape it round. Eggs can be moulded while they are still hot. When you are happy with the shape, cool down the egg by dipping in ice water. This rounded quail egg will be used for Baymax's head.

IMG_4989
Using another quail egg, cut out Baymax's body, hands and legs. I cut the quail egg in half, one half is used for the body, and the other half is used to cut out the hands and legs. I also cut the rounded quail egg in half, and used it to make the head for another Baymax. Not a must to cut in half like I did, but I prefer to do so, as the quail egg sits better with a flat bottom, and I do not have to use too many eggs.

IMG_4991
Assemble the quail eggs on the sushi, secure using pasta sticks.

IMG_4993
Using a hole punch, cut out Baymax's eyes from seaweed. Use a pair of scissors to cut out Baymax's  mouth and also a long strip of nori to wrap Baymax to the sushi rice.

IMG_4802
And your Baymax sushi are done. Bon appétit! Hope you like this cuddly fella as much as we do. :)