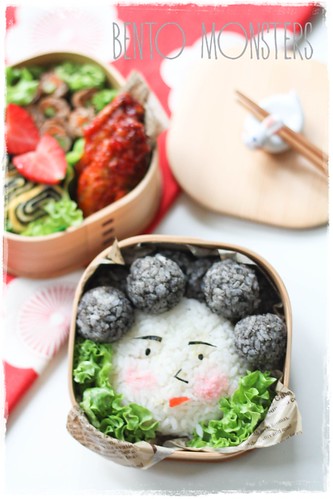
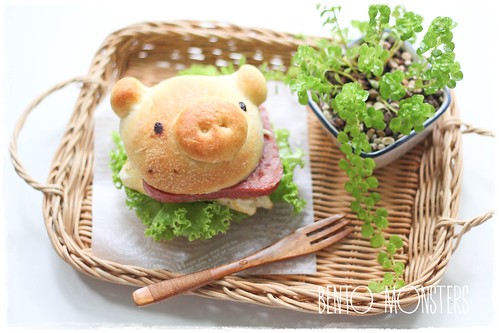
Our June school holidays start today, yay! The last day of school was yesterday. Both my boys have done well for their exams. LT only had some small reviews, the actual exam for him will come at the end of the year. IT had quite a fair bit of careless mistakes, but since his grades were pretty good, I don't want to fret over all those marks he lost due to his carelessness. I hope he can continue to maintain his results and strive to do even better. For now, we'll enjoy the holidays first, have booked a short getaway in mid June, so looking forward to it. :)
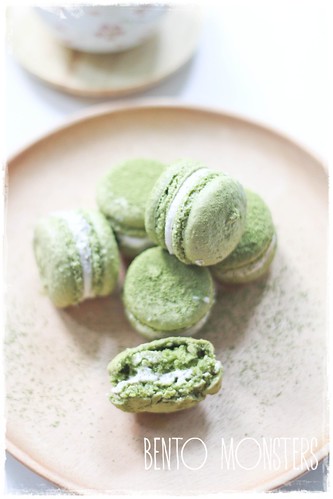
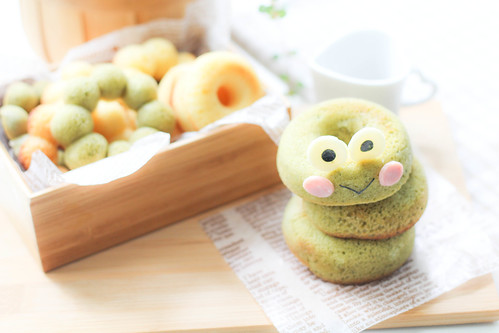
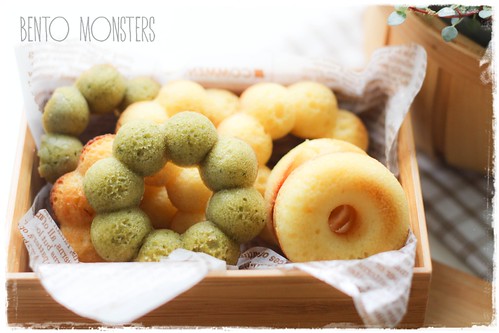
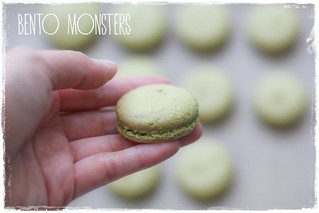
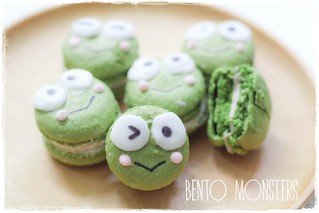
For today, let me share these matcha macaron I made. I filled the macarons with red bean buttercream.
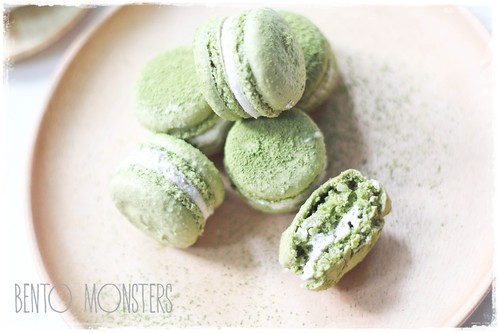
These matcha macarons were yummy, ok, I'm bias as I love all things matcha, lol.

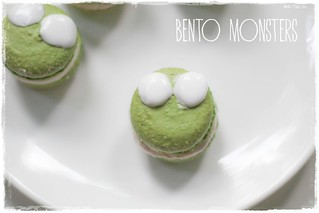
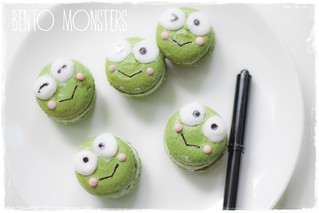
It's Keroppi again, I decorated some of the matcha macarons as Keroppi for my boys.
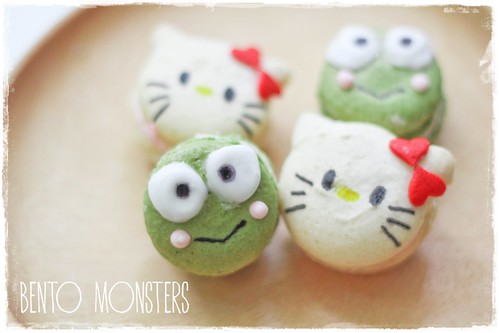
I made these a day after the Hello Kitty macarons I shared previously. If you missed that, you can click HERE to check out the recipe for the Hello Kitty macarons.
KEROPPI MATCHA MACARON RECIPE
Ingredients:
74g ground almond
6g matcha powder
160g icing sugar
60g egg white, separated for 24 hours in advance
Buttercream:
60g egg white
110g butter, room temperature
110g fine castor sugar
200g red bean paste
Icing:
60g egg whites
330g icing sugar
2 tsp lemon juice
pink food colouring
Method:

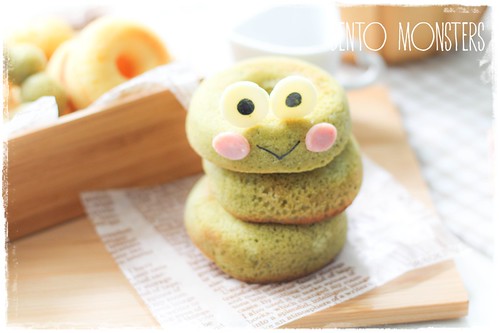
For today, let me share these matcha macaron I made. I filled the macarons with red bean buttercream.
These matcha macarons were yummy, ok, I'm bias as I love all things matcha, lol.
It's Keroppi again, I decorated some of the matcha macarons as Keroppi for my boys.
I made these a day after the Hello Kitty macarons I shared previously. If you missed that, you can click HERE to check out the recipe for the Hello Kitty macarons.
KEROPPI MATCHA MACARON RECIPE
Ingredients:
74g ground almond
6g matcha powder
160g icing sugar
60g egg white, separated for 24 hours in advance
Buttercream:
60g egg white
110g butter, room temperature
110g fine castor sugar
200g red bean paste
Icing:
60g egg whites
330g icing sugar
2 tsp lemon juice
pink food colouring
Method:
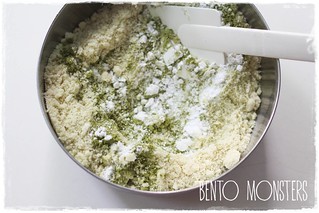
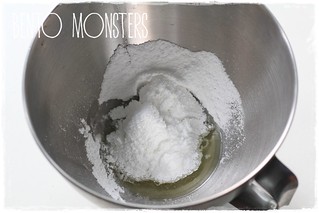
- Sieve 80g icing sugar together with ground almond and matcha powder twice. Alternatively, you can also use a food processor to pulse them till fine before sieving them once. Set aside.
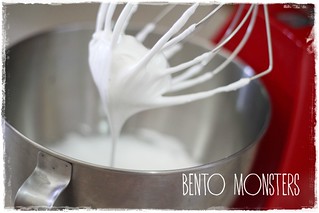
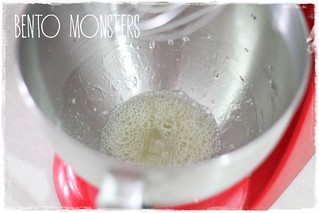
- Beat egg white on low/medium speed until foamy, sieve 80g icing sugar in 3 batches, change to high speed and beat till soft peak form. You can turn up the speed and continue to beat till stiff peak, if you prefer a thicker macaron.
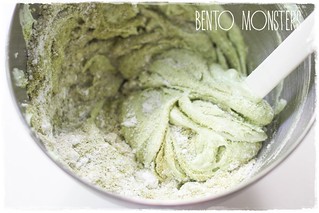
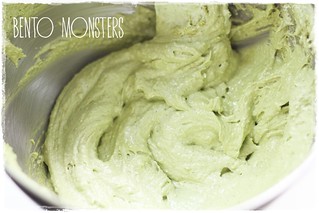
- Add step 2 icing sugar/almond/matcha mixture into egg white in 2 batches, folding well to combine.
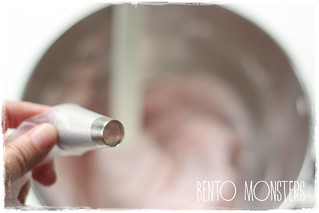
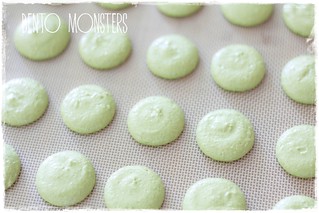
- Scoop batter into pipping bag with nozzle tip #1A attached. Pipe small circles on a non-stick baking sheet. Use a toothpick to prick the air bubbles. Dry the macarons shells for 30 minutes under room temperature.
- Preheat oven to 150 degrees celcius. Bake macarons at middle rack for around 12-15 minutes. Once the feet appears (they should do so before 5 minutes) , place an oven rack above the tray of macarons and continue baking till 12-15 minutes is up. (this is to prevent the top of the macarons from browning) When baking is complete, do not remove the macarons from the tray, allow them to cool for a while before removing.
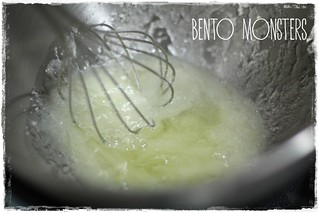
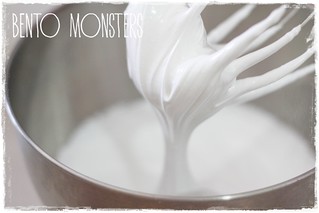
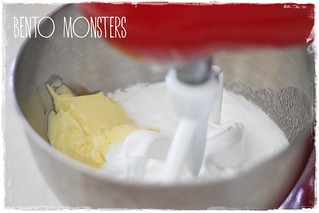
- To make buttercream filling, combine egg whites and sugar in a mixing bowl. Whisk over a gentle simmering hot water bath, till all the sugar have melted. Remove from heat.
- Place on mixer and whisk on high till stiff peaks are formed.
- Turn down the speed and add in the butter gradually, mix well.
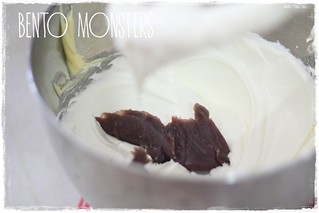
- Mix in red bean paste. Fill in pipping bag, refrigerate around 15 minutes before pipping onto your macarons. If you are not decorating them as Keroppi, you can sprinkle some matcha powder on the macarons before serving.
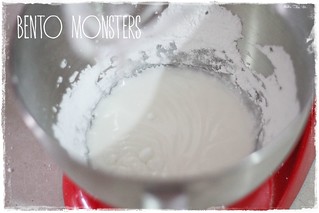
- To make icing, beat egg white with lemon juice till combined.
- Sift icing sugar, add to egg white and whisk on low speed till combined.
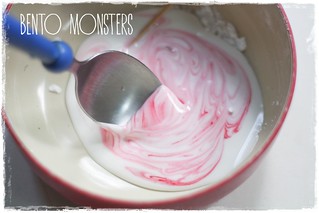
- Scoop out 1/3 of icing, mix in a little pink colouring using a toothpick.
- Pour icing into piping bags. Pipe two circles using white icing for Keroppi's eyes.
- Pipe on pink icing for Keroppi's cheeks. When the icing has dried, use a black food marker to draw Keroppi's eyes and mouth.

- The measurements for the ingredients is crucial. It is also important to whisk the egg whites and fold in the sugar/almond mixture correctly.
- The need to use aged egg whites is debatable, but you should at least use egg whites at room temperature. I usually separate them the night before, leave in a bowl covered with cling wrap at room temperature.
- Please ensure equipments are dry when beating egg whites, else you will have problem beating them till stiff peak.
- It is necessary to leave the batter to rest for at least half an hour before baking, this is for the macarons to form a shell on top.
- It's important to use a non-stick baking sheet, I usually bake mine on silpat mats.
- Macarons taste better the following day, so if you can wait, keep in fridge and eat them the next day.
Where to get same item used in today's post: