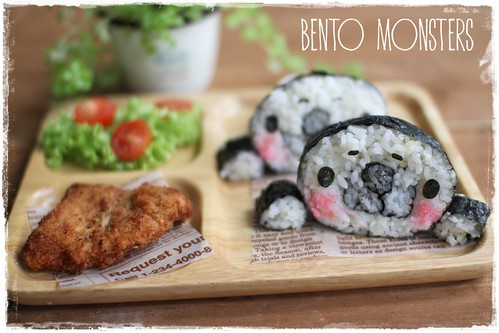
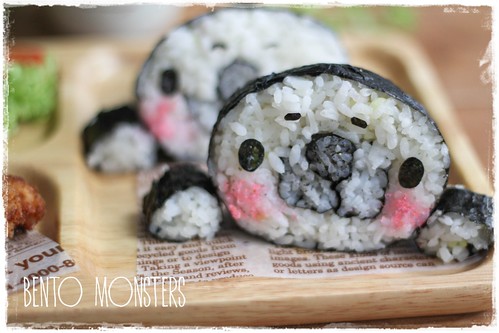
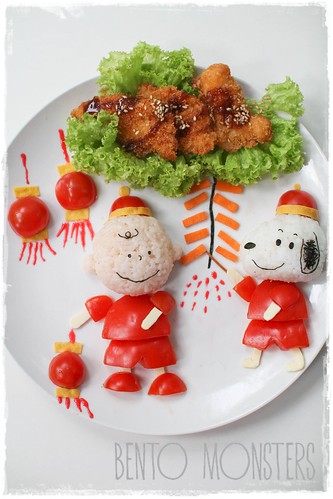
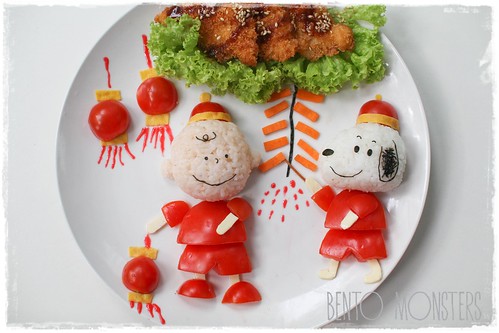
And so I did ended up making another two more foodart for Chinese New Year last Friday. I've no time to make anymore, so I guess these will be my last set of Chinese New Year foodart for this year.
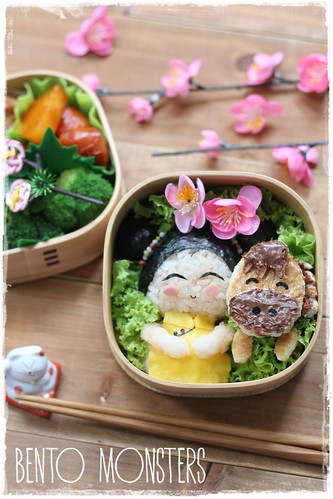
Wishing everyone Gong Xi Fa Cai with this Chinese New Year bento. :)
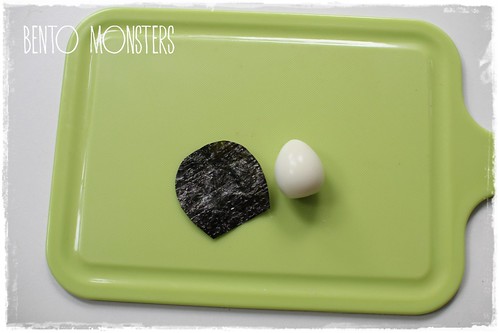
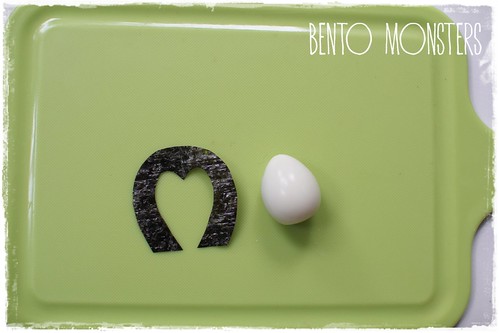
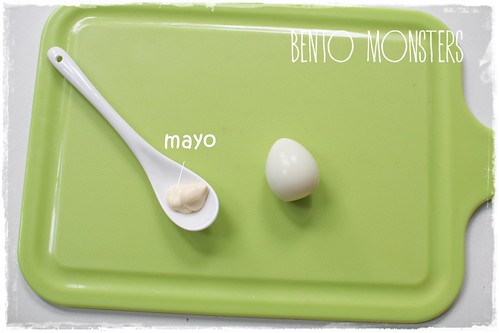
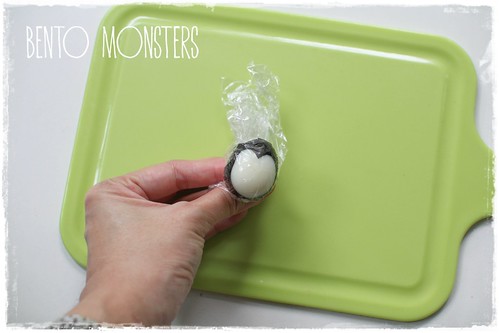
Ingredients used to make the girl were rice (coloured with some ketchup), nori, egg sheet, ham and bubu arare (rice puffs on her hair). The horse was made from bread spread with nutella and peanut butter.
I've to confess my original idea was to make the horse as another foodart instead. I was lazy and decided to just combine the horse into this bento.
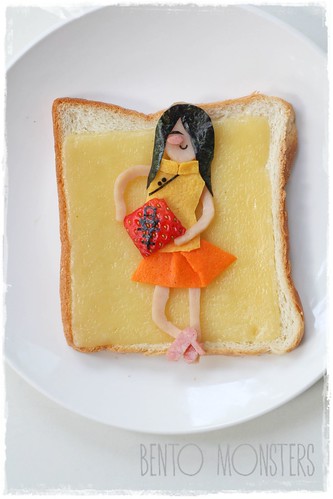
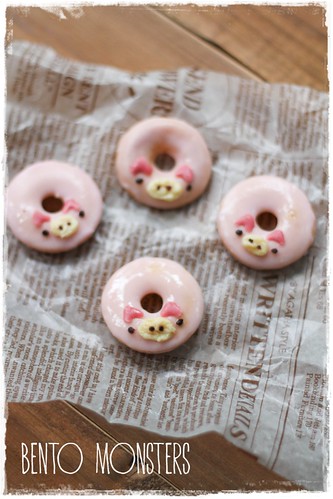
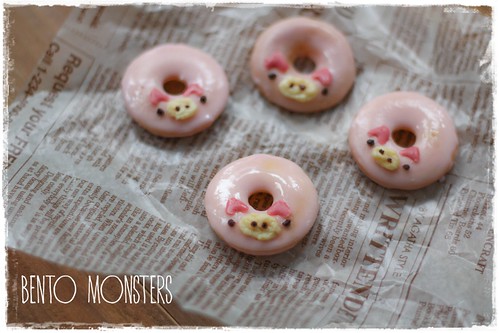
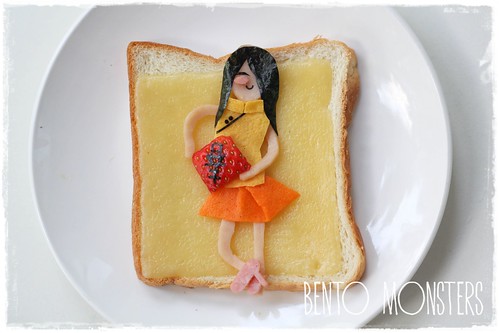
This toast is inspired by my newfound love for the cheongsam. I was never a fan of the traditional cheongsams but recently, the modern cheongsams I found are so wearable, I don't mind wearing them every day. I posted a photo of two of my favourite modern cheongsams from my recent loots, you can check it out on my instagram (@bentomonsters) account if you are interested. Ingredients used for this toastart were ham, egg sheet, nori and strawberry.
I'm taking a break from foodart and blogging for the upcoming New Year holiday. I'll be back again next week. :)


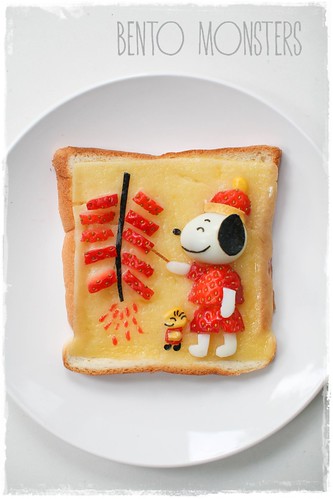
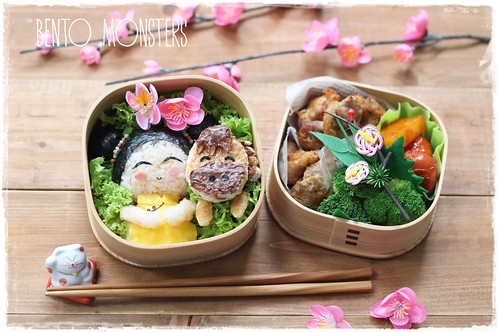
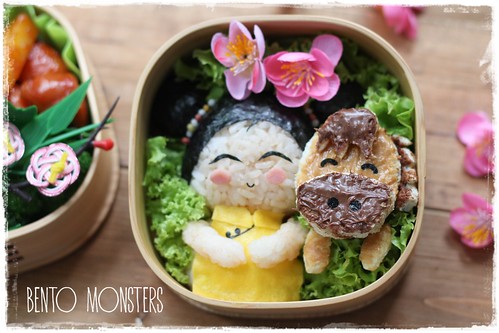
Wishing everyone Gong Xi Fa Cai with this Chinese New Year bento. :)
Ingredients used to make the girl were rice (coloured with some ketchup), nori, egg sheet, ham and bubu arare (rice puffs on her hair). The horse was made from bread spread with nutella and peanut butter.
I've to confess my original idea was to make the horse as another foodart instead. I was lazy and decided to just combine the horse into this bento.
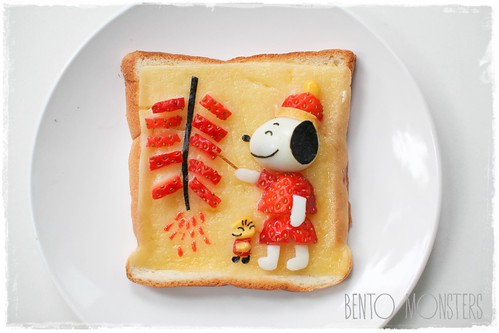
This toast is inspired by my newfound love for the cheongsam. I was never a fan of the traditional cheongsams but recently, the modern cheongsams I found are so wearable, I don't mind wearing them every day. I posted a photo of two of my favourite modern cheongsams from my recent loots, you can check it out on my instagram (@bentomonsters) account if you are interested. Ingredients used for this toastart were ham, egg sheet, nori and strawberry.
I'm taking a break from foodart and blogging for the upcoming New Year holiday. I'll be back again next week. :)
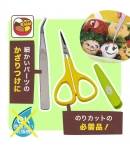
Where to get same or similar items used in today's post: