Friday, 17 January 2014

Pooh Bear Bento & Toast

"Sometimes," said Pooh, "the smallest things take up the most room in your heart.” 
 A.A. Milne

January 18th is the birthday of A.A. Milne, best known for his beloved Winnie the Pooh stories. I just had to make some Pooh creations to pay homage to the creator of the adorable yellow bear. You can also check out my past Pooh bentos HERE. My bento friend, Mamabelly is hosting a Pooh bear linky party, please also head over to her site for more pooh-rrific ideas. 

IMG_2355
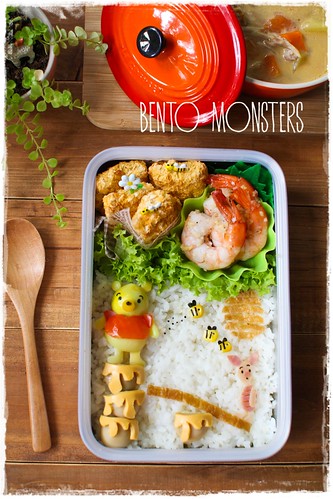
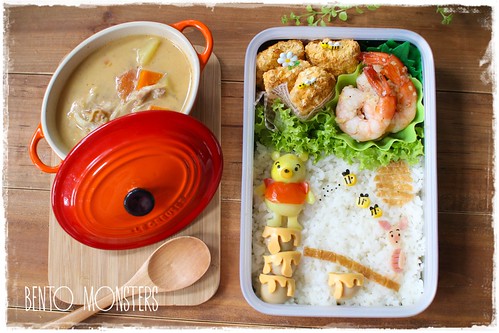
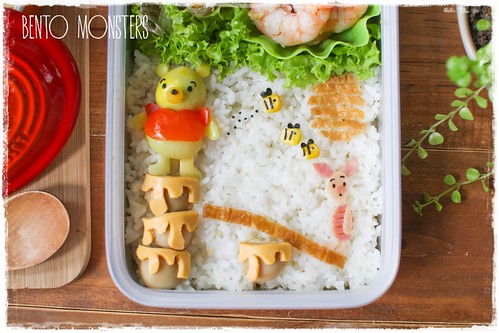
Pooh just had the most brilliant idea to get his honey, except Piglet seems to think otherwise, lol.

IMG_2352
This dinner bento is served with fish fillets, garlic prawns and a bowl of chicken stew.

IMG_2351
Pooh and honey pots were made using quail eggs. Piglet was made from ham and bees were made from corn.

IMG_2329
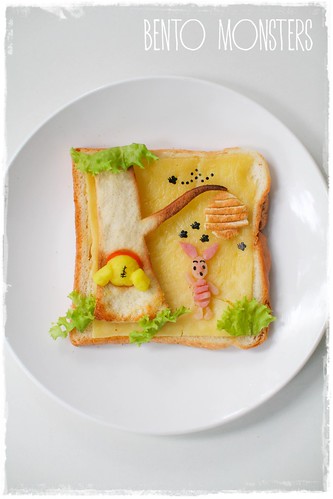
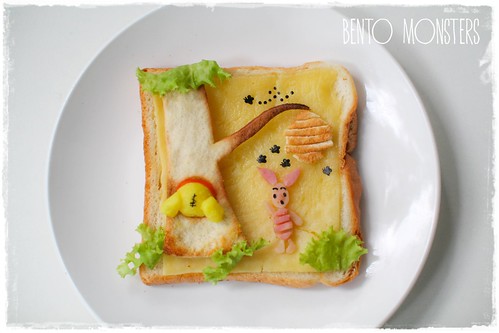
I also made another Pooh story on toast. Piglet is looking for Pooh, can you find him? My boys found this hilarious, lol.

IMG_2330
Pooh here is made using mashed potato, which I coloured with some tumeric powder. :)
Bunting---Dots-and-Stripes---Rainbow---11
Where to get same or simlar items used in today's post:

Thursday, 16 January 2014

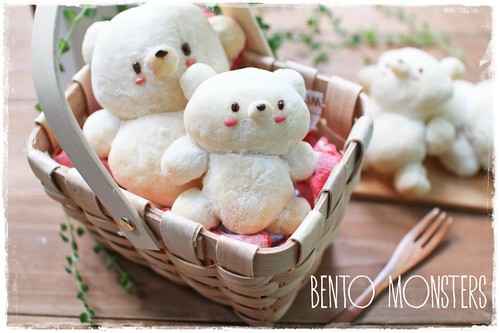
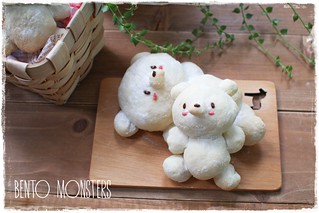
Japanese Milk Bun Bear

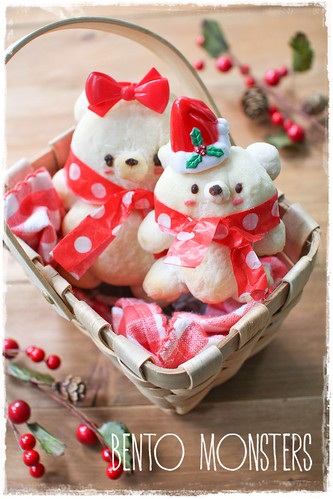
This is an update on the Japanese Milk Bun Bear recipe I shared last month. I remade them again and took some step by step photos to update the recipe.

IMG_1827
This time, I actually over baked them a little, not intentional, I was busy and forgotten about the time. -_-

IMG_1832
Had wanted to packed them for a picnic, but there was a change of plans, we ended up having them for breakfast instead.

IMG_1841
That day was Christmas Day, so I dressed them up a little. I added on scarves cut out from wax paper and some cupcake toppers. :)

IMG_1844
Updated recipe below. :)

JAPANESE MILK BUNS BEARS RECIPE

Ingredients:

Bread Flour 250g
Instant Yeast 3g
Milk 200g
Sugar 10g
Butter 10g
Salt 3g

Method:
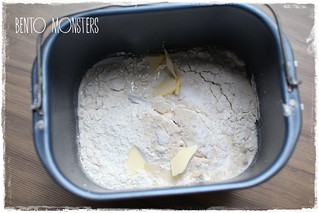
  1. Mix all the ingredients, except butter, in a large bowl to get a dough. Add in butter and knead until dough is springy and soft, this takes around 10 minutes. If you have a bread maker, you can just use the dough function for this step, as well as step 2.
  2. IMG_1925
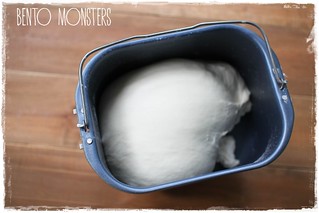
  3. Cover the dough with cling wrap and keep in a warm place for it to rise. This takes around an hour and the dough should double in size. 
  4. IMG_1792
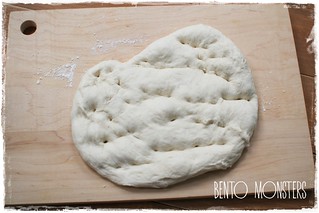
  5. Dust your work table with some flour, place dough on it. Punch out the air from the dough with your fist. 
  6. IMG_1794
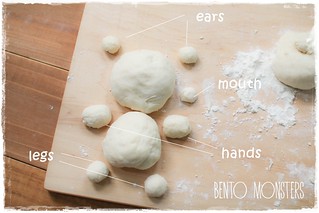
  7. Divide the dough into 5 portions. If you are shaping a full size bear, divide each of the 4 portions into half. Roll them out and form them into balls. For the 5th portion, divide it into small parts for the ears mouths, legs and hands. Cover with cling wrap and let the dough rest for 15 minutes.
  8. IMG_1796
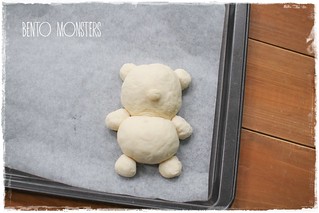
  9. Roll out bread dough and shape them again, place them on a baking tray lined with parchment paper. 
  10. IMG_1799
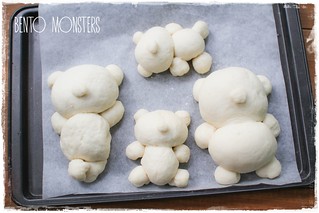
  11. Cover with cling wrap and let dough rise for 40 minutes.
  12. IMG_1802
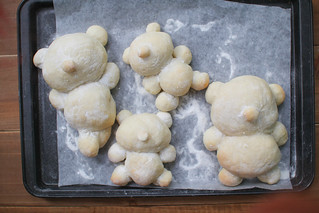
  13. Preheat oven to 190 degrees celcius, turn it down to 140 degrees before placing in the bread at middle rack. Bake for around 15 minutes.
  14. IMG_1815
  15. Add in details using chocolate.
  16. IMG_1817
Notes:
  • If you want the buns a little brown, you can bake them at 170 degrees celcius instead.
  • As an added precaution to make sure the buns remains white, you can also place in an aluminium sheet to cover them halfway through baking.
Bunting---Dots-and-Stripes---Rainbow---13
Where to get same or similar items used in today's post:

Wednesday, 15 January 2014

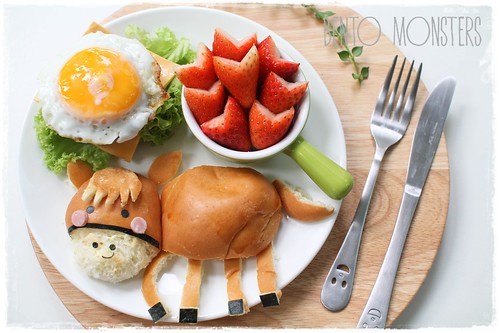
Horse Burger

A fast post today, had a tiring day. This post is already in my draft folder with the pictures, I'm just typing out a short post so I can share this.

IMG_2216
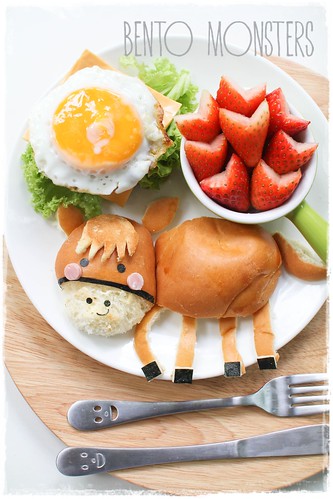
I am sharing another horse creation today, made out of bread buns. I served this as a burger, the fillings are up on the left of the plate. I made this for IT's lunch after school last Tuesday.

IMG_2214
Hope you like this not very horse looking horse burger, lol. I'm off to bed, good night! :)
Bunting---Dots-and-Stripes---Rainbow---13
Where to get same or similar items used in this post:

Tuesday, 14 January 2014

Totoro Onigiri

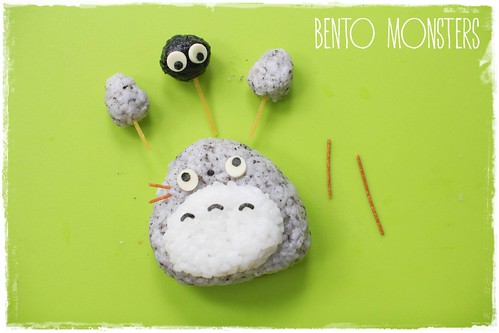
It was LT's first day in Primary School last Monday. I had no plans for a charaben, but I managed to finish off all my household chores for that day early in the morning. Since I still have time to spare after cooking lunch, I decided to do a fast Totoro onigiri. It's really simple to make, I took some step by step photos to show you how you can easily recreate one too. :)

IMG_2116
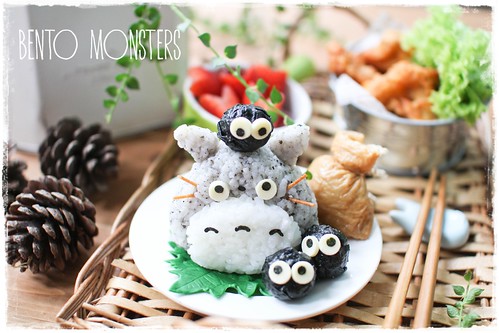
This is the Totoro lunch I made for LT. I showed IT the photo later that day and he asked me to make him something too the following day, lol. I did make another foodart just for him the next day, I'll share that in tomorrow's post.
IMG_2109
Did you notice the Totoro's sack behind him? I made that using an aburaage pouch, filled with some rice.

IMG_2087 - Copy
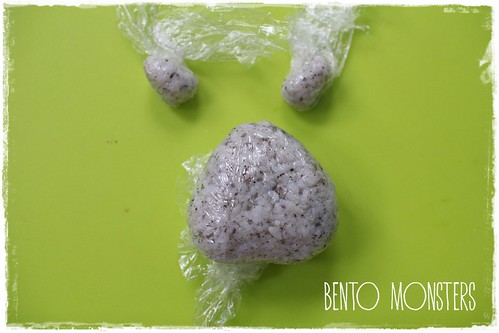
To make Totoro, colour one portion of your rice with grinded black sesame seeds. It's easier to mix while the rice is warm. Add a little at a time, till you get the light grey colour. That said, I'm often too impatient myself, always adding too much and ending up with a darker shade. -_-
IMG_2089
Using clingwrap, mould rice into triangular shape for Totoro's body and ovals for his ears. Set aside his ears.
IMG_2090
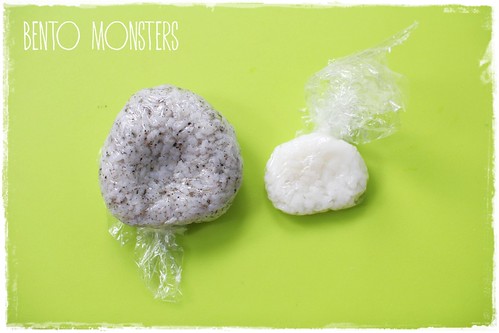
Take some white rice, place on cling wrap and mould into oval shape. Use your hands to press into the grey onigiri at where the tummy should be.
IMG_2091
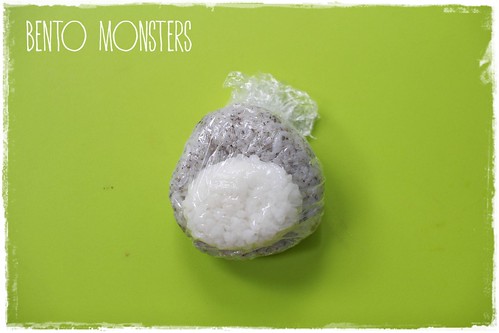
Place white oval on the grey onigiri. Wrap with cling wrap and shape it. If you want Totoro to stand up, make sure you flatten the base of the onigiri. You can do so by placing the base of Totoro on the table, and slowly use your hands to flatten and shape.
IMG_2093
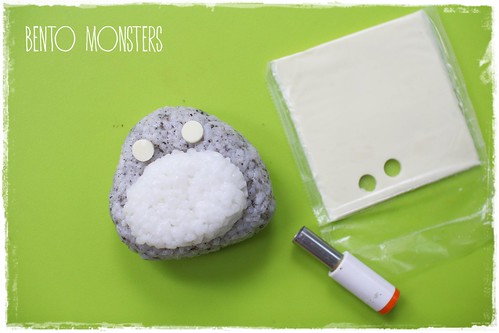
Cut out Totoro's eyes from cheese using a round cutter. You can use a big straw too, like those used for bubble tea.
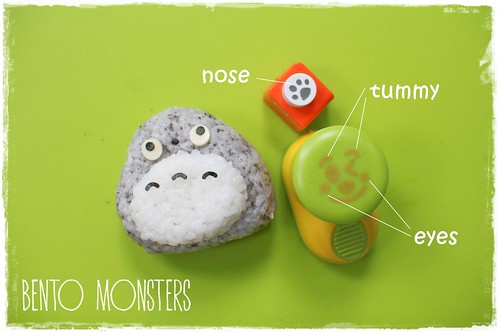
IMG_2097
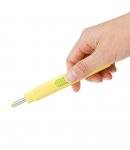
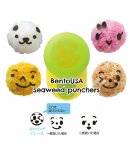
These are the punchers I used for the details on Totoro. If you do not have these, you can use a pair of sharp tip scissors to cut out the details instead. Set aside Totoro first.
IMG_2092
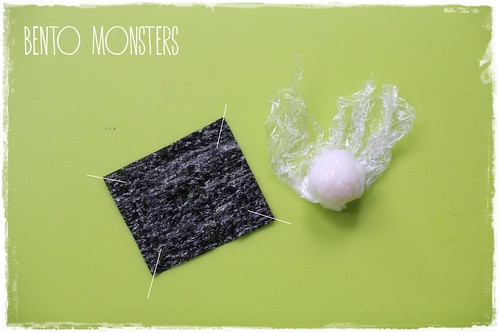
To make Susuwatari (the black soot), mould a ball of rice using cling wrap. Cut out a small slice of seaweed, make cuts at the corners before wrapping the rice in them. Cover with cling wrap and mould the seaweed rice, the seaweed will soften as you mould.
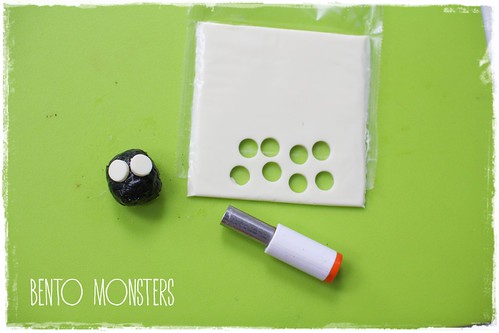
IMG_2095
Cut out eyes from cheese using a round cutter.
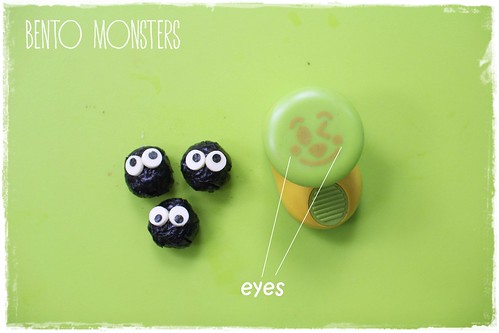
IMG_2099
The puncher I used for their eyes.

IMG_2100
I used uncooked pasta to attach on Totoro's ears and Susuwatari. The pasta will soften after some time due to moisture in the rice. You can also pan-fry the pasta in a little oil, the pasta will be crispy after frying. The ones I used for Totoro's whiskers have been pan-fried.

IMG_2106
Ta-dah, the completed Totoro. :)
Bunting---Dots-and-Stripes---Rainbow---13
Where to get same or similar items used in this post:

Monday, 13 January 2014

Hello Kitty Horse Bento

Chinese New Year is coming very soon, it's on the last day of this month! The Chinese zodiac sign for this coming year is horse, so I'm starting my first Chinese New Year bento with a horse theme. If you are interested, you can click HERE to check out my Chinese New Year bentos from previous years.

IMG_2232
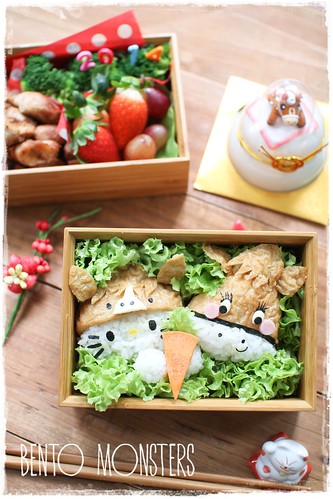
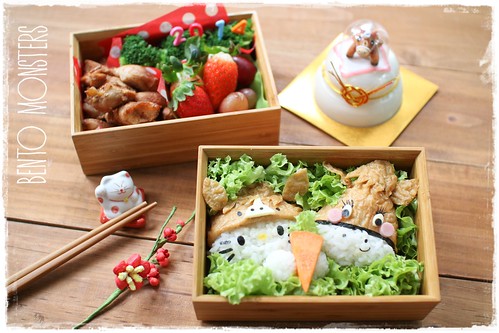
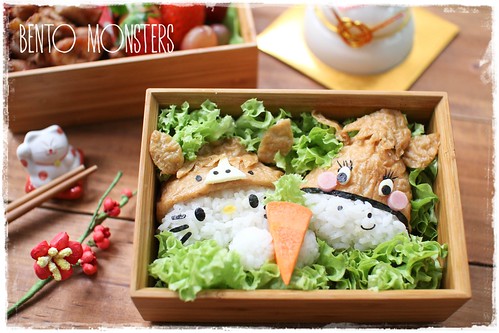
A Hello Kitty horse bento from last week. Hello Kitty is wearing a horse hat and feeding a horse carrot. I think my horse's snout is a little too big, should have made it smaller. -_-

IMG_2225
The side dishes for this meal were shio koji chicken and stir-fried broccoli.

IMG_2226
Ingredients used to create this includes Aburaage tofu pouches, cheese, nori, ham and egg sheet. :)
Bunting---Dots-and-Stripes---Rainbow---13
Where to get same or similar items used in the post: