

This time, I actually over baked them a little, not intentional, I was busy and forgotten about the time. -_-

Had wanted to packed them for a picnic, but there was a change of plans, we ended up having them for breakfast instead.
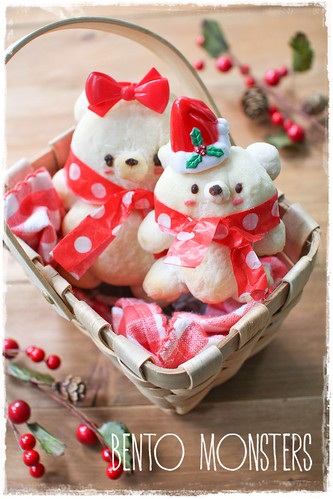
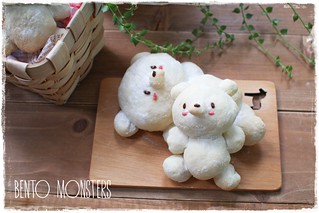
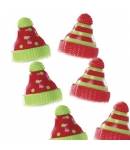
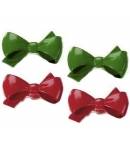
That day was Christmas Day, so I dressed them up a little. I added on scarves cut out from wax paper and some cupcake toppers. :)

Updated recipe below. :)
JAPANESE MILK BUNS BEARS RECIPE
Ingredients:
Bread Flour 250g
Instant Yeast 3g
Milk 200g
Sugar 10g
Butter 10g
Salt 3g
Method:
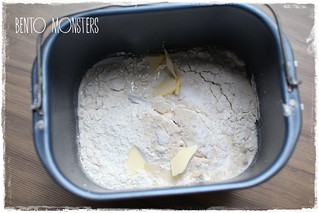
- Mix all the ingredients, except butter, in a large bowl to get a dough. Add in butter and knead until dough is springy and soft, this takes around 10 minutes. If you have a bread maker, you can just use the dough function for this step, as well as step 2.
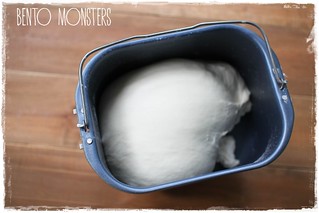
- Cover the dough with cling wrap and keep in a warm place for it to rise. This takes around an hour and the dough should double in size.
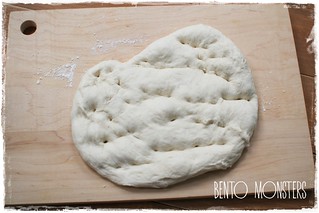
- Dust your work table with some flour, place dough on it. Punch out the air from the dough with your fist.
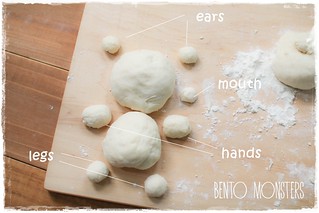
- Divide the dough into 5 portions. If you are shaping a full size bear, divide each of the 4 portions into half. Roll them out and form them into balls. For the 5th portion, divide it into small parts for the ears mouths, legs and hands. Cover with cling wrap and let the dough rest for 15 minutes.
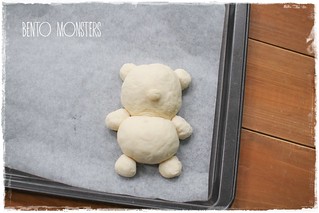
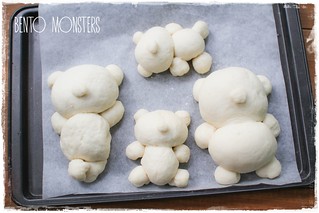
- Roll out bread dough and shape them again, place them on a baking tray lined with parchment paper.
- Cover with cling wrap and let dough rise for 40 minutes.
- Preheat oven to 190 degrees celcius, turn it down to 140 degrees before placing in the bread at middle rack. Bake for around 15 minutes.
- Add in details using chocolate.
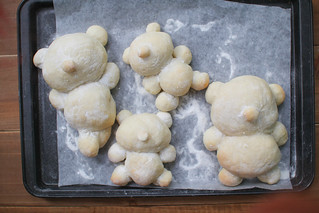
- If you want the buns a little brown, you can bake them at 170 degrees celcius instead.
- As an added precaution to make sure the buns remains white, you can also place in an aluminium sheet to cover them halfway through baking.

Where to get same or similar items used in today's post:


They are super cute in the baskets Ming!! Thanks for the tutorial, it's always easy to follow.:)
ReplyDeleteTk u, Rina. :)
DeleteThis looks great! They look so festive! I also made something similar to this but haven't posted yet.
ReplyDeleteTk u, Jean. :)
DeleteThat's too cute! Thanks for the tutorial! <3
ReplyDeleteTk u, Maja. :)
DeleteHi..may i know u are using baked for this recepi.can i use steam method instead of baked? Because i dont have oven.from tracy
ReplyDeleteHi Tracy, sorry, I'm not 100 % sure, but I think this might not work as well if steamed as it's a bread recipe.
Delete