Tuesday, 15 September 2015

Paper Doll Sandwich

Have you played with paper dolls before? Paper dolls, as the name implies, are made out of paper, and comes with different clothes and accessories for you to play around. It's one of my favourite thing to play with when I was young, I remember spending part of my pocket money buying them from school bookstore then. Do they still sell them now? I have not seen them around, but I've not actually search for them.
IMG_4420
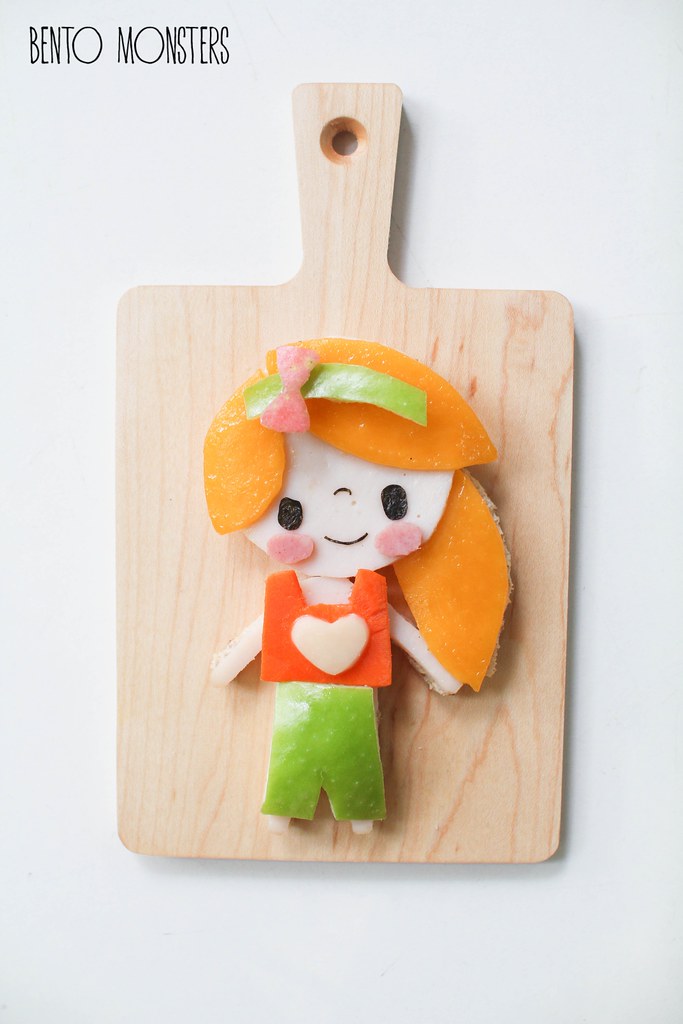
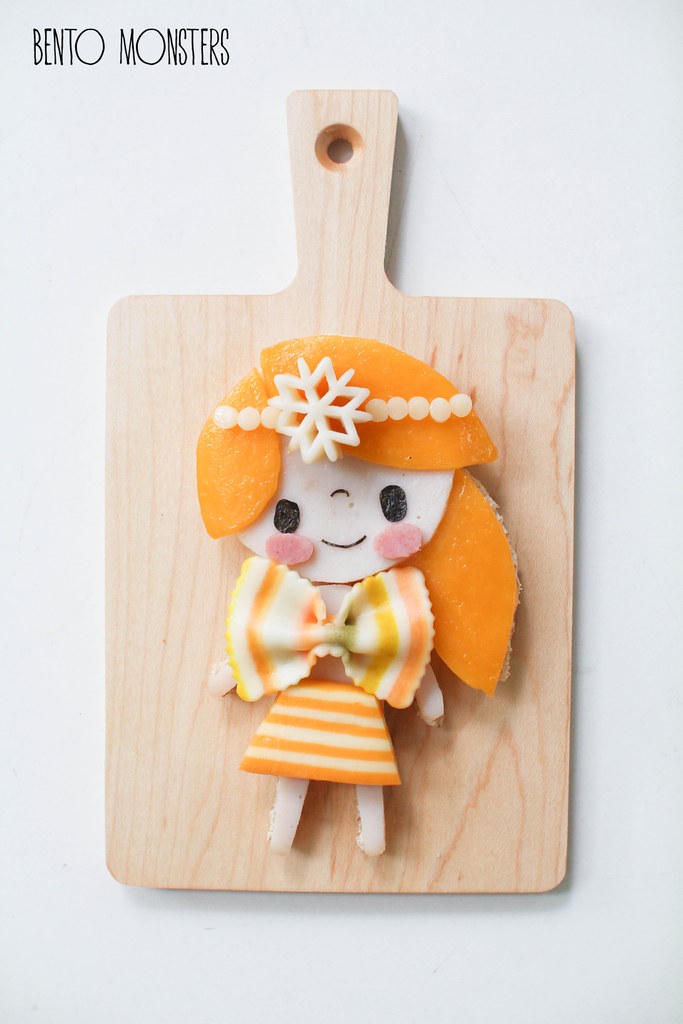
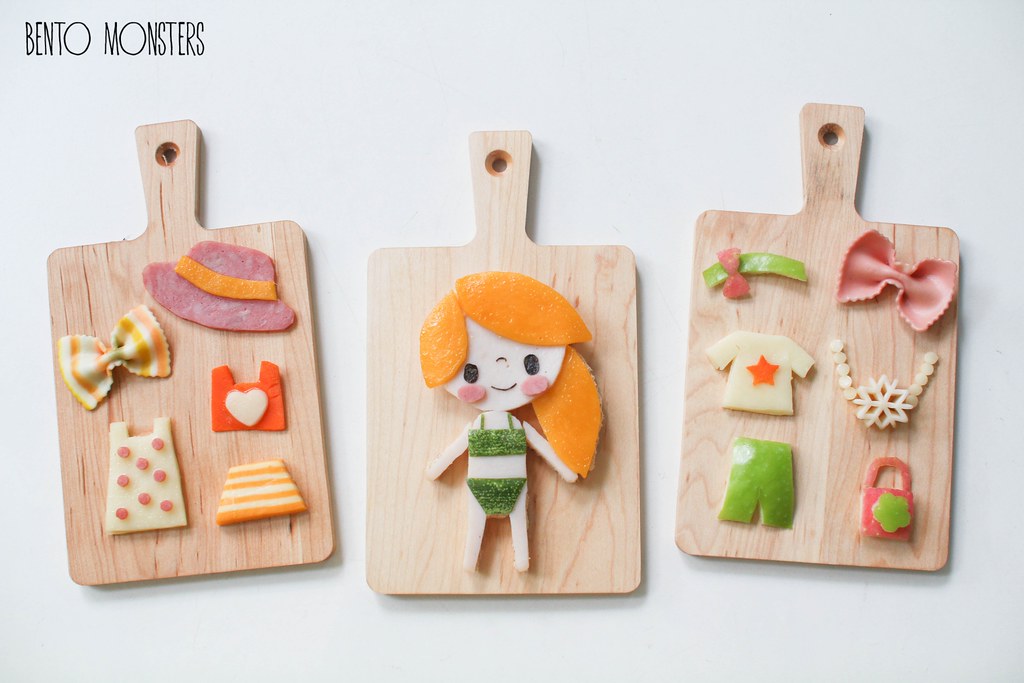
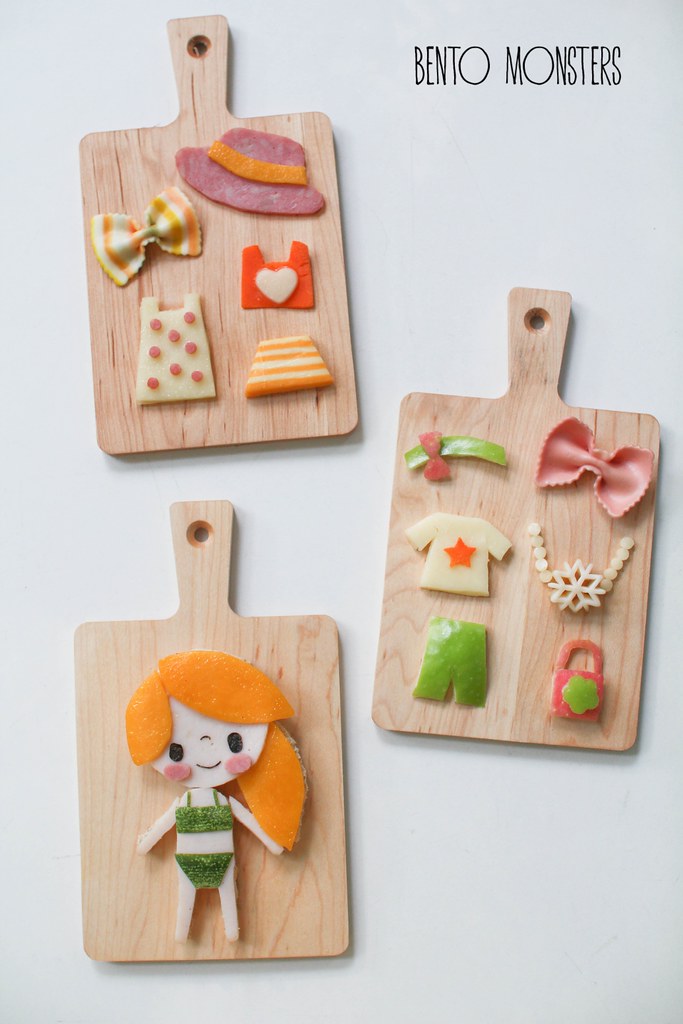
This sandwich that I am sharing today, is inspired by the paper dolls I love to play with as a child. The gal is actually a ham, cheese and cucumber sandwich, there's a slice of bread under the ham. I made her outfits and accessories out of ham, cheese, carrot, apple and bow pasta.
IMG_4424
I shared this with LT for snack time in the morning, IT was at school then. We dressed the gal up in a few outfits, before we ate her, lol.
IMG_4430
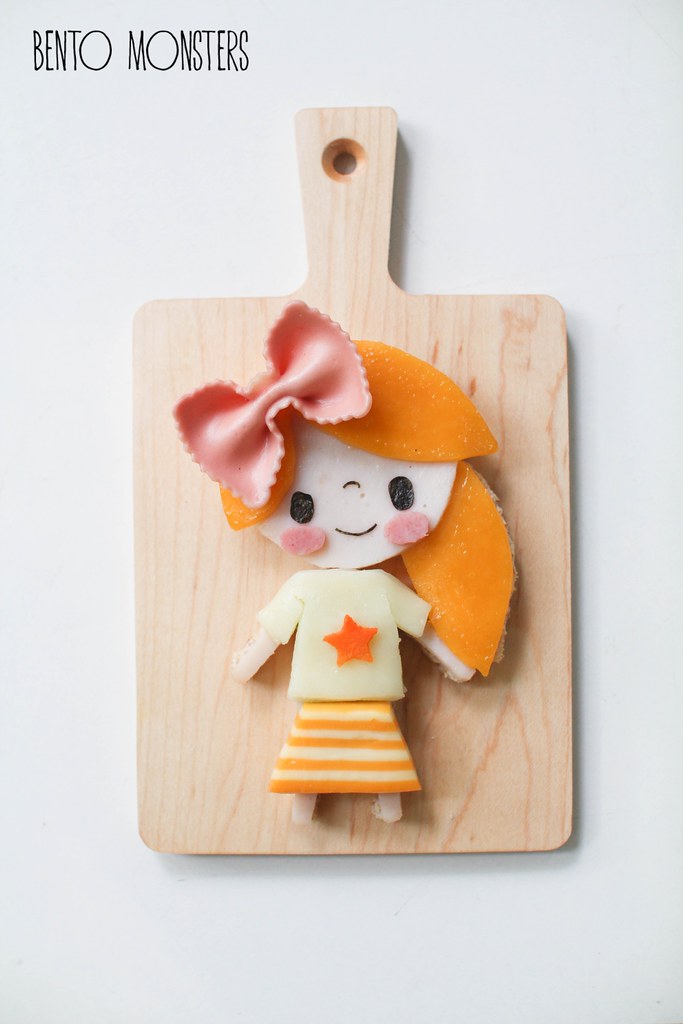
The first outfit we put on her.

IMG_4433
This second one reminds me of Aladdin, lol.

IMG_4437
I like this outfit the best.

IMG_4439
The last outfit we put on her, I think she looks a little like a fairy in this. 

Sunday, 13 September 2015

Roald Dahl Matilda Food Art

It has been a long time since I last took part in a bento hop with my fellow Bento Bloggers & Friends. For the benefit of those who are new to this, a bento hop is when a group of bento bloggers get together and create certain thematic lunches. Then we schedule to post them at the same time on our individual blogs and include a hop button. Readers can simply move and hop from one blog to the next to see all the lunches by clicking on the hop button. It's a great way for you to get many ideas related to a certain theme.

IMG_6316
This is the third time I'm taking part in a Roald Dahl themed bento hop. You can check out my creations from previous years here. This year, I decided to make Matilda. Matilda is my second favourite book by Roald Dahl, my favourite is Charlie and the Chocolate Factory. We own a couple of Roald Dahl's books but not Matilda. The boys didn't want me to buy the book simply because it's about a girl. But they did read a copy of the book, which I borrowed from the library a few years ago.

IMG_6318
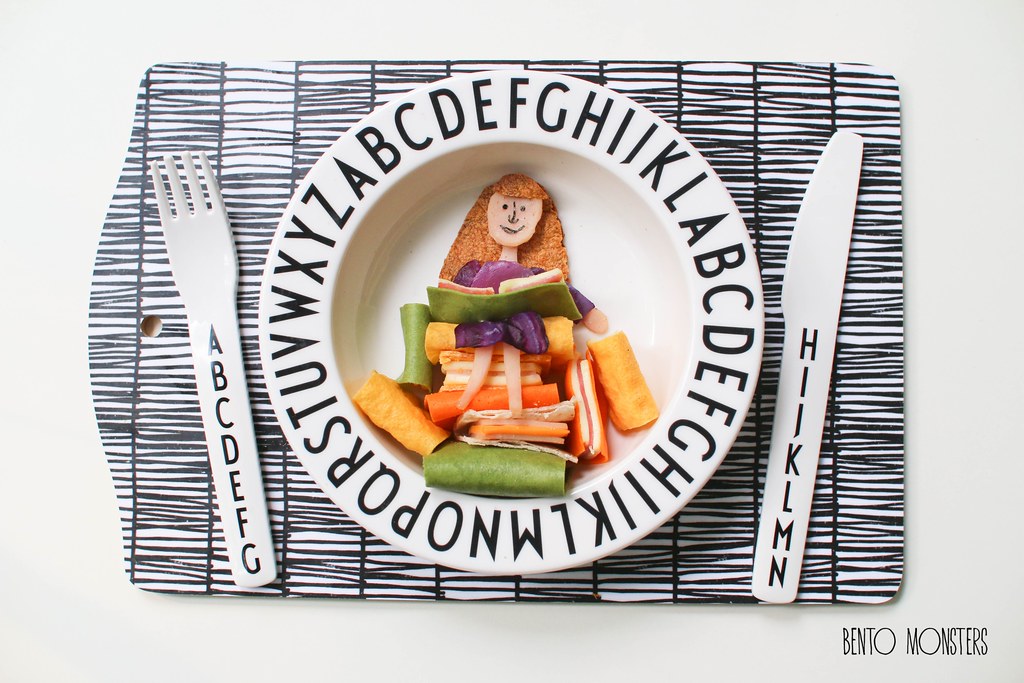
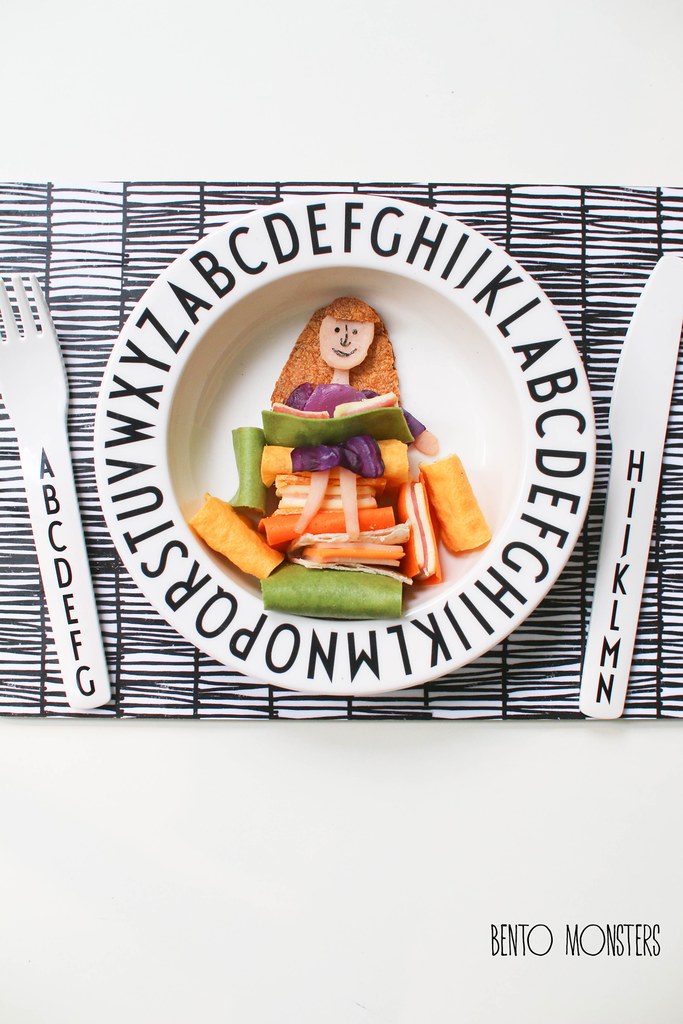
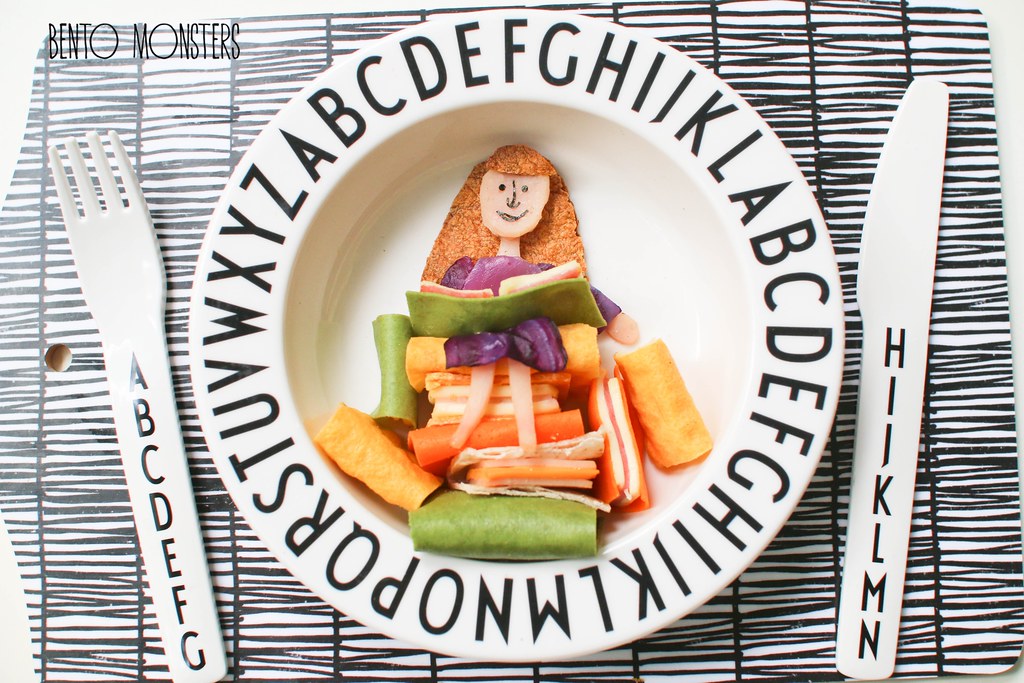
This Mathilda food art was made out of ham and cheese wrap. The coloured wraps were soy wraps made from spinach, carrot and turmeric, the wraps were filled with ham and cheese. Mathilda's hair was made out of a toasted wrap and I used red cabbage for her dress.

IMG_6315
I made this just before I took a one week bento break, as my boys were having their school holidays. I've to confess I was not happy with how this turned out, I can't really pin-point what is wrong, it's just different from what I had visualize. I was contemplating whether I should drop out of the bento hop as I would not be able to rush out another one in time. But in the end, I decided to still share it, since I already made it.


Now, are you ready for more Roald Dahl lunches? Just click on the picture above, hop over to Keitha's Chaos, and check out her awesome Roald Dahl lunches. :)

Friday, 11 September 2015

Hot Dog Bread Bun

I'm staying up to wait for the results of our General Elections today, very happy with the sample vote counts results so far. What I've been seeing on social media the past week got me a little worried about this year's election results but looks like what's popular on social media is not what's popular at the ballot box, the sample vote counts look very promising so far. :) Since I'm sleeping late, I might as well update my blog with a tutorial post. But before that, I would like to thank all of you who have purchased a copy of my bento book and I hope you like it. My bento book just came out on the 8th of September in U.S.,  I've not seen the actual book yet, still waiting for my copies to arrive. For those who are interested to know more about my bento book, you can see my post here for more information, as well as a list of sites to purchase it.

IMG_5098
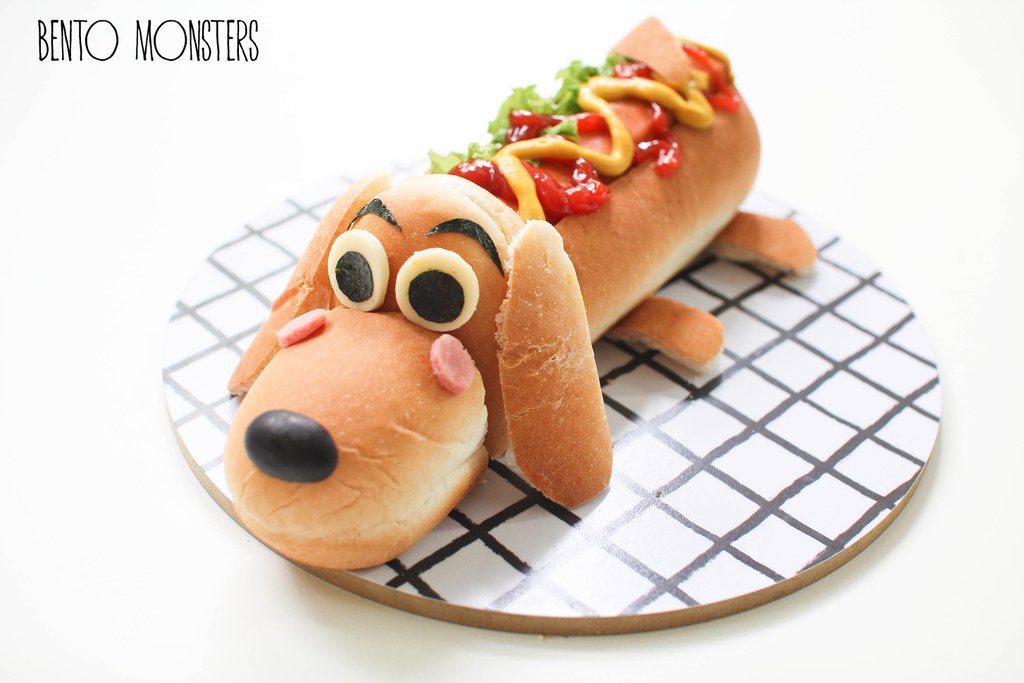
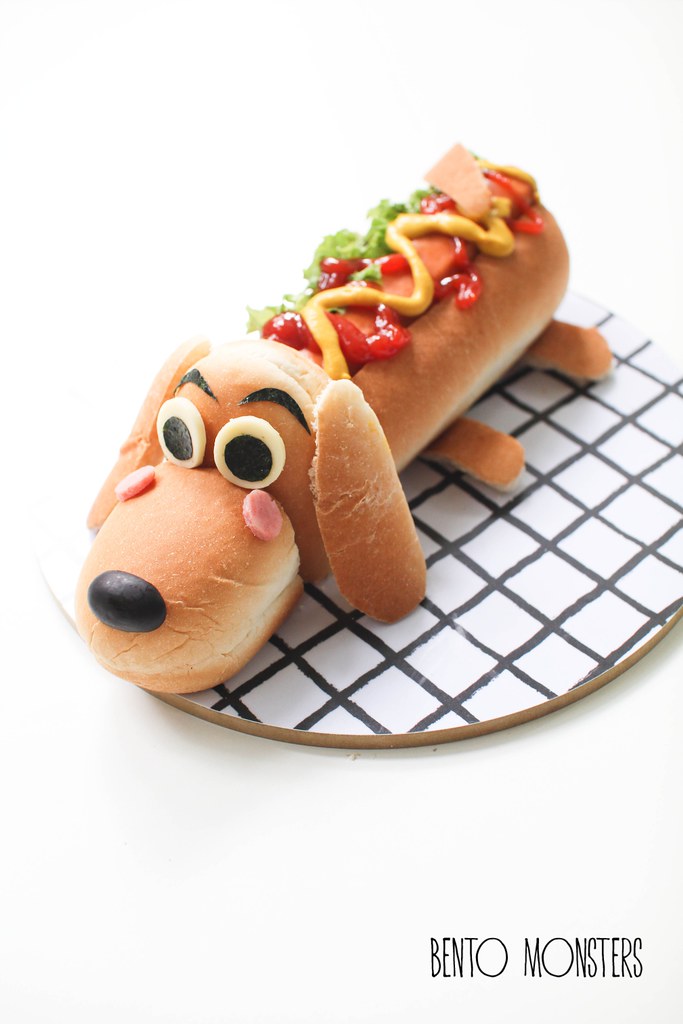
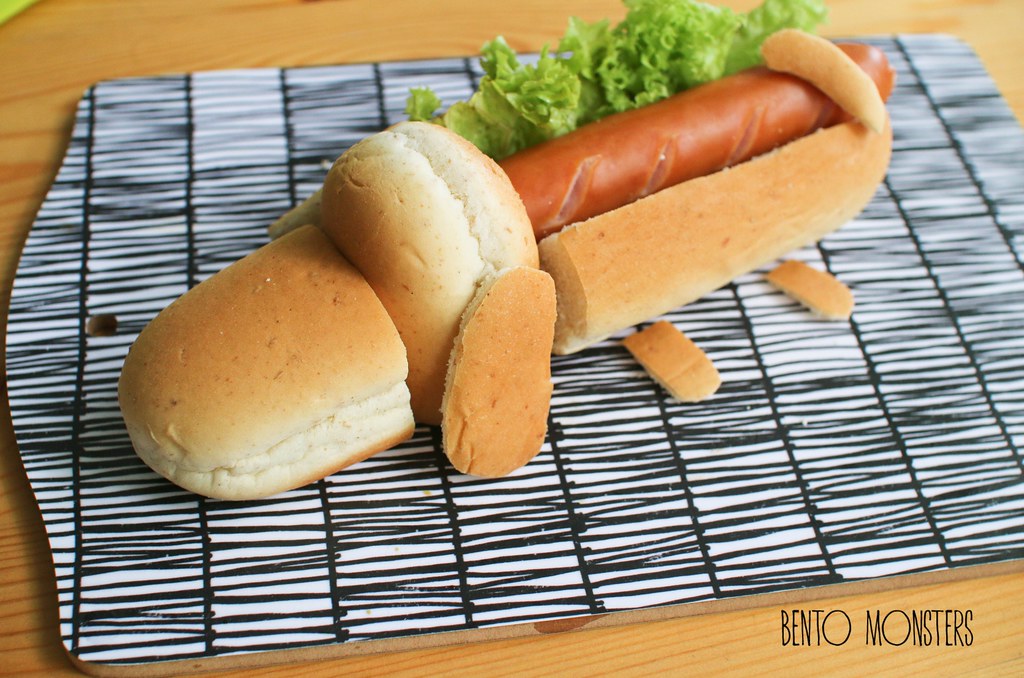
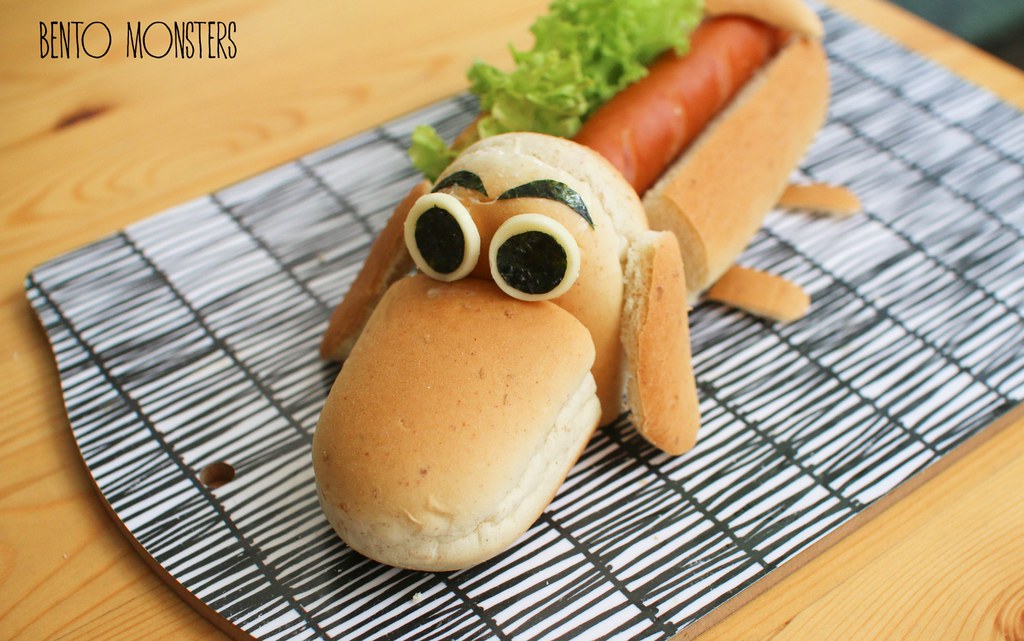
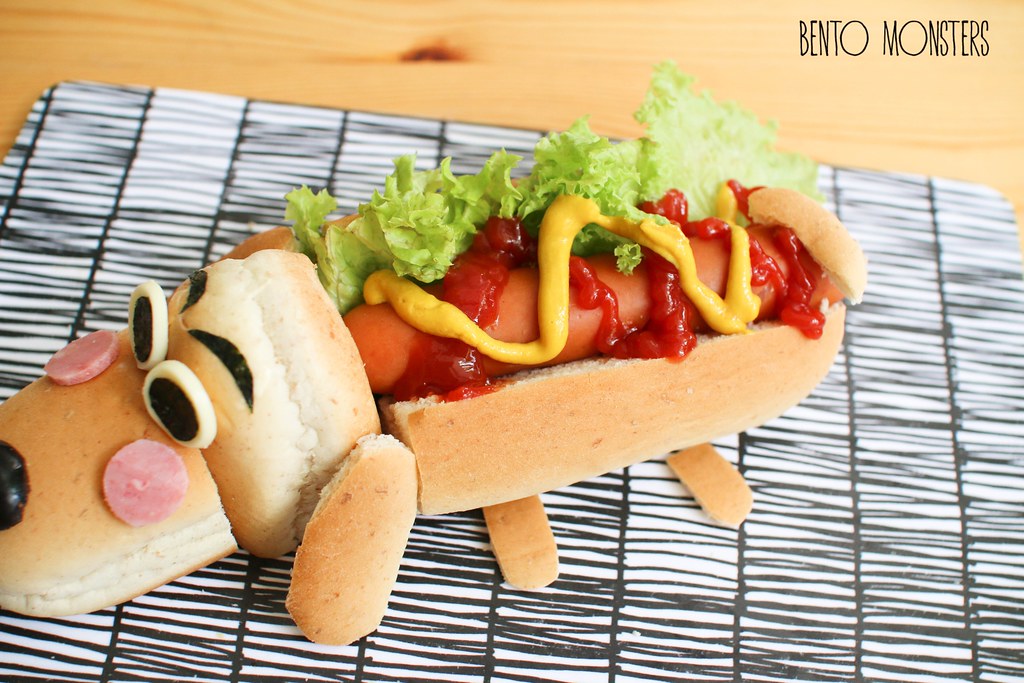
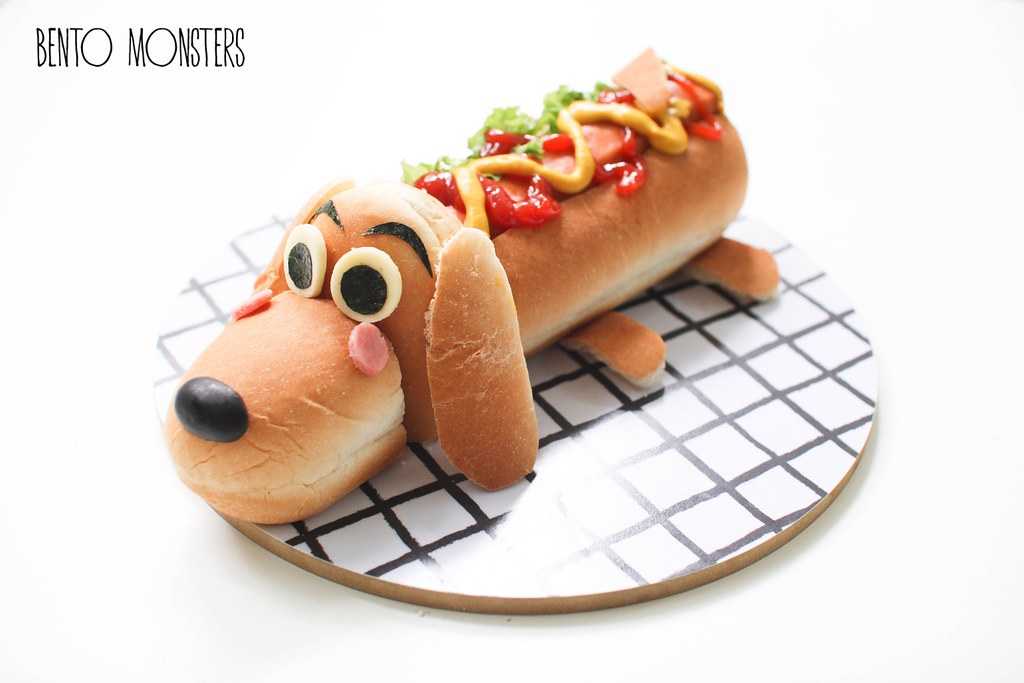
Okay, back to the food art I'm sharing today, a hotDog literally, lol. I like how it turned out and my boys thought this was quite funny.

IMG_5116
My boys love hot dog buns, IT loves his with ketchup and mustard, while LT just wants lots of ketchup on his. They are always happy to see this on the menu, but sausage isn't healthy, so I do try not to let them eat this often.
hotdog
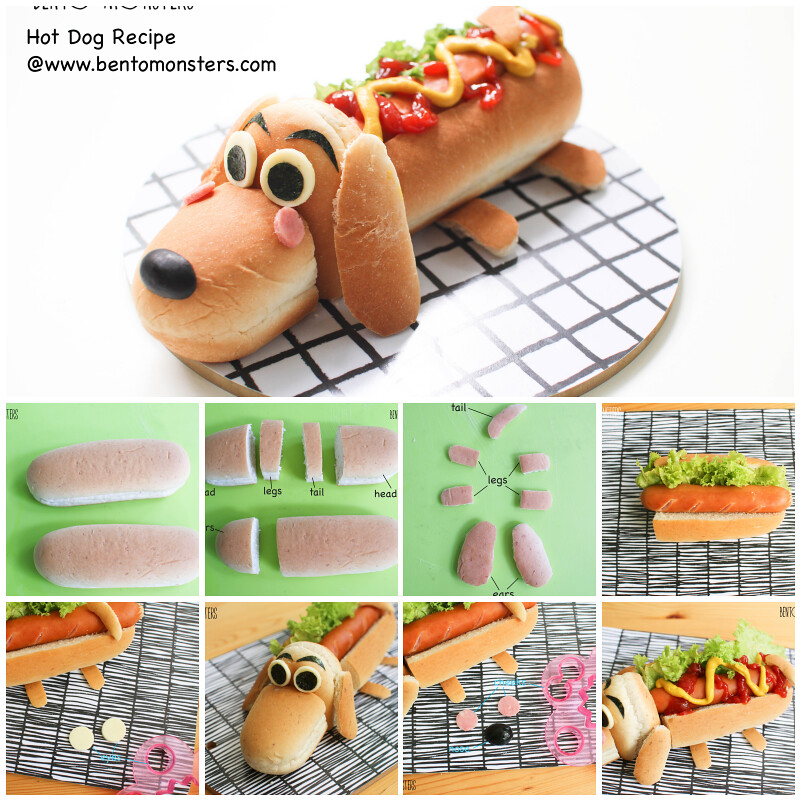
This hotDog is quite easy to make, I did take the step-by-step photos to show how I made it and I hope you can give it a try. :)

IMG_6093
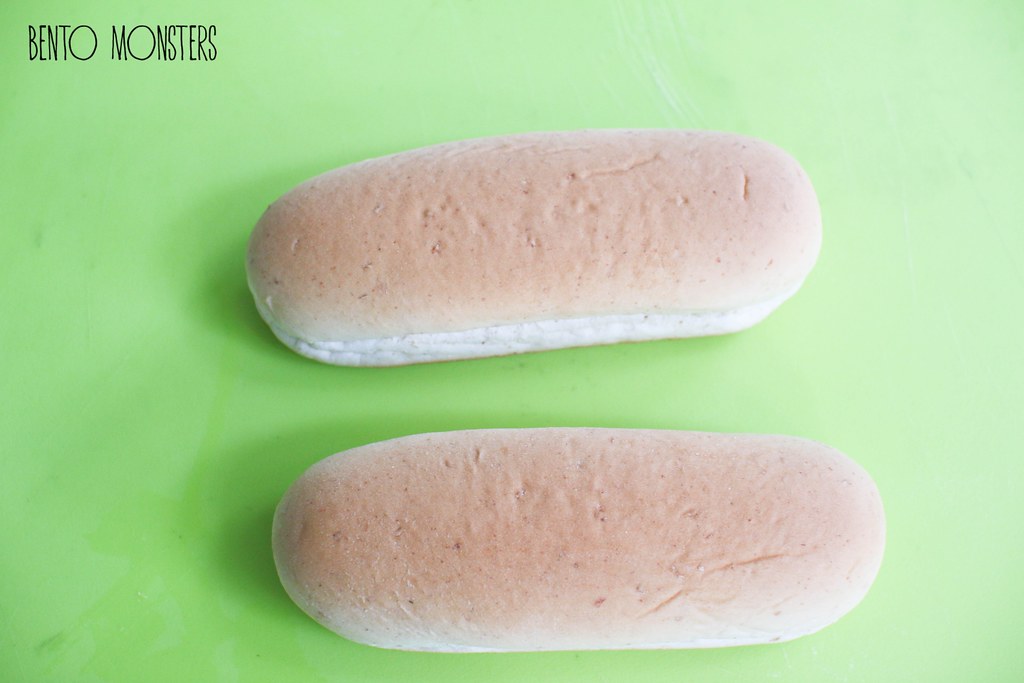
You will need two hot dog buns.
IMG_6094
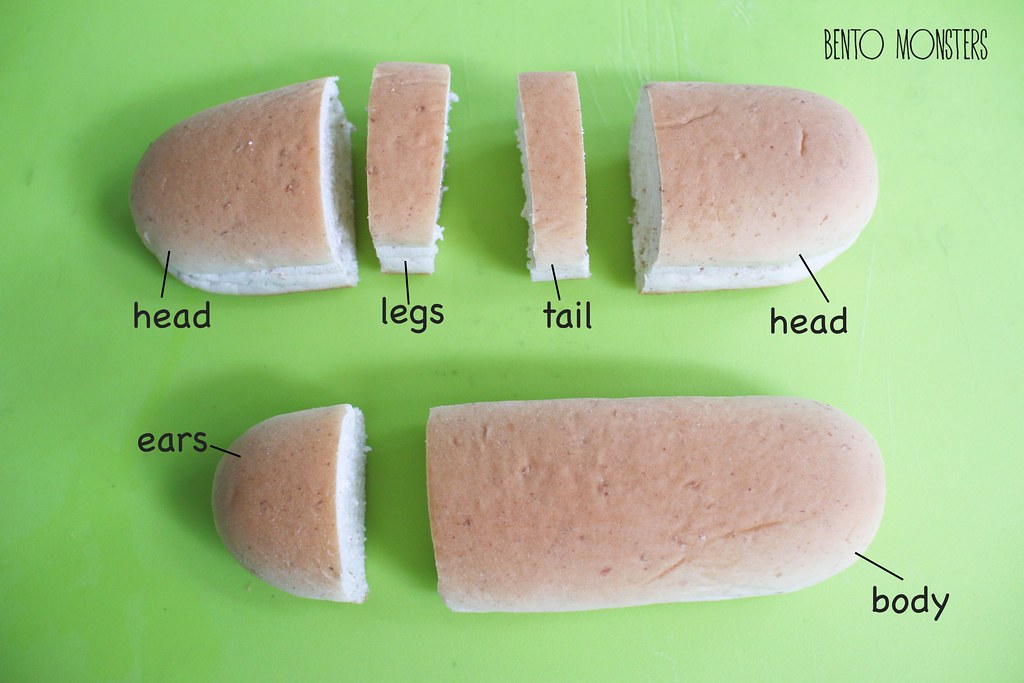
I'm showing you how I cut out the various parts to minimise wastage. I don't throw food cut-outs away, I sometimes eat them myself (I'm trying not to do that often, it's probably one of the reason why I've problem losing weight.-_-), but most of the time I use them in the ways I've wrote about in this post. Okay, the head and body portion is self explanatory. But to make the legs, tail and ears, I used a knife to slice off the crust portion. To make the legs and ears, I also used the bread crust from the bottom.
IMG_6095
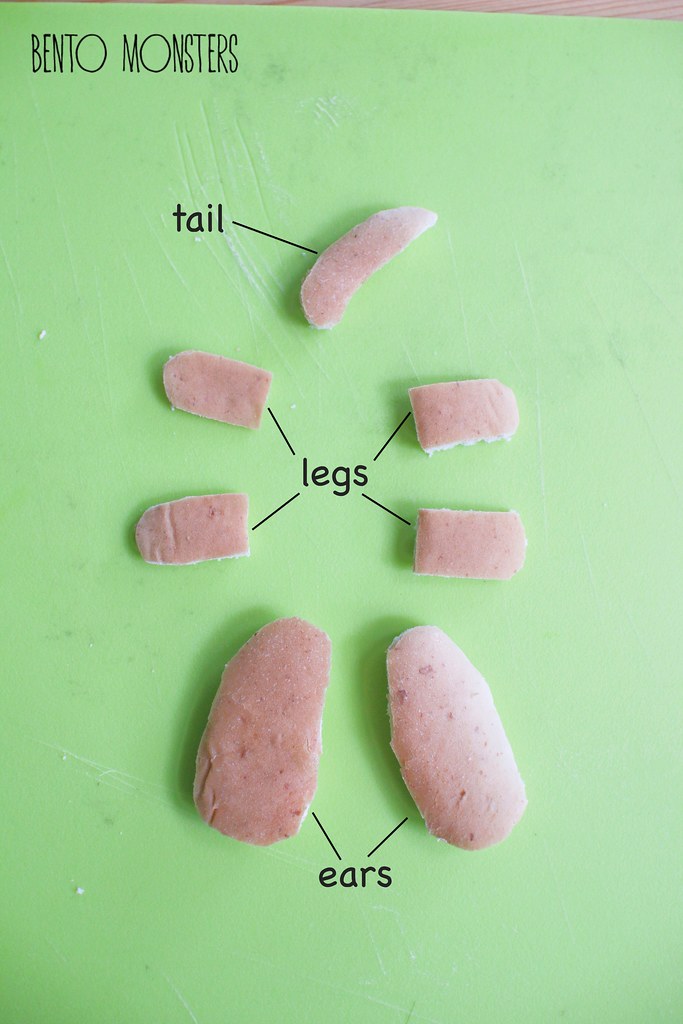
Here's roughly how you should cut out the ears, legs and tail.

IMG_6096
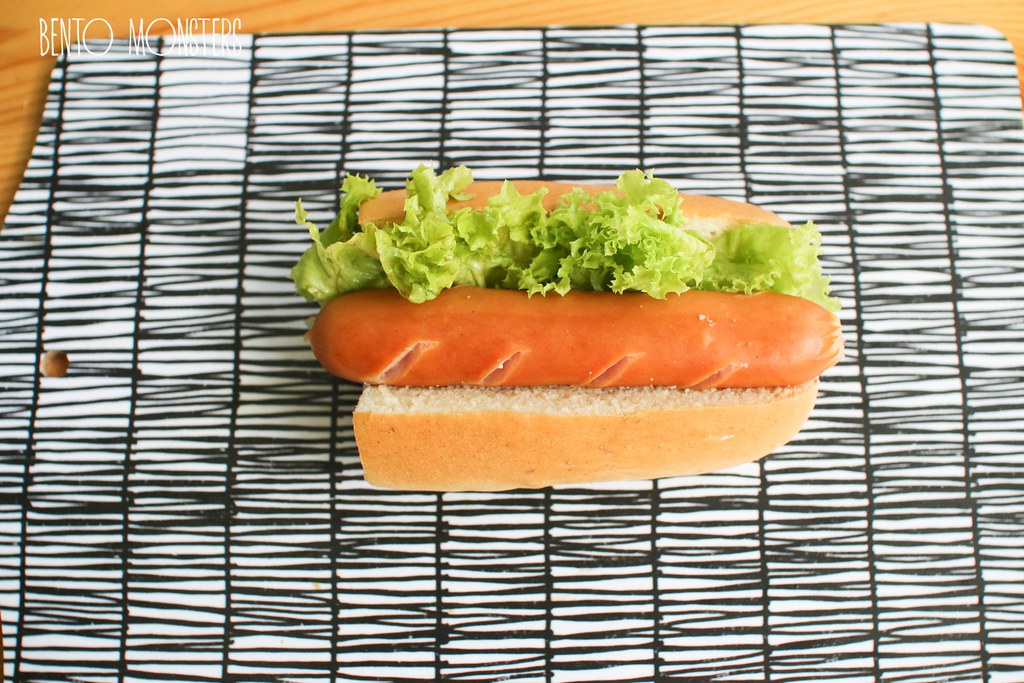
Take the body portion, slice the buns half way through lengthwise and fill with sausage and lettuce.

IMG_6097
Assemble the head and ears, you can secure the parts using pasta sticks. I only used pasta stick to secure the ears, since this is to be placed on a table of eating, the head portion won't shift.

IMG_6104
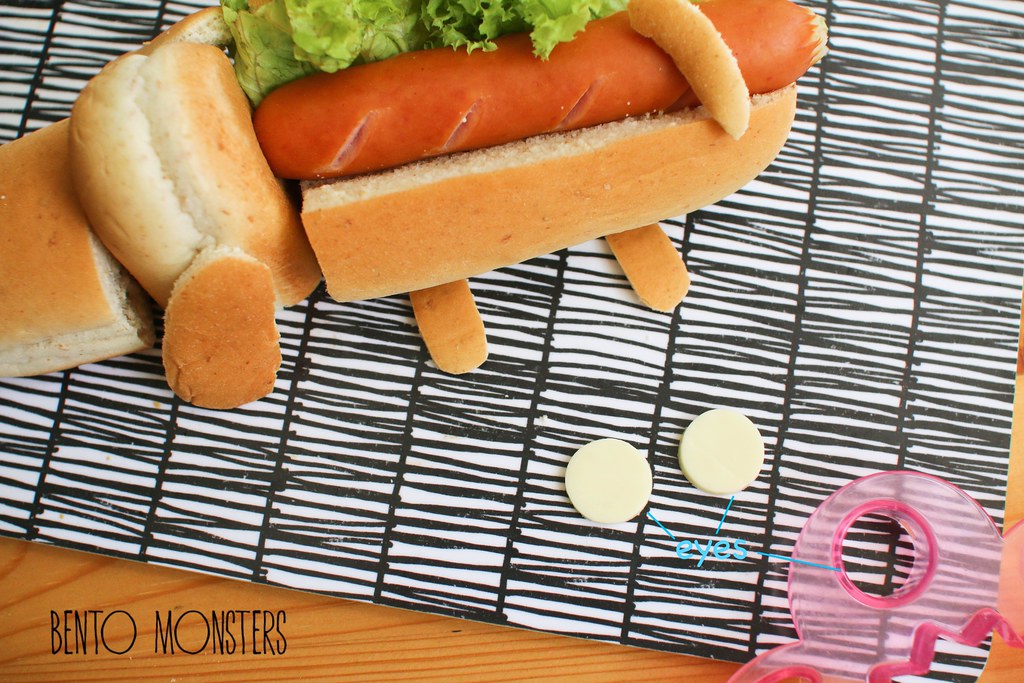
Assemble the legs by placing them under the hot dog bun. Using a round cutter, cut out cheese for the eyes.

IMG_6106
Using a pair of scissors, cut out the eyes and eyebrows from nori. Fold nori in half before cutting, that way you will get a pair of the cut-outs. If needed, use some mayonnaise to "stick" the cut-outs onto the bread buns.

IMG_6107
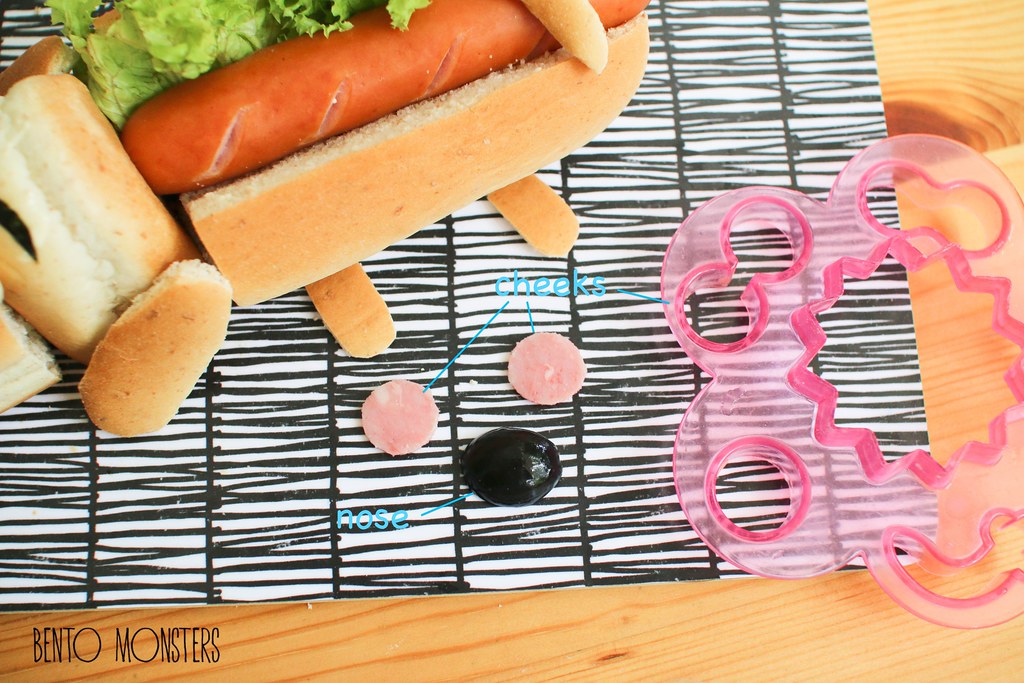
Using a round cutter, cut out ham for the cheeks. I used half an olive for the nose. Attach them onto the bread buns using pasta sticks or you can also use mayonnaise to "stick" them on.

IMG_6109
Squeeze out ketchup and mustard on the sausage before serving.

IMG_5112
I had another sausage at the side for the boys to eat with the head portion, else they might complain there's not enough sausage, lol. :P

Tuesday, 8 September 2015

Rilakkuma & Kiiroitori Sushi

I love making sushi lately, if you have been following me on Instagram, you would have seen the many different ones I've made. It's great for days when I'm feeling lazy (which is almost all the time. -_-). I usually just serve them on a sushi board, as it saves me the trouble of arranging the side dishes in a bento, but they are perfect for packing in bentos as well.

IMG_4661
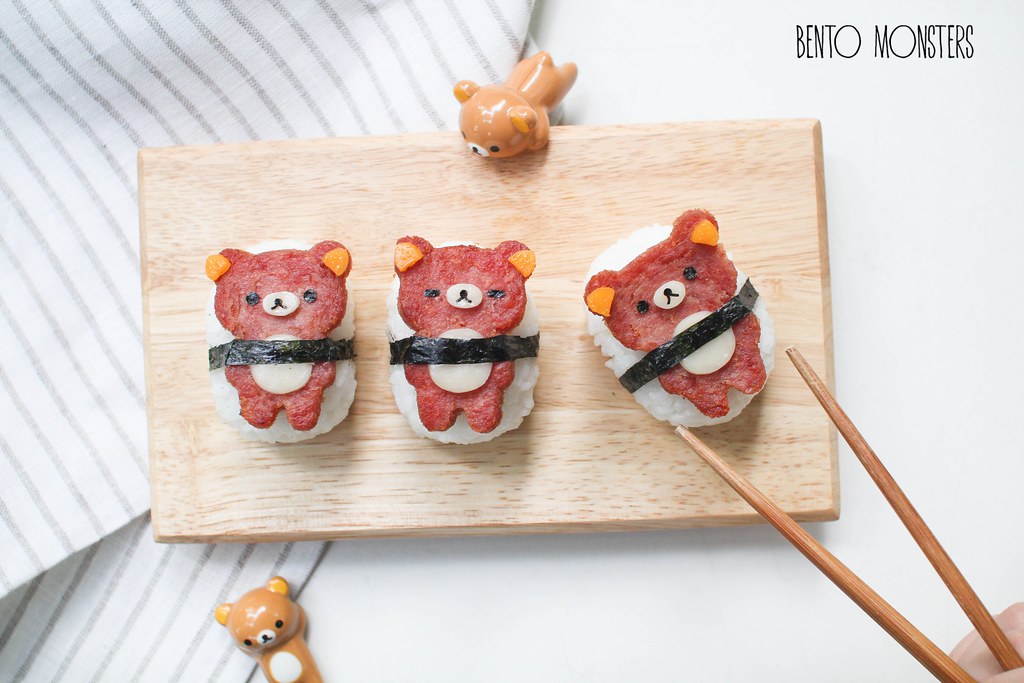
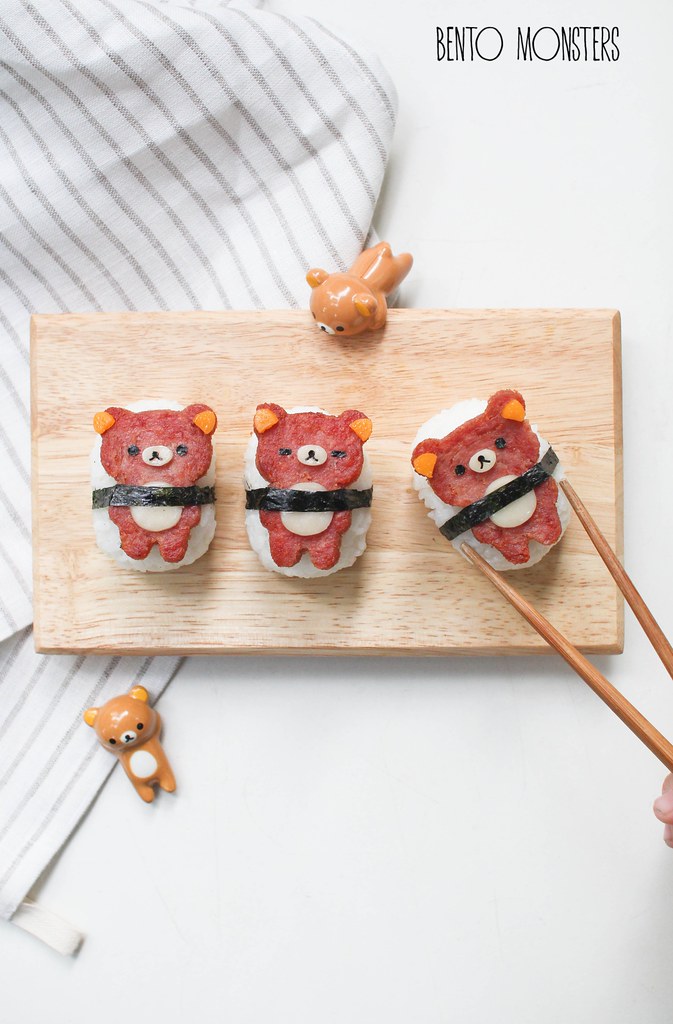
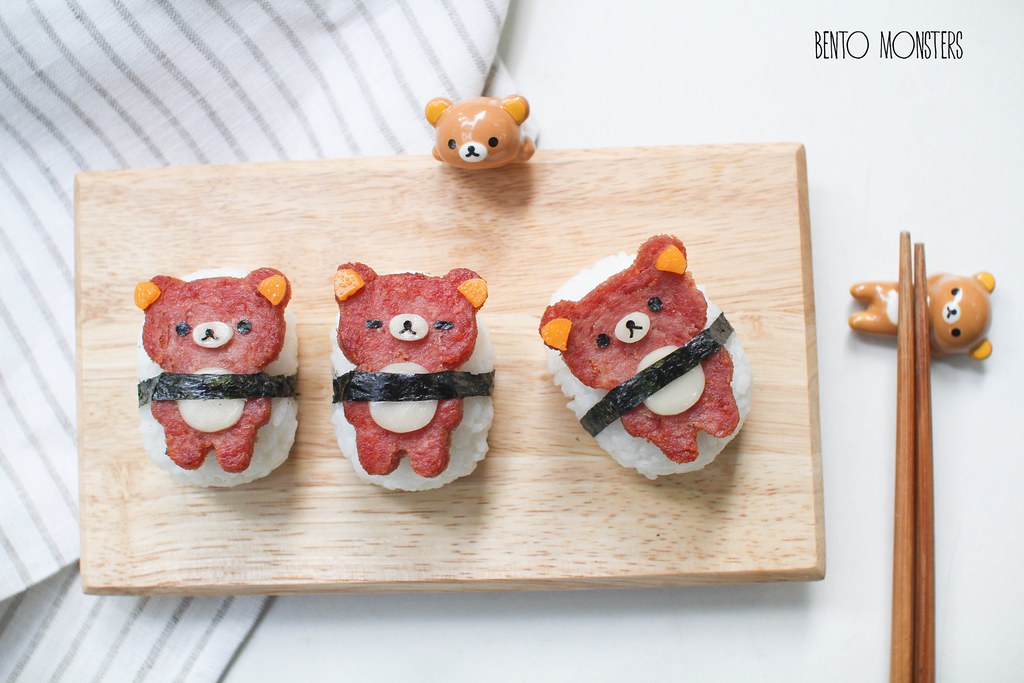
Spam musubi, a popuar Hawaiian food, which composed of a piece of grilled Spam on top of rice. So sinful but anything with Spam just tastes so good.

IMG_4660
I used a Rilakkuma cutter to cut out Spam first, before pan-frying them till brown.

IMG_4664
The details were done using two different coloured cheese and nori.

IMG_4679
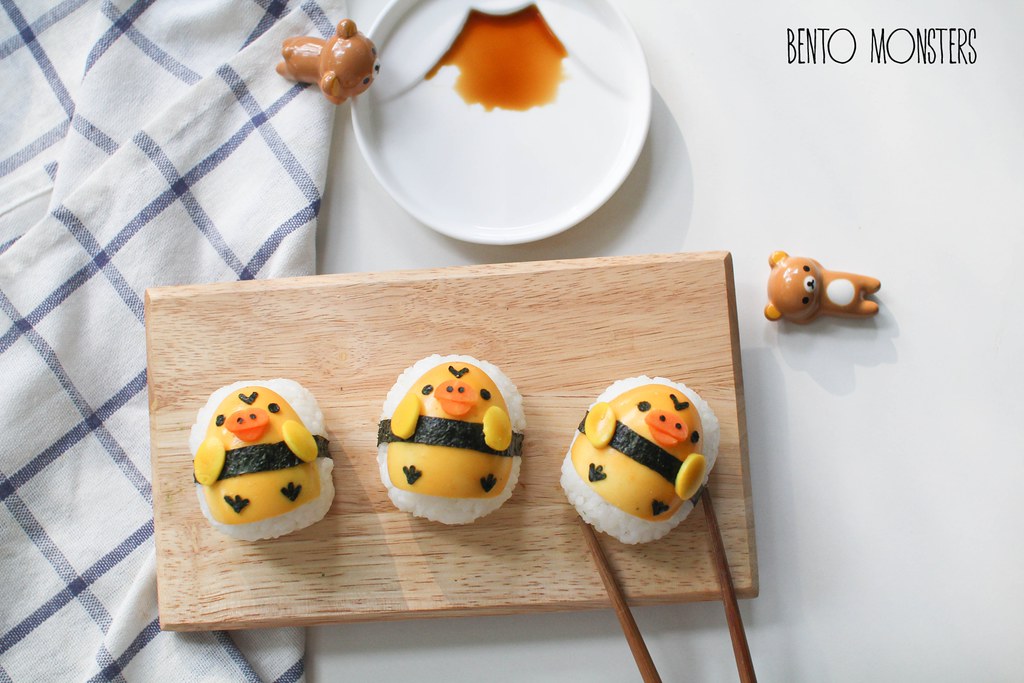
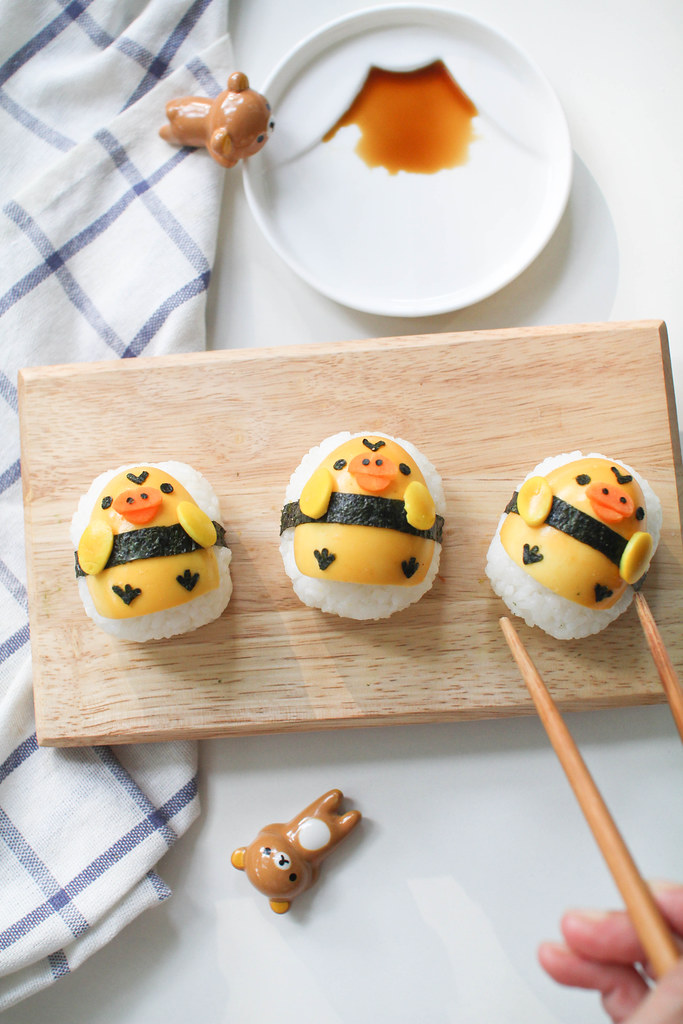
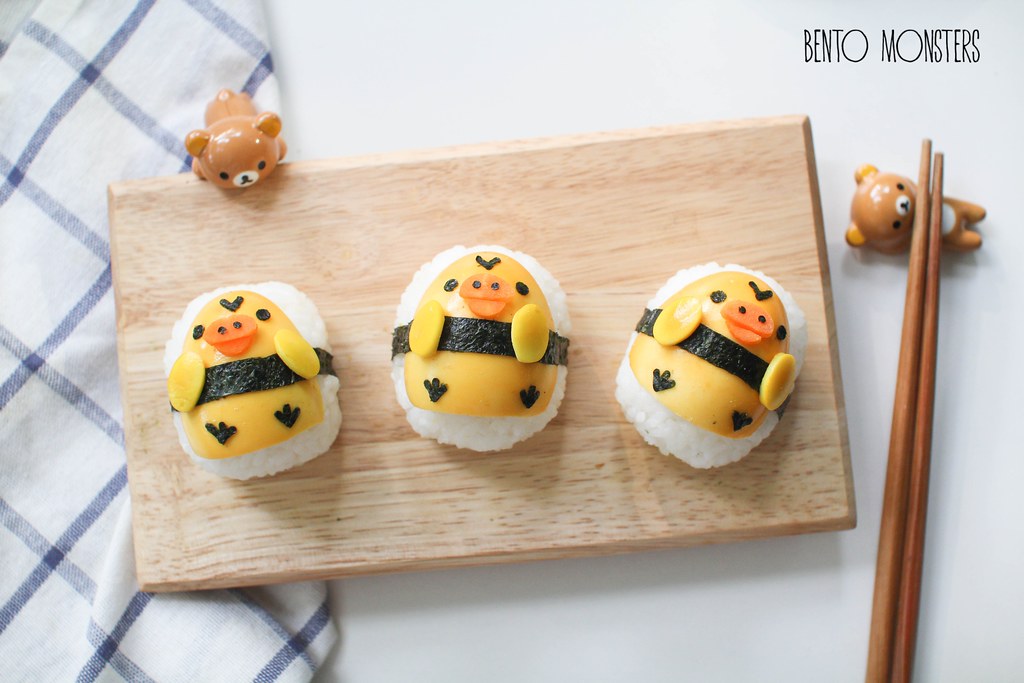
I've seen Kiiroitiori sushi made using tamagoyaki before, but I decided to use hard boiled egg for mine instead. I soaked the hard boiled egg in turmeric water to get the yellow colour.

IMG_4682
I sliced the hard boiled egg in half so it sits better on the rice. Can you spot the Mount Fuji saucer? Love the design, but it's a little tricky to pour the soy sauce in nicely. Maybe it's because I've butter fingers, lol. Sometimes I find it difficult to reprimand the boys for being clumsy, like knocking over the glass of water on the table, because I accidentally do it too at times, oops.

IMG_4686
Ingredients used for the details here were just carrots and nori. I attached on his wings, which was cut out from quail egg, using pasta sticks. Similarly, the carrots were attached on the same way, I'm using cooked carrots here so they are soft. If you are using raw carrots, you can spread on a little mayonnaise, so they will "stick" onto the egg.

Friday, 4 September 2015

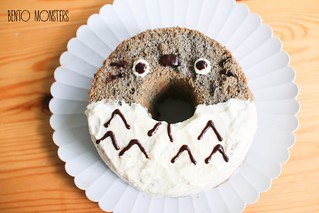
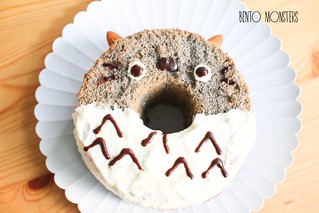
Totoro Black Sesame Chiffon Cake

It's quite a happening week over here in Singapore as our General Election are upcoming. And my boys are having a one week school holiday, happy to have a break so I can sleep a little longer every morning. I will be taking a break from making cute food next week, but you will probably still see me posting both on the blog and on Instagram, as I still have things on backlog to share.

IMG_5890
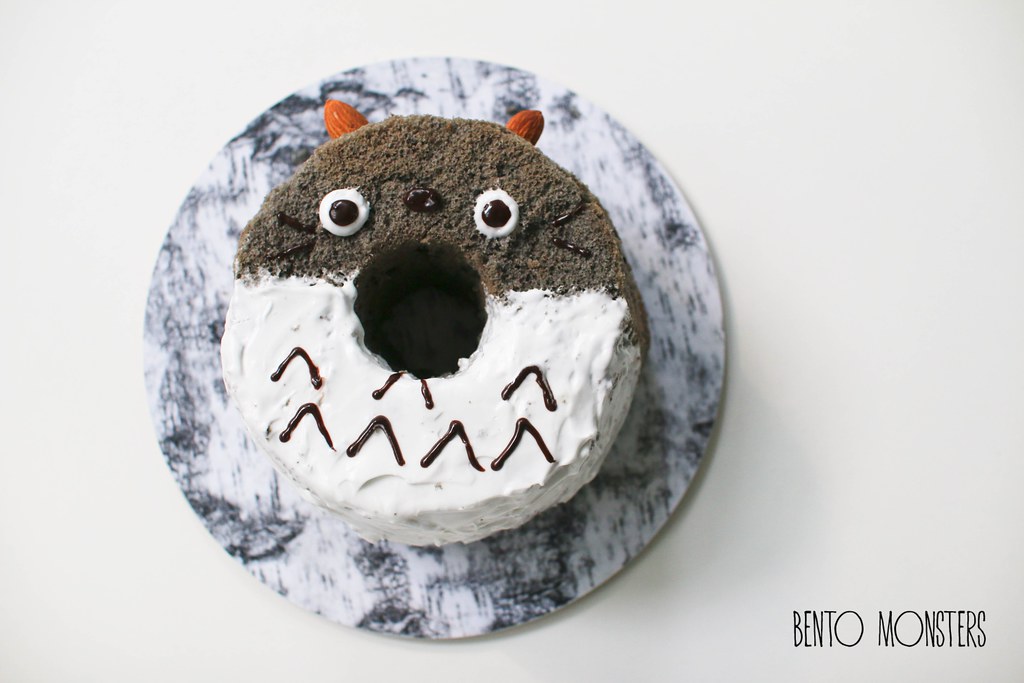
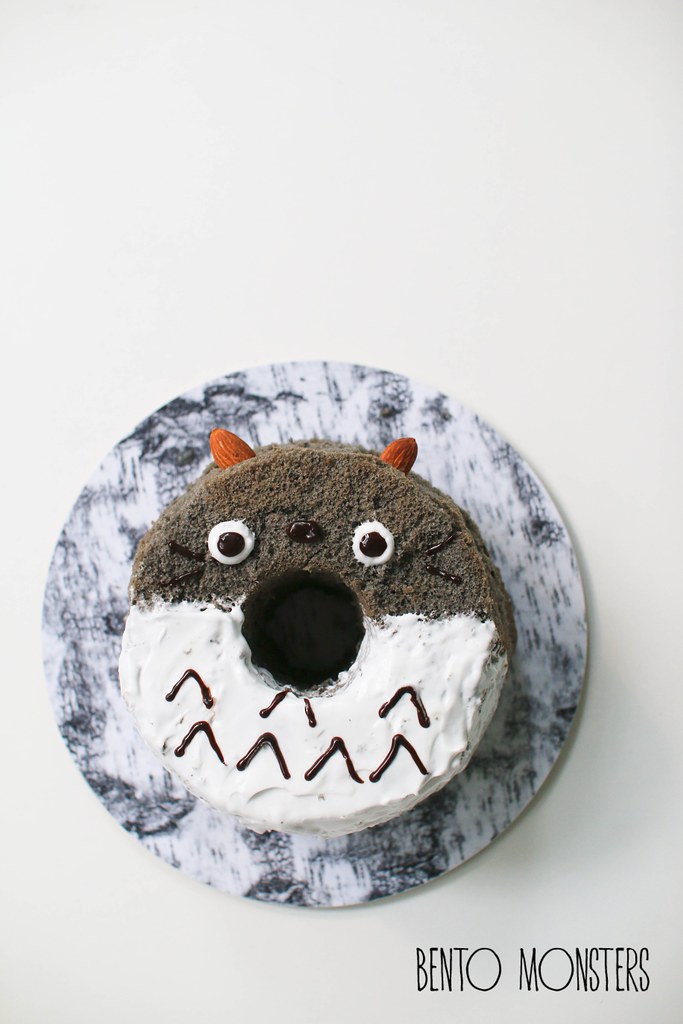
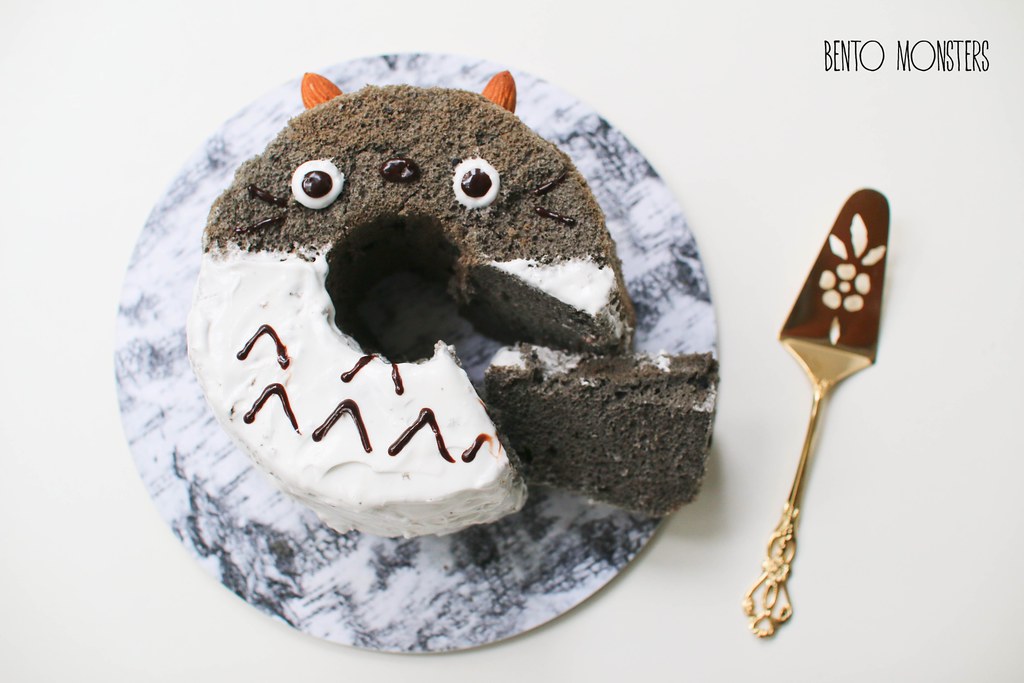
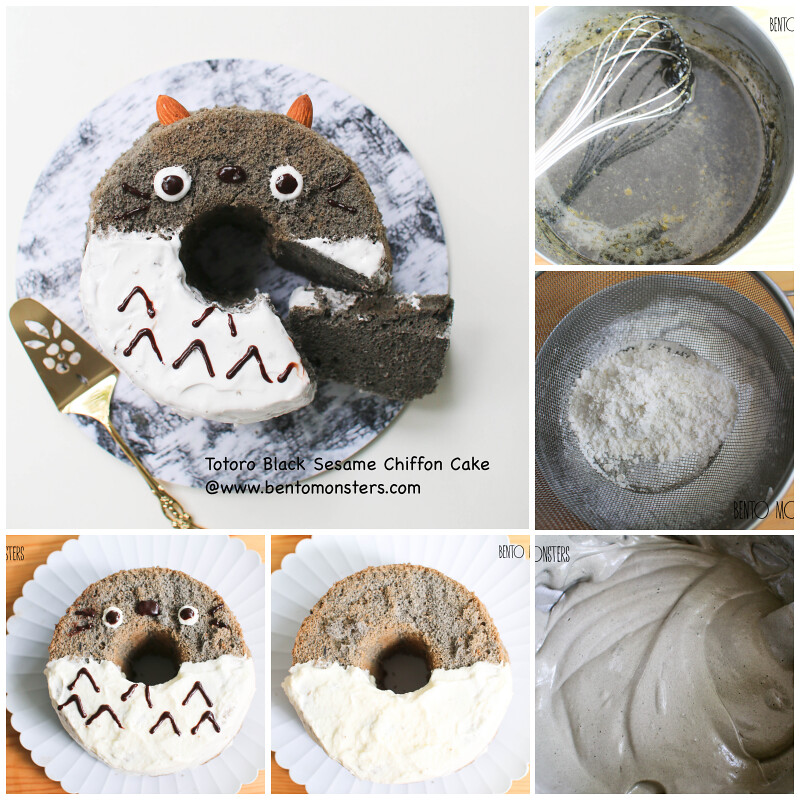
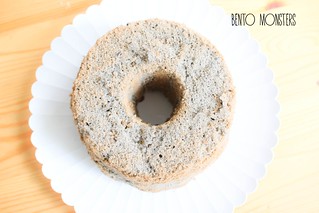
It's been so so long since I last made a chiffon cake. Chiffon cakes are one of my favourite, love the light airy texture. And looking at the ingredients used as compared to other cakes, it also seems slightly healthier. This time, I tried making a black sesame chiffon cake, and then I decorated it into Totoro. :)

IMG_5893
I love black sesame and IT does not mind it. However, black sesame bakes can be a hit-and-miss thing with LT. He does not really like the taste of black sesame, if it's too overpowering, he'll probably refuse to eat anymore after the first bite. But he is fine if the taste is more subtle, and I guess the taste of this cake lean more towards subtle, as he was okay with eating the cake. I think the whipped cream helped too.

IMG_5907
LT started singing the song from Totoro when he saw the cake. -_- My boys loved the bottom half which was covered with whipped cream, I regretted not keeping some of the leftover whipped cream to serve with the top half.

totorocake
I'm sharing the recipe of the cake below. Hope you like it. :)

BLACK SESAME CHIFFON CAKE

Ingredients:
3 egg yolks
20g caster sugar
30ml fresh milk
20ml corn oil
30 g black sesame paste
48g cake flour
1/2 tsp salt
1/2 tsp baking powder

Meringue Batter:
3 egg whites
40g caster sugar
5g cornflour

Whipped cream:
50g heavy cream
5g castor sugar

Method:
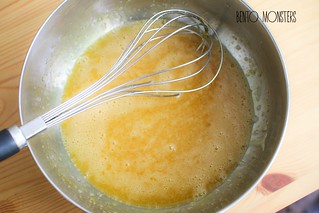
  1. Beat egg yolks, caster sugar, and salt over a water bath until the sugar and salt have completely dissolved, and the egg yolks are creamy. 
  2. IMG_6207
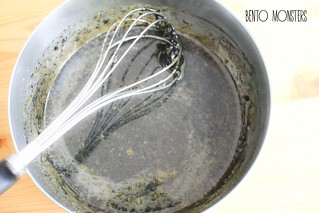
  3. Add in black sesame paste and milk to the egg yolk mixture and continue to mix them well over the water bath. Leave to cool down, stir in oil.
  4. IMG_6208
  5. To make the meringue, beat the egg whites with a mixer on low speed until they become white and frothy. Gradually add the sugar and cornflour in intervals and beat until stiff peaks have formed. 
  6. IMG_6214
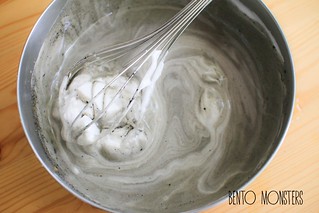
  7. Add 1/3 of the meringue to the egg yolk mixture and mix well. 
  8. IMG_6209
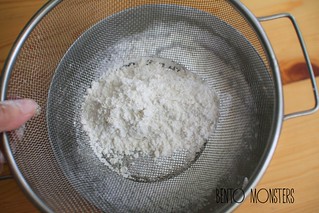
  9. Sift in the cake flour and baking powder and mix to combine. 
  10. IMG_6210
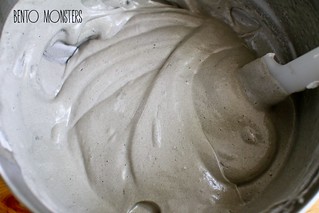
  11. Fold in the rest of the meringue. 
  12. IMG_6215
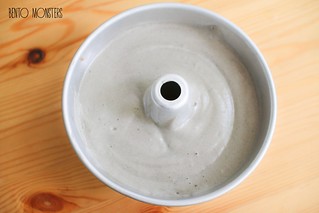
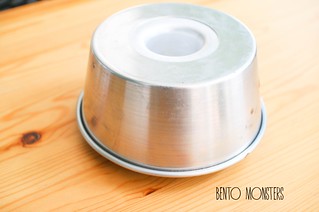
  13. Transfer to a 5 inch chiffon cake mould. Tap against the table to allow air bubbles to escape.
  14. IMG_6216
  15. Bake in a preheated oven at 170C for 20-25 minutes. Remove and rest the cake tin upside down. Make sure it is completely cool before unmouldng.
  16. IMG_6217IMG_6220
  17. For decoration, beat the heavy cream and sugar until soft peaks form. 
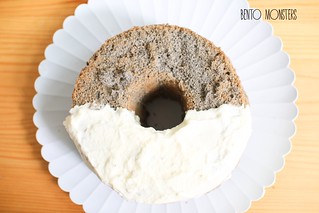
  18. Frost bottom half of chiffon cake. 
  19. IMG_6221
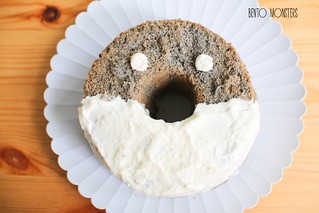
  20. Place a little whipped cream in pipping bag and pipe out Totoro's eyes.
  21. IMG_6223
  22. Use melted chocolate to pipe on eyes, nose, whiskers, and details on its stomach. 
  23. IMG_6224
  24. Make small incisions on the side of the cake for its ears. Use almond and dip the ends in as 'glue' and attach the ears.
  25. IMG_6228

Tuesday, 1 September 2015

Garfield Pasta & Burger

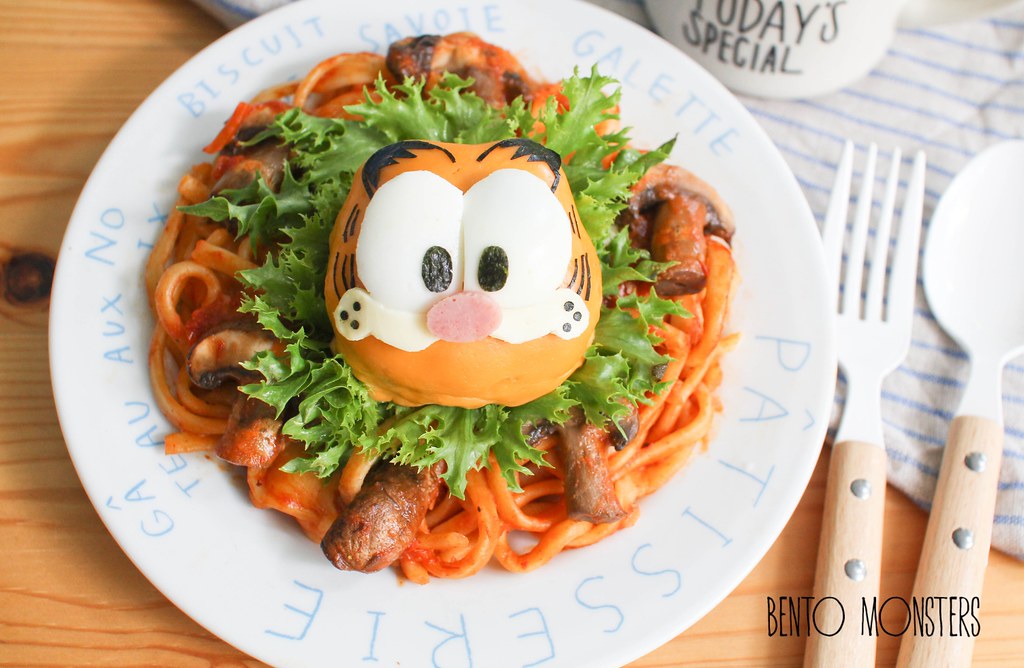
Are you familiar with Garfield? You probably are, if you are, ahem, as "young" as me. Garfield used to be very popular then, I remembered seeing him often in comic strips and television. My boys have not seen him in either of these, they have only seen Garfield the movie.  Come to think of it, there are quite a few characters popular during my time, but they seemed to have lost their appeal now. Maybe I should dig out those characters from my memory and incorporate them in my creations, lol.

IMG_1247
This is my second time making Garfield, the first Garfield bento I made was way back in 2012. I also made Odie then. This time, I only made Garfield.

IMG_1251
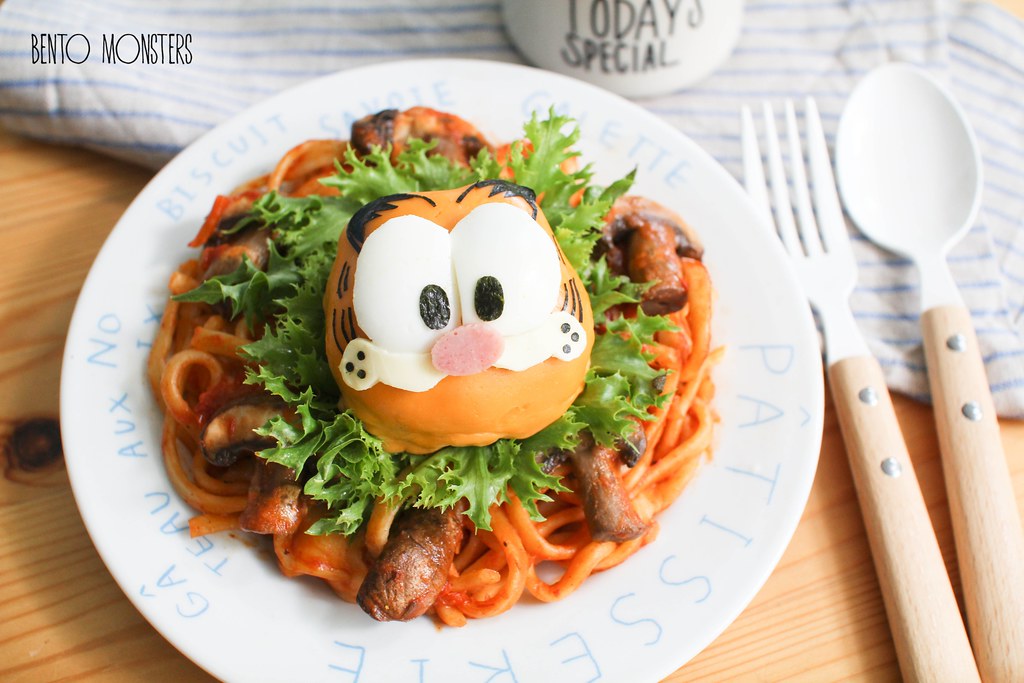
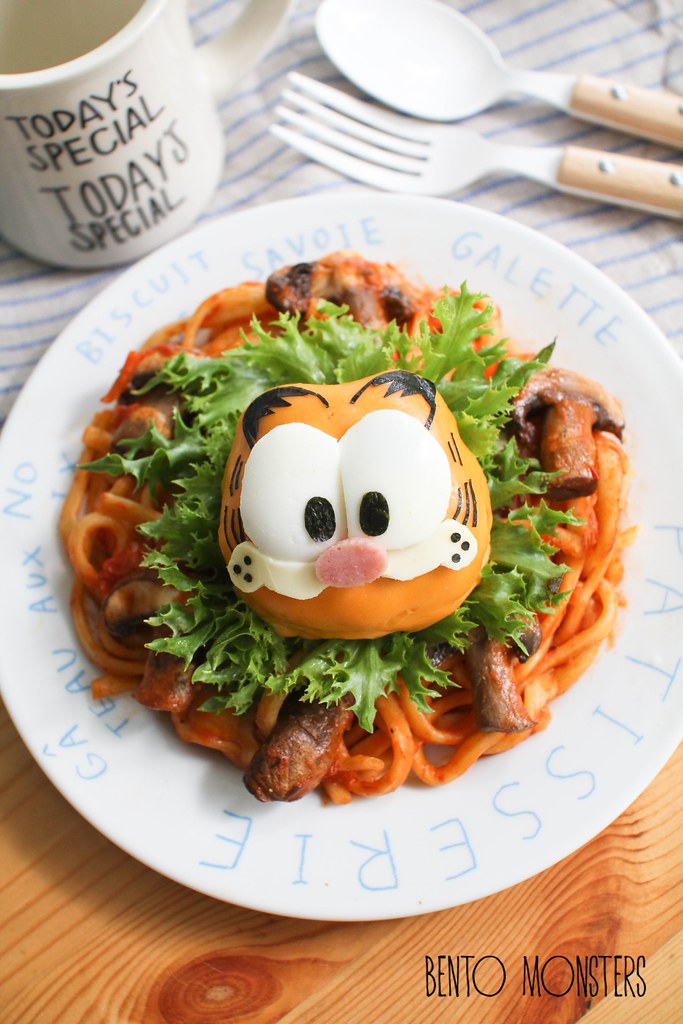
Garfield was made from a meat patty, covered with cheese, other ingredients used were egg, ham and nori.

IMG_1248
Served the meat patty with lettuce and tomato mushroom pasta.

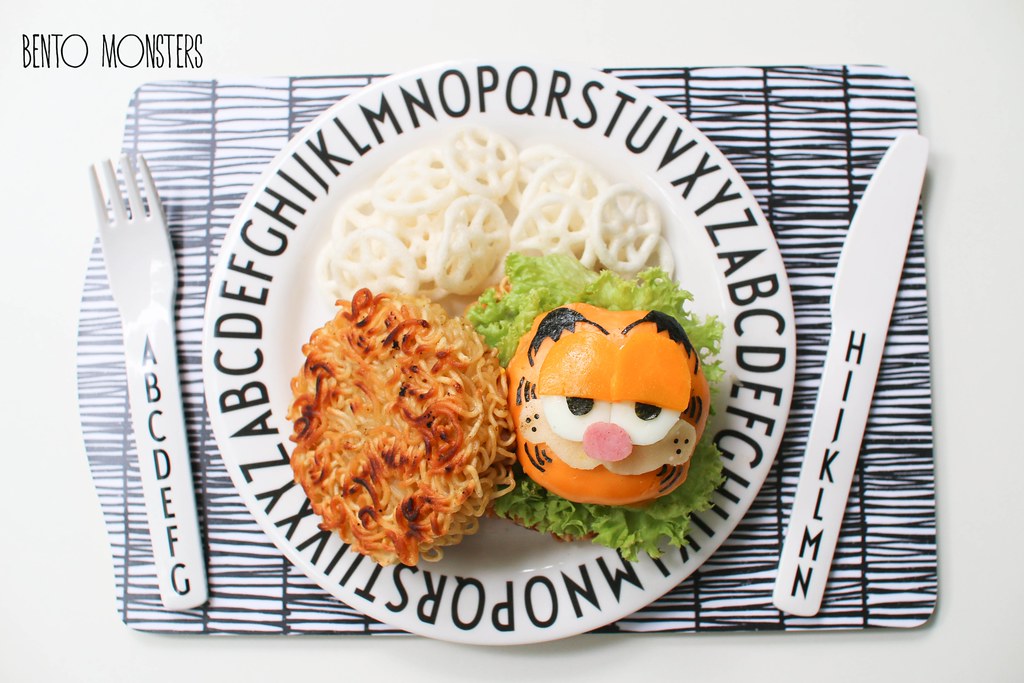
IMG_6049
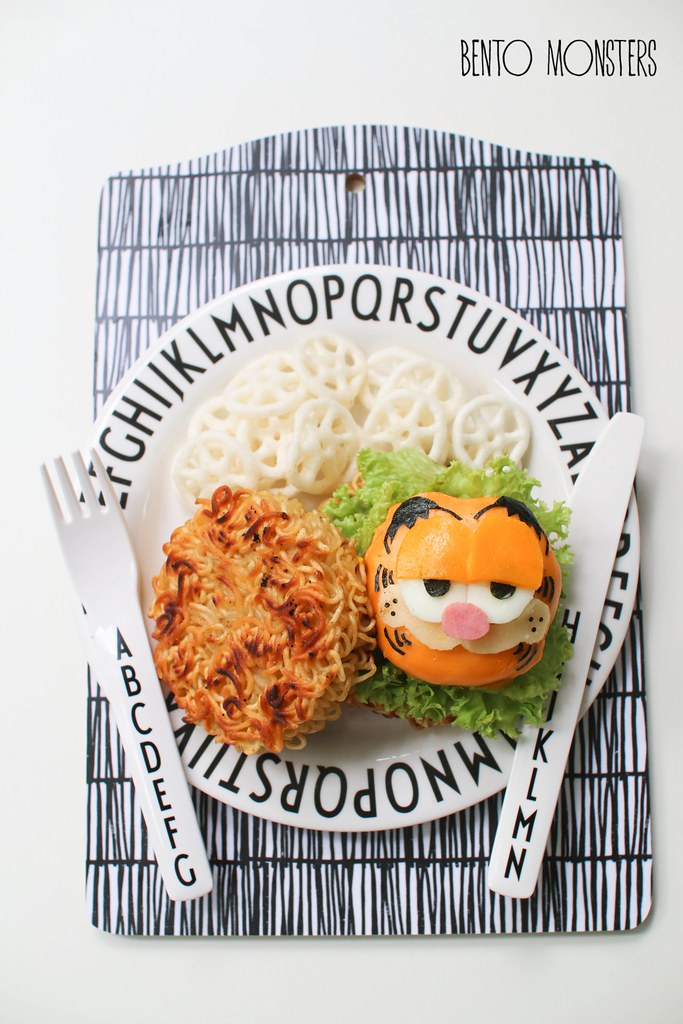
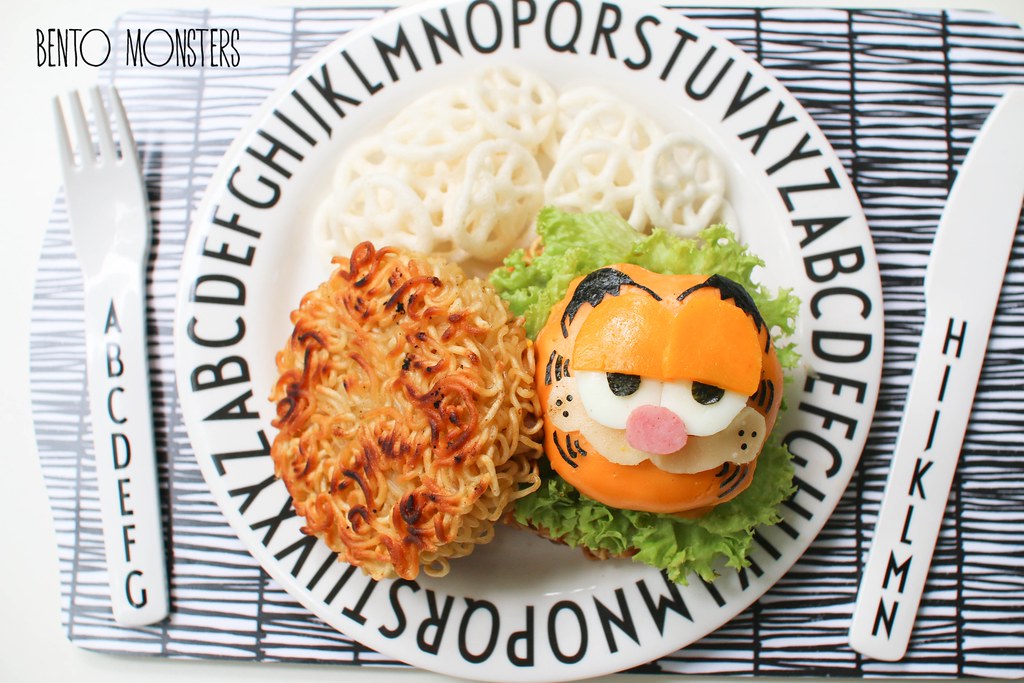
I used the same idea and made Garfield again out of cheese and meat patty. However, I served it as a ramen burger and changed Garfield's expression here.

IMG_6057
My first time cooking ramen burger, always wanted to try out this dish because it looks so interesting. My boys saw me cooking this and asked me why don't I just use Mamee snack to make this dish directly. -_-

IMG_6051
I guess it's not exactly healthy but it's quite yummy. Only thing is this doesn't taste good when cold, you have to eat it warm when the outer crust is still crispy.