
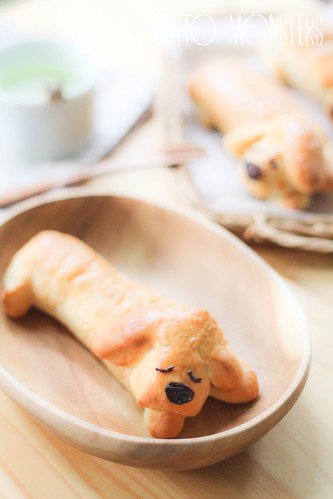
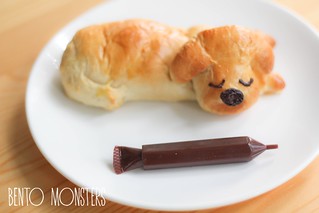
For today, I will be updating the recipe for these sleeping sausage doggy bread buns. The original idea is from Pitachan on Cookpad. I used another recipe and used raisins for the doggy's nose instead.
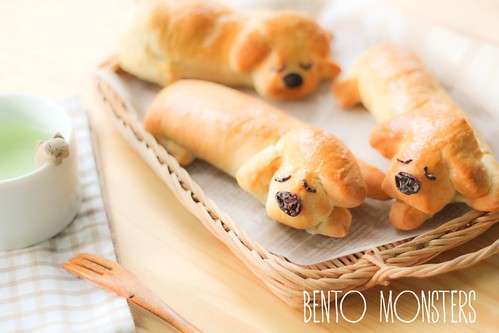
I tried out a new bread bun recipe and I really like this recipe. The recipe is a simple straight forward one and I was quite surprised the buns were still soft the next day. This recipe is a keeper and I've used it again for my subsequent bakes.
SLEEPING DOG SAUSAGE BREAD BUN RECIPE
Ingredients:
250g bread flour
30g sugar
1/4 tsp salt
25g butter, at room temperature
1 tsp instant yeast
1/2 beaten egg (keep the reminder 1/2 egg for egg wash)
120g water
Sausages
Raisins
Method:
I tried out a new bread bun recipe and I really like this recipe. The recipe is a simple straight forward one and I was quite surprised the buns were still soft the next day. This recipe is a keeper and I've used it again for my subsequent bakes.
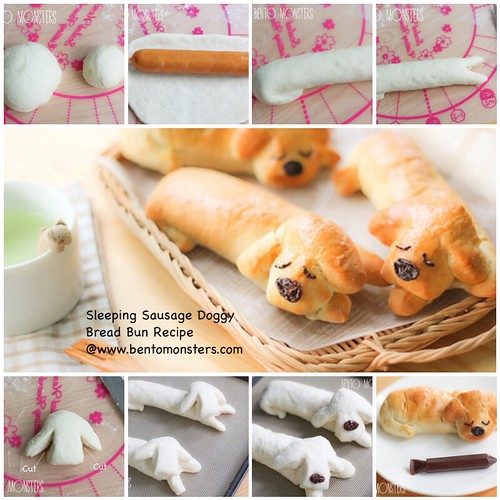
Without further ado, here's my recipe for these bread buns, along with the instructions to fold the bread dough. :)
Refer to recipe below for details.
Refer to recipe below for details.
Ingredients:
250g bread flour
30g sugar
1/4 tsp salt
25g butter, at room temperature
1 tsp instant yeast
1/2 beaten egg (keep the reminder 1/2 egg for egg wash)
120g water
Sausages
Raisins
Method:
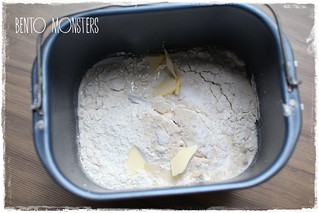
- Mix all the ingredients, except butter, in a large bowl to get a dough. Add in butter and knead until dough is springy and soft, this takes around 10 minutes. If you have a bread maker, you can just use the dough function for this step, as well as step 2.
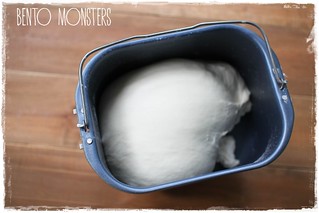
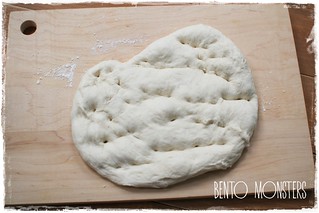
- Cover the dough with cling wrap and keep in a warm place for it to rise. This takes around an hour and the dough should double in size. Do a finger test to check if it's ready.
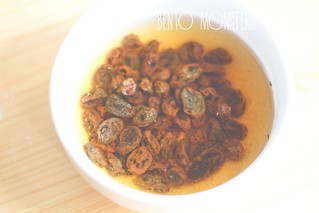
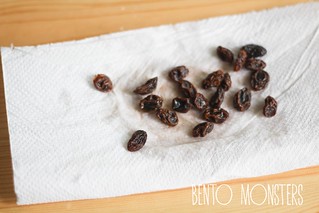
- While the dough is rising, soak raisins in water so that they will soften and expand. Dry them on a paper towel and set aside. These will be for the doggy's nose.
- Punch out the air from the dough with your fist.
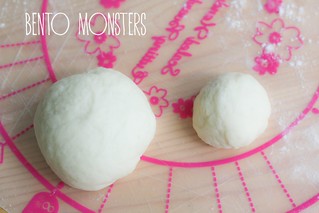
- Divide the dough into 6 big balls and 6 smaller ones. The big one will be the body and the small ones will be the head. Roll them out and form them into balls. Cover with cling wrap and let the dough rest for 15 minutes.
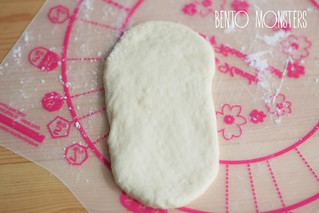
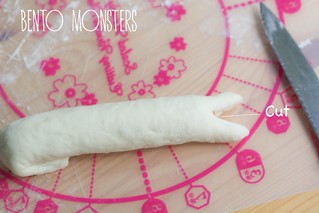
- Roll out the big ball using a rolling pin.
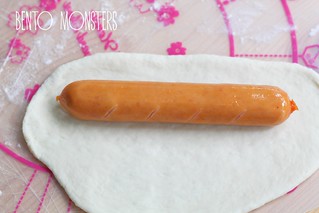
- Place a sausage in the middle, fold top and bottom and seal by pressing dough together. Turn the sealed part face down.
- Seal and form one end as the tail, lightly twist and seal it to the body.
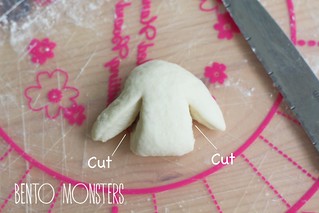
- Cut the other end of the body to form the legs.
- Flatten the smaller dough ball, make 2 cuts for the ears.
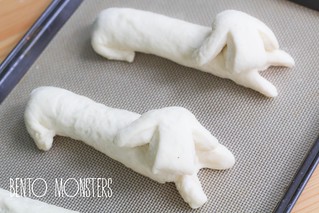
- Place the head on the body. Cover with cling wrap and let the doggy proof for 40 minutes.
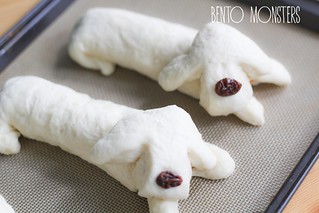
- At the end of 40 minutes, place the raisins onto the bread dough and press gently.
- Brush with egg wash and bake at 180 degrees celcius for around 15 minutes or till they turn golden brown. Draw eyes using melted chocolate or food marker.


天啊!这也太-太-太可爱了!!栩栩如生,我好喜欢哦♡谢谢你的分享↖(^ω^)↗
ReplyDelete谢谢你,婉婉。:)
Delete这个太可爱了吧!我好喜欢!
DeleteSo adorable! Thanks for sharing the tutorial!
ReplyDeleteTk u, Jean. :)
DeleteAww, they are super adorable Ming! Thanks for the tutorial, I always love your easy to follow tutorials!:)
ReplyDeleteTk u, Rina, :)
DeleteHi ming. Your doggie is so cute . May I know where you bought the food market?
ReplyDeleteThe one in the picture is chocolate, which I bought in Japan. For food marker, you can get at Phoon Huat. They sell the chocolate tube too, just a different brand.
Delete