
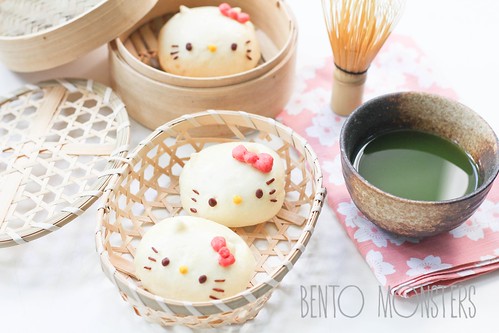
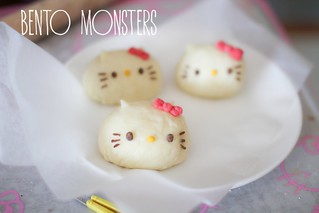
Remember my Baymax steamed pork buns? This time I made Hello Kitty steamed buns filled with chicken. The taste of the chicken filling is very similar to the chicken steamed buns sold outside, I omit the eggs in mine, simply because I was lazy to boil the eggs beforehand. If you want to add it in, simply boil the eggs, and cut into quarters and add to the buns when wrapping.
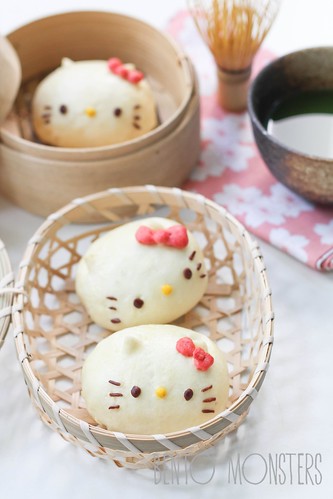
I should have made Hello Kitty's bow bigger. :(
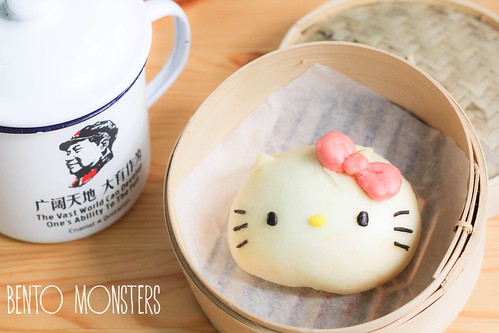
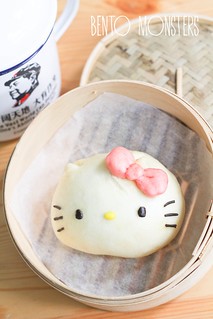
There, here's one with a bigger bow. I think it looks better. It's the only one though. This was made on another day, I was making another design for my bento project and just made one Hello Kitty with the leftover dough, lol.
You can also use the pork fillings I shared previously too, click HERE for the link.
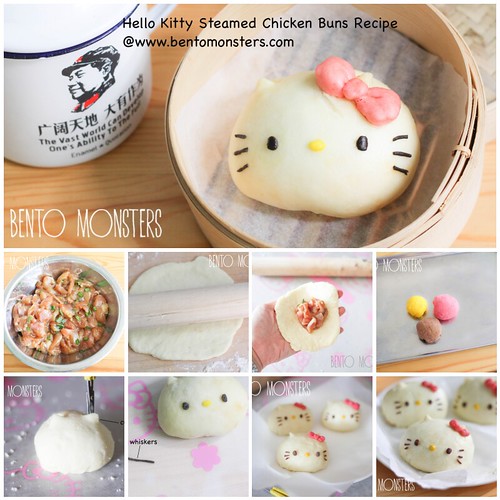
HELLO KITTY STEAMED CHICKEN BUNS
Ingredients:
300g Morinaga pancake mix
1 1/2 tbsp salad oil
90 to 100ml water
1 tsp cocoa powder
pink gel colouring
yellow gel colouring
Fillings:
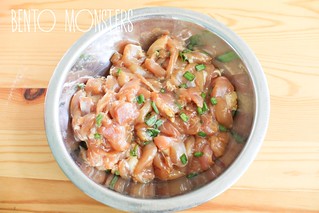
250g boneless chicken thigh, cut to strips
1 tbsp oyster sauce
1 tsp soy sauce
1 tbsp sesame oil
1 tbsp cooking wine
1 tbsp ginger juice
pinch of salt
1 tbsp cornflour
1 stalk spring onion, chopped
Method:
- Combine fillings ingredients together. Mix well using your hands. Best to leave to marinade overnight.
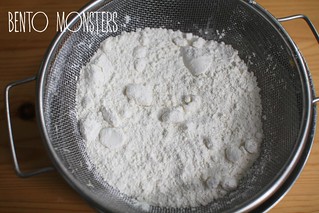
- To make the dough, sieve pancake mix.
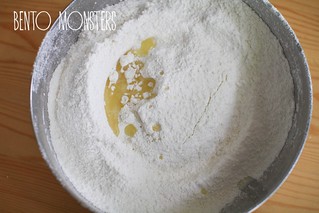
- Add in salad oil.
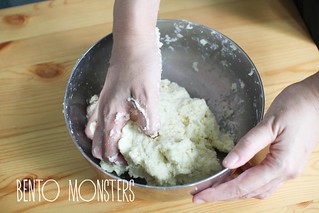
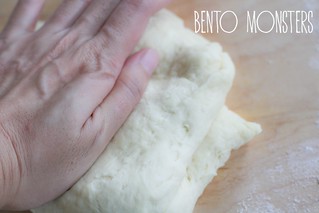
- Add in water gradually, use your hands to keep mixing till the dough comes together.
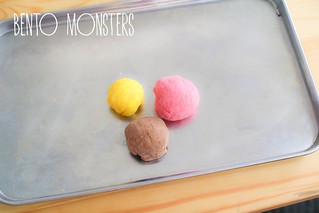
- Scoop out 2 tbsp of dough and mix in some pink gel food colouring using a toothpick. Keep kneading till the colours are even. Scoop out 1 tbsp of dough and mix in some yellow gel food colouring using a toothpick. Keep kneading till the colours are even. Scoop out 1 tbsp of dough and mix in cocoa powder. Keep kneading till the colours are even.
- Dust work surface with some flour, use your hands to knead for around 5 minutes, till the dough becomes soft and smooth.
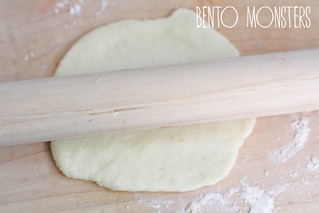
- Divide dough into 6 parts and roll each into a ball. Use a rolling pin to flatten each ball.
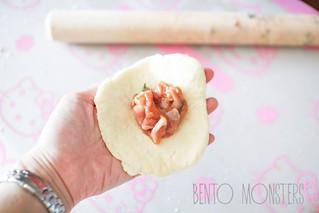
- Place filllings from step 1 in the middle of the dough, wrap it up and pleat the edges to seal.
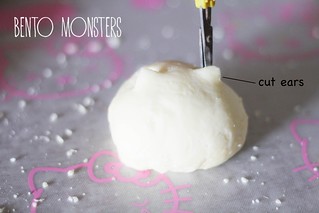
- Turn it over and shape into an oval shape. Repeat for the other 5 balls. Use scissors to cut out the ears.
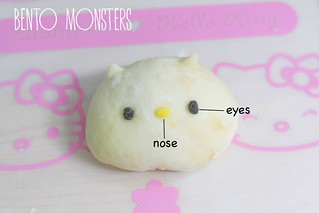
- Take yellow dough and mould out a small oval for the nose. Take out some brown dough and mould out two ovals for the eyes.
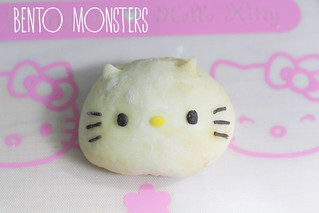
- Take out some brown dough and roll it out and cut into sections for the whiskers.
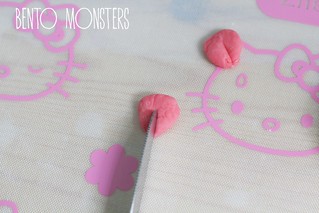
- Take some pink dough and mould into 2 triangular shapes. Using a knife, make indentations to define the bow.
- Place the two triangular shapes onto the bun and mould out a round shape for the centre.
- Place the buns on wax paper and steam them on low heat for around 15 minutes.


Thanks for ur awesome tutorial^^
ReplyDeleteGonna try it within this holiday!
Tk u, Lihsylee. :)
DeleteThey look so cute. And a great tutorial, am very tempted to try this myself.
ReplyDeleteHow long can you keep the buns after steaming? And can you eat them cold or would you reheat?
Thanks
Tk u, dosirakbento. I've only kept them in the fridge overnight. It's better to steam them again before eating, they taste better when warm. :)
DeleteThese look so adorable and yummy! Thanks for sharing the recipe!
ReplyDeleteTk u, Jean. :)
Deletethey look perfect! so cute!
ReplyDeleteTk u, Shirley. :)
DeleteThey look good enough to be dessert!
ReplyDeleteTk u. :)
DeleteThey are super cute and mouth watering!!!! Thank you for sharing the recipe.:)
ReplyDeleteTk u, Rina. :)
DeleteOmg!!!this is super cute!!!
ReplyDeleteThks for sharing, Ming^^
Tk u, Wan Wan. :)
Deletethis is amazing!! you are AMAZING. Thanks for sharing all your cute food and tutorials! I usually only lurk and never comment but I saw this on your instagram and just had to see how you made it!
ReplyDeleteTk u for taking time to leave a comment, Lillian. :)
DeleteSo cute! Can I ask what is salad oil? Where can I get this in Singapore? Thanks :)
ReplyDelete-Joanne
Hi Joanne, it's actually a generic term for vegetable oil. So you can use oil like canola oil, sunflower oil, corn oil, etc.
DeleteHi! I really want to make these but I'm worried 15 minutes isn't enough time to fully cook the filling. Is there a step I'm missing about pre cooking the chicken or will the chicken really fully cook if steamed inside the bun for 15 minutes? Please let me know :) love your recipes. Thanks!
ReplyDeleteChicken is uncooked. Yes, I tried it twice and the timing is enough. My pau is rather small in size though. If you are worried, you can extend the time, won't affect much.
Deleteif i am not using the pancake mix, how do the steps change? do i still need to sieve the flour and add in the salad oil, etc?
ReplyDeleteJust need to sieve the flour, no need to add salad oil, and just mix everything together.
Delete-cheryl :)
ReplyDeleteHow long do you take to make this?
ReplyDeleteHow long do u take to make this?
ReplyDeleteOver an hour, including the steaming time.
Delete