
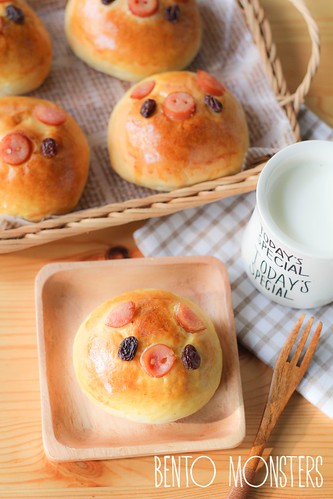
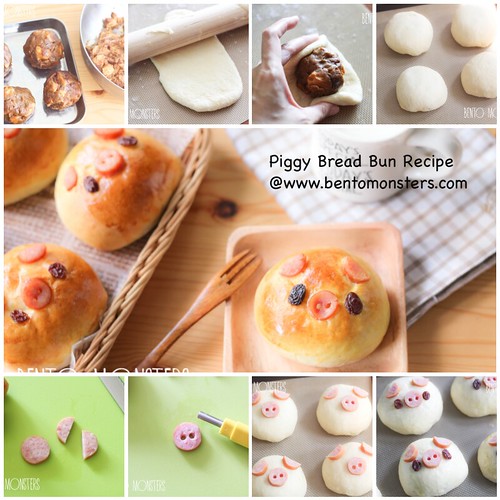
I'm going to share the recipe for these piggy bread buns I made during the holidays last year. I filled them with Japanese chicken curry. My boys liked them because they like Japanese curry. I want to try making our local chicken curry as fillings next time, I think it'll be good too.
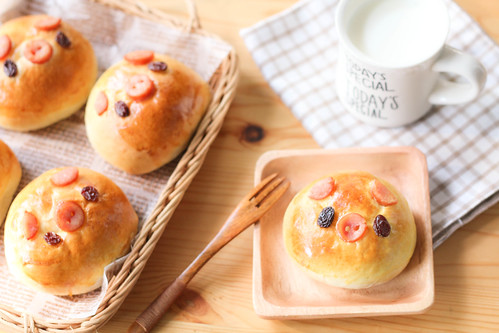
I used back the same recipe for the bread dough as my previous sleeping doggy sausage buns recipe. The recipe was quite straightforward and yet the bread was still soft the next day. Don't ask me why, I've no idea either, lol.
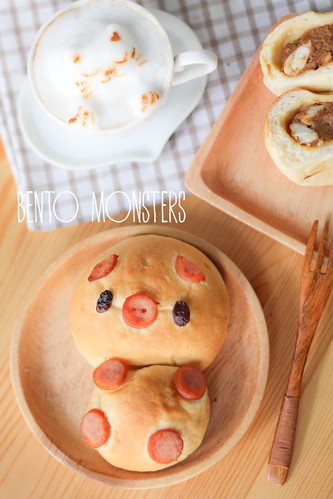
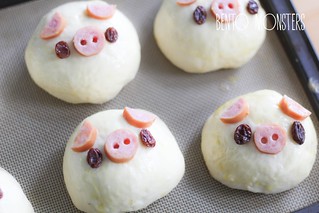
I made some full bodied piggy bread bun as well. I did not put egg wash on this.
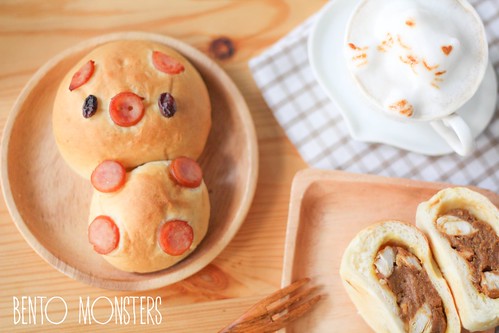
Did you notice the 3D cat latte art behind? I tried making 3D latte art during the holidays and it was quite fun. Need more practice though, I tried making a piggy but it turned out terrible, so I ended up doing a cat instead.

Here's another 3D cat latte art I made, not sure if I'm doing it the correct way. In fact, I've never even drank any before, lol.
Recipe for the bread buns are below.
JAPANESE CURRY PIGGY BREAD BUN RECIPE
Ingredients:
Bread Dough:
250g bread flour
30g sugar
1/4 tsp salt
25g butter, at room temperature
1 tsp instant yeast
1/2 beaten egg (keep the reminder 1/2 egg for egg wash)
120g water
Sausages
Raisins
Japanese Curry Fillings:
½ yellow onion, cut into small cubes
½ carrot, cut into small cubes
300g chicken, thinly sliced
75g Japanese curry roux
400g water
40g butter
40g plain flour
Method:
Japanese Curry Fillings:
- In a frying pan, pan fry chicken till they are no longer pink.
- Heat up cooking oil in a small pot, sauté onion and carrot till aroma, add in water.
- Add cooked chicken slices into the pot, continue to cook over medium low heat for about 15mins.
- Add in curry roux and mix well.
- In another frying pan, melt butter over low heat, then add in plain flour, stir to combine well. Add into curry mixture. When the mixture started to turn thick, dish out and cool it completely.
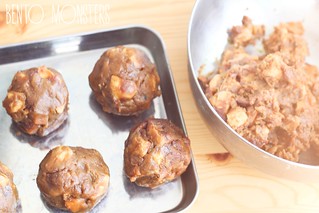
- Roll into balls and set aside.
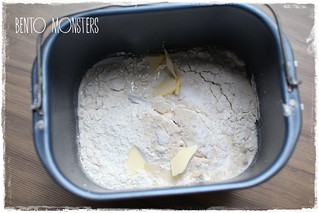
- Mix all the ingredients, except butter, in a large bowl to get a dough. Add in butter and knead until dough is springy and soft, this takes around 10 minutes. If you have a bread maker, you can just use the dough function for this step, as well as step 2.
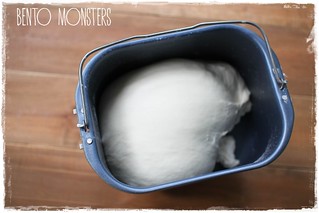
- Cover the dough with cling wrap and keep in a warm place for it to rise. This takes around an hour and the dough should double in size. Do a finger test to check if it's ready.
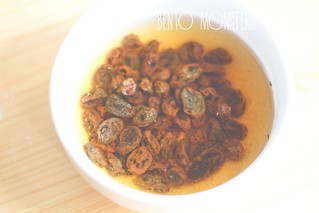
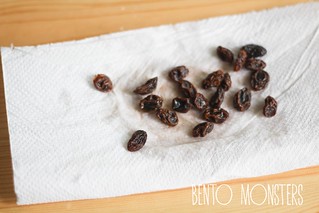
- While the dough is rising, soak raisins in water so that they will soften and expand. Dry them on a paper towel and set aside. These will be for the piggy's eyes.
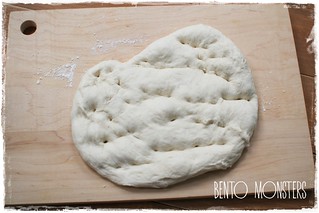
- Take dough out and punch out the air from the dough with your fist.
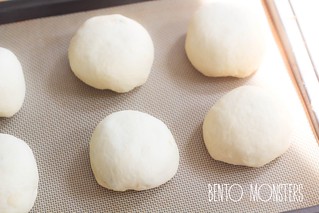
- Divide the dough into 8 portions. Roll them out and form them into balls. Cover with cling wrap and let the dough rest for 15 minutes.
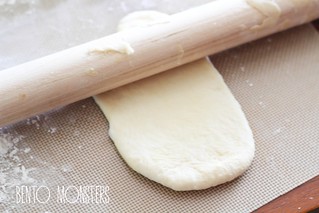
- Roll out the big ball using a rolling pin.
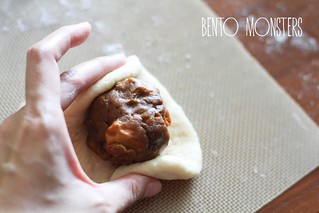
- Wrap dough around curry fillings and seal.
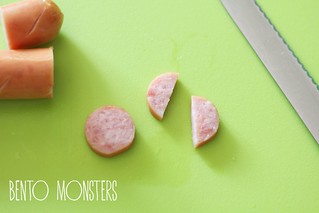
- Slice out 2 pieces of sausage. Cut one into half for the ears.
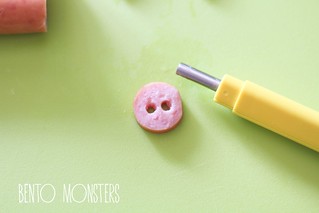
- Use a straw or round cutter to poke two holes in the other one.
- Place the sausages cut-outs on the piggy. Cover with cling wrap and let the dough proof for 40 minutes.
- The steps to make the full body piggies are similar for the head. For the body portion, just add on another smaller bread dough and place 4 sliced on sausage on it.
- At the end of 40 minutes, place the raisins onto the bread dough and press gently.
- Brush with egg wash and bake at 180 degrees celcius for around 15 minutes or till they turn golden brown.


Adorable! I love making bread and want to experiment more with making filled bread. My families traditional bread for Christmas is pig scones.
ReplyDeleteTk u, Kathy. :)
DeleteSo cute and fun for kids :-)
ReplyDeleteTk u, Madelein. :)
Delete除了可爱,还好好吃哦!我脸皮厚,坐着不走了^^
ReplyDelete谢谢你,婉婉。:)
DeleteLove Jap curry too, definitely will have to try making this!
ReplyDeleteTk u, Jean. :)
DeleteSo cute and mouth watering! I also love the 3D latte, looks fantastic!
ReplyDeleteHow you make the 3d cat latte art?
ReplyDelete-Boo
I used a milk frother to froth the milk, and then use two spoons to scoop over and arrange.
Deleteif you don't like raisins what else can you use for the eyes?
ReplyDeletepipe on chocolate or use chocolate chips, use a food marker to draw after baking, or use cocoa/egg yolk mixture to draw before baking. :)
DeleteThank you sooo much!! :D
DeleteHi Ming
ReplyDeleteThank u for the cute design..I just baked tis and it smells so gd and looked similar to yrs...I hv been blessed by u.
Now I must try harder on yr totoro cream bun cos yr pastry can stand well..and I failed twice...can u share with me how thick u pipe the body?