
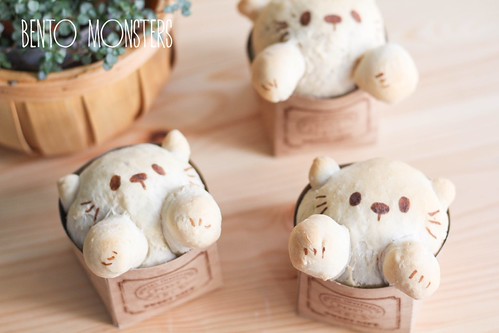
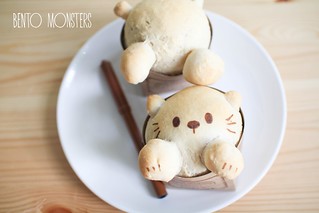
These kitty cat buns were filled with Japanese curry. The cat buns were actually a combination of two of my recipes, I used the white milk bun bread recipe from here and the Japanese curry fillings recipe from here. So which bread bun recipe goes better with the Japanese curry chicken fillings? I've not conclusion, they both are good.
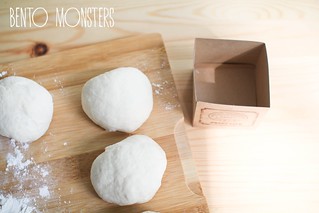
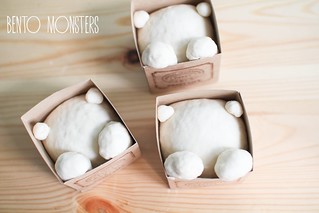
I shaped the dough in these cupcake boxes and allow them to proof in them. They are then baked in the oven in the boxes.
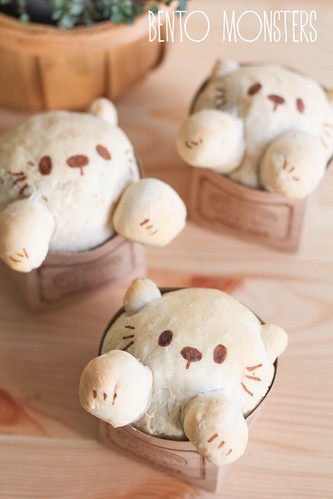
The kitty cats look like they are stuck and trying to get out, lol.

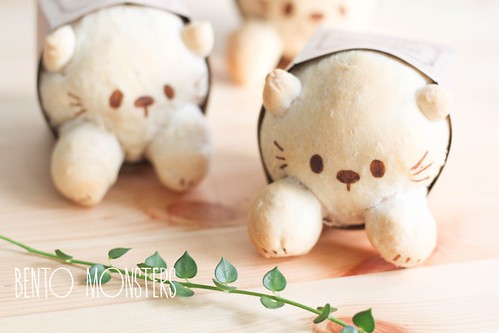
Just another picture, because I took too many. -_-
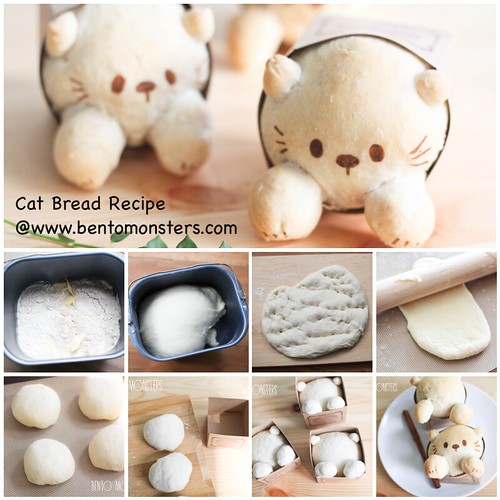
Sharing the recipe to make these below.
CAT BREAD BUN RECIPE
Ingredients:
Bread Dough:
250g bread flour
3g instant yeast
200g milk
10g sugar
10g butter
3g salt
Japanese Curry Fillings:
½ yellow onion, cut into small cubes
½ carrot, cut into small cubes
300g chicken, thinly sliced
75g Japanese curry roux
400g water
40g butter
40g plain flour
Method:
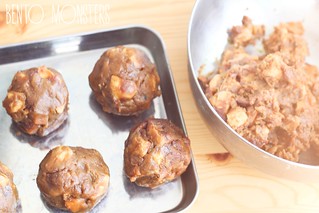
Japanese Curry Fillings:
- In a frying pan, pan fry chicken till they are no longer pink.
- Heat up cooking oil in a small pot, sauté onion and carrot till aroma, add in water.
- Add cooked chicken slices into the pot, continue to cook over medium low heat for about 15mins.
- Add in curry roux and mix well.
- In another frying pan, melt butter over low heat, then add in plain flour, stir to combine well. Add into curry mixture. When the mixture started to turn thick, dish out and cool it completely.
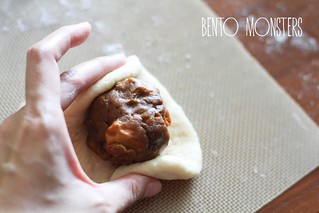
- Roll into balls and set aside.
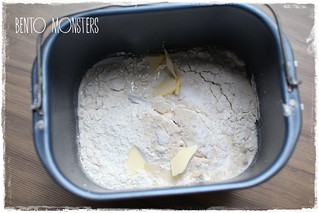
- Mix all the ingredients, except butter, in a large bowl to get a dough. Add in butter and knead until dough is springy and soft, this takes around 10 minutes. If you have a bread maker, you can just use the dough function for this step, as well as step 2.
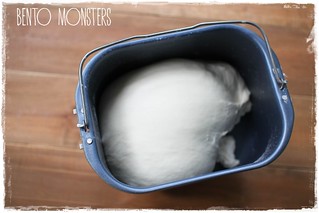
- Cover the dough with cling wrap and keep in a warm place for it to rise. This takes around an hour and the dough should double in size. Do a finger test to check if it's ready.
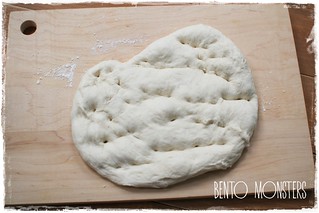
- Take dough out and punch out the air from the dough with your fist.
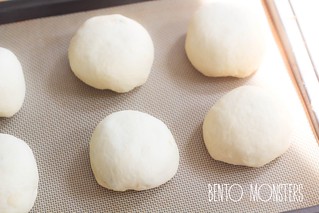
- Divide the dough into 9 portions. Roll them out and form them into balls. Cover with cling wrap and let the dough rest for 15 minutes.
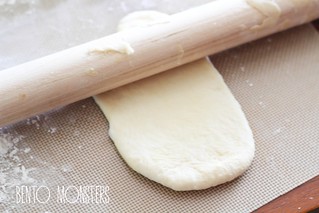
- Set aside one ball of dough. Roll out the rest using a rolling pin.
- Wrap dough around curry fillings and seal, place them in cupcake boxes. They should be around half the size of the boxes, as they will double in size after proofing.
- Using the ball of dough set aside, shape into cat's ears and hands. Cover with cling wrap and let the dough proof for 40 minutes.
- Preheat oven to 190 degrees celcius, turn it down to 140 degrees before placing in the bread at middle rack. Bake for around 15 minutes. If you want the bread to remain white, you can dust on some flour before baking and use an aluminium to cover halfway through baking. I did not do so, as I wanted the buns to be lightly browned. Draw on details using a food marker.


Wat do u use to draw the eyes/whiskers/paw markings?
ReplyDeleteSorry, have added in, drawn using a food marker.
DeleteCute and so mouth watering!!I always love your easy to follow tutorial, Ming. Btw, love love love your new blog design, it's super cute!!!!
ReplyDelete好可爱的小猫咪♥♥我要把它带回家才行^^
ReplyDeleteTk u, Wan Wan. :)
Deleteaww...adorable!
ReplyDeleteTk u, Karen. :)
DeleteSuper cute! I like how they look as if they are trying to crawl out of a little box!
ReplyDeleteTk u, Jean. :)
Deletewhere did you get those boxes from?
ReplyDeleteI bought them in Japan.
Deletehiii im from mexico city.your work is amazing!!!...can i put inside a ganache chocolate?..
ReplyDeleteTk u for dropping by. Yes, u can. :)
Delete