Friday, 12 February 2016

Edible Valentine's Day Bouquet

Valentine's Day falls on this sunday, which is also the 7th day of Chinese New Year. We don't celebrate Valentine's Day, but I do like to make Valentine's Day themed food, just for the fun of it. I only managed to make 3 designs this year, if you want to see more, you can take a look at my past creations over here.
IMG_0095
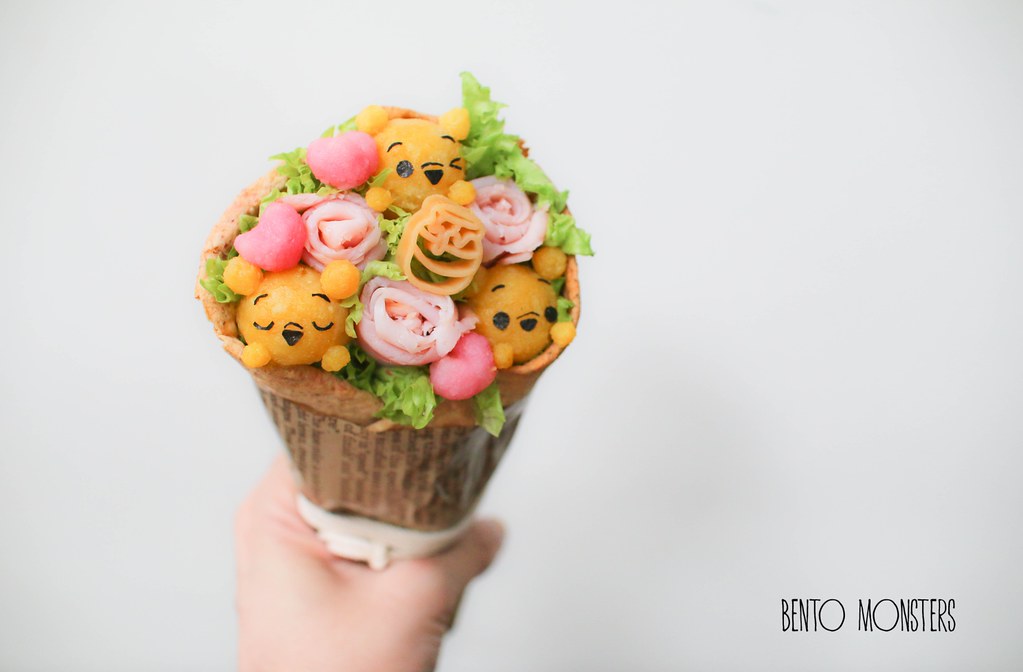
I'm sharing two of the designs in this post. The first one is this Pooh Bear bouquet. Everything is edible, well almost everything, the paper and string are not edible, lol.

IMG_0093
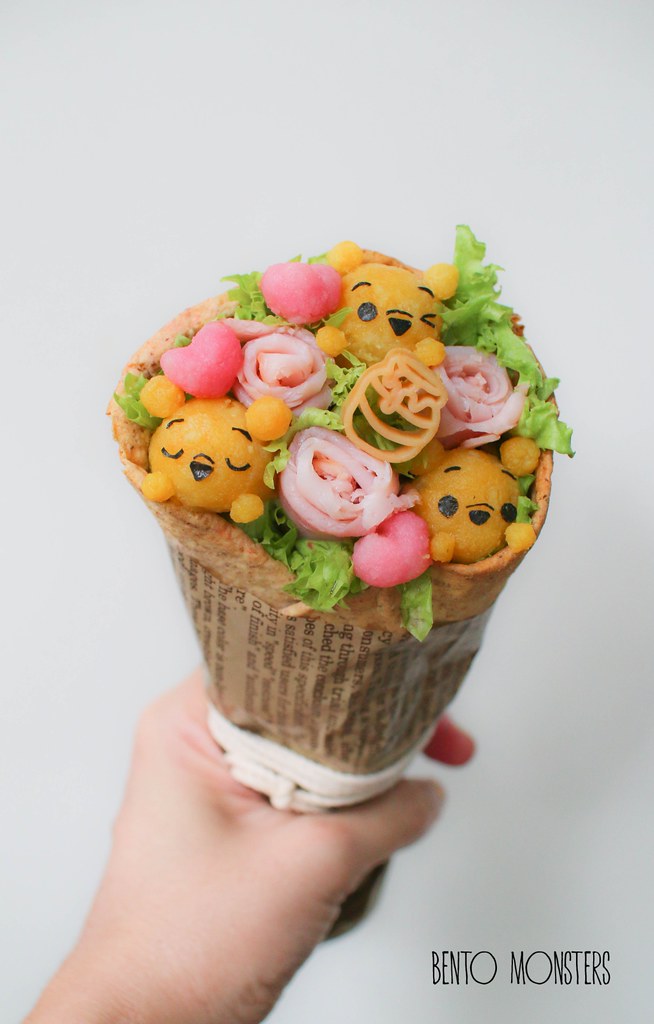
This is a toasted wrap, filled with scrambled eggs, ham and lettuce. I added on some Pooh Bear and hearts, moulded out of mashed potatoes. The honey pot in the middle is pasta.
IMG_0055
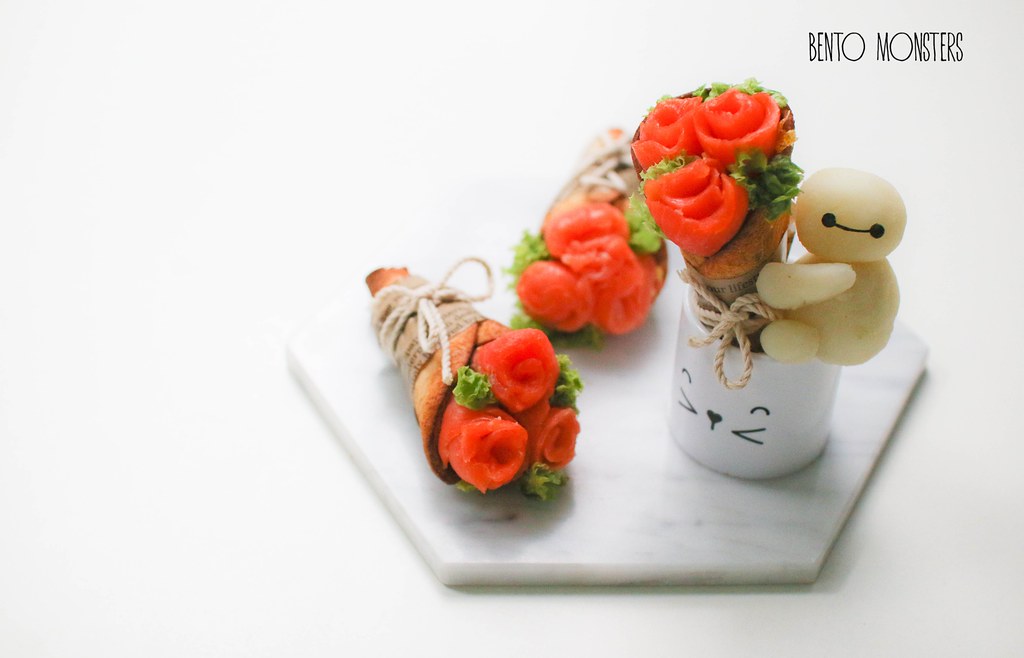
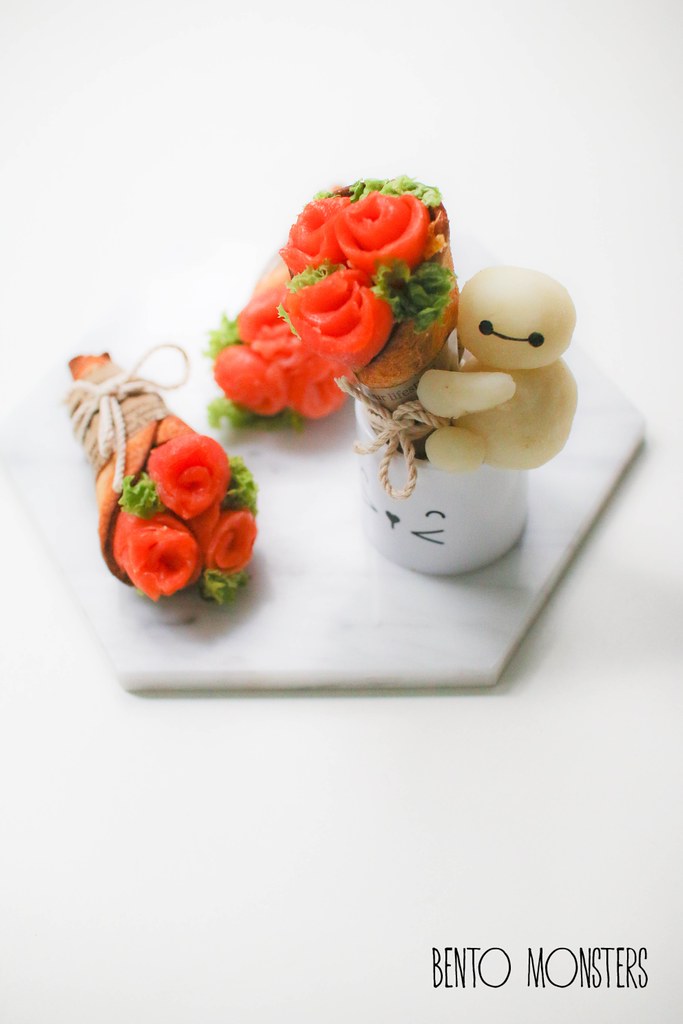
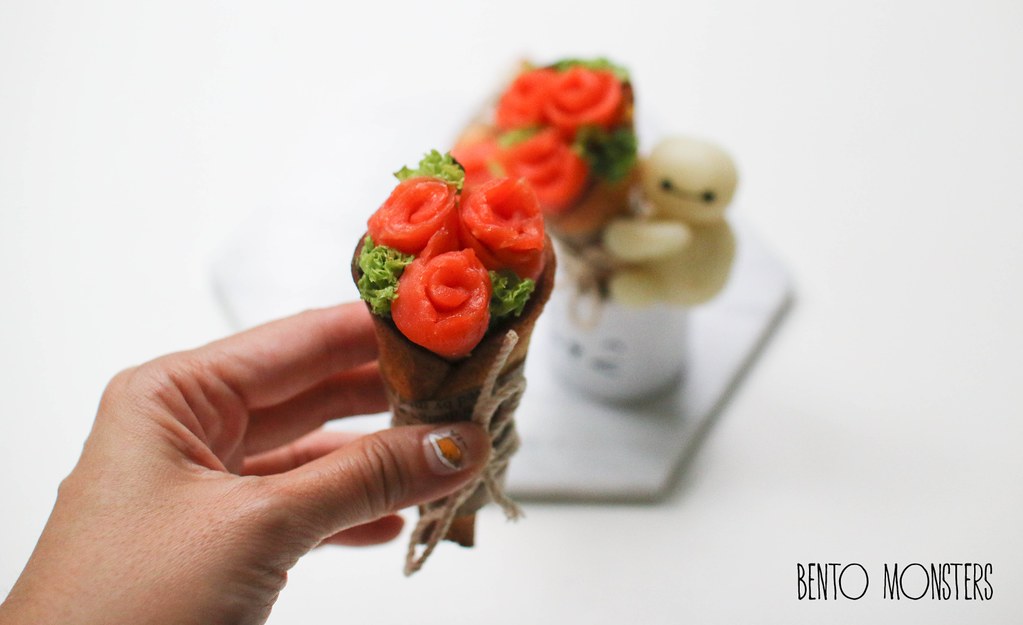
These bouquets are much smaller and are made from bread instead. I filled them with scrambled eggs, smoked salmon and lettuce.
IMG_0050
I added on a Baymax made of mashed potato, hugging one of the bouquet.
breadbouquet
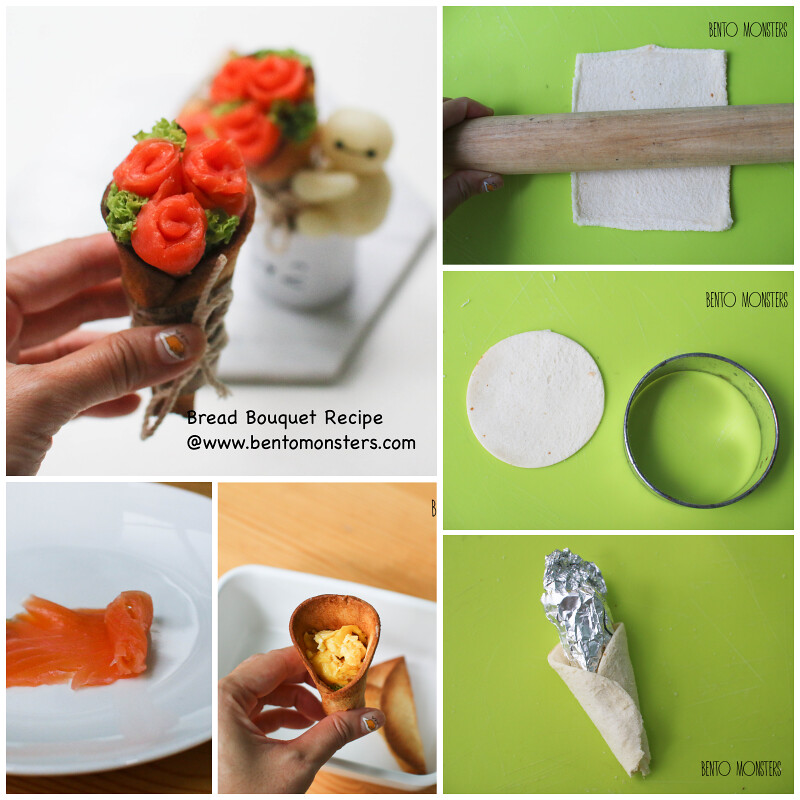
I will be sharing with you how to make these edible bouquets, they are not only for Valentine's Day, they can be served any time and they are also great for parties too.
IMG_0037
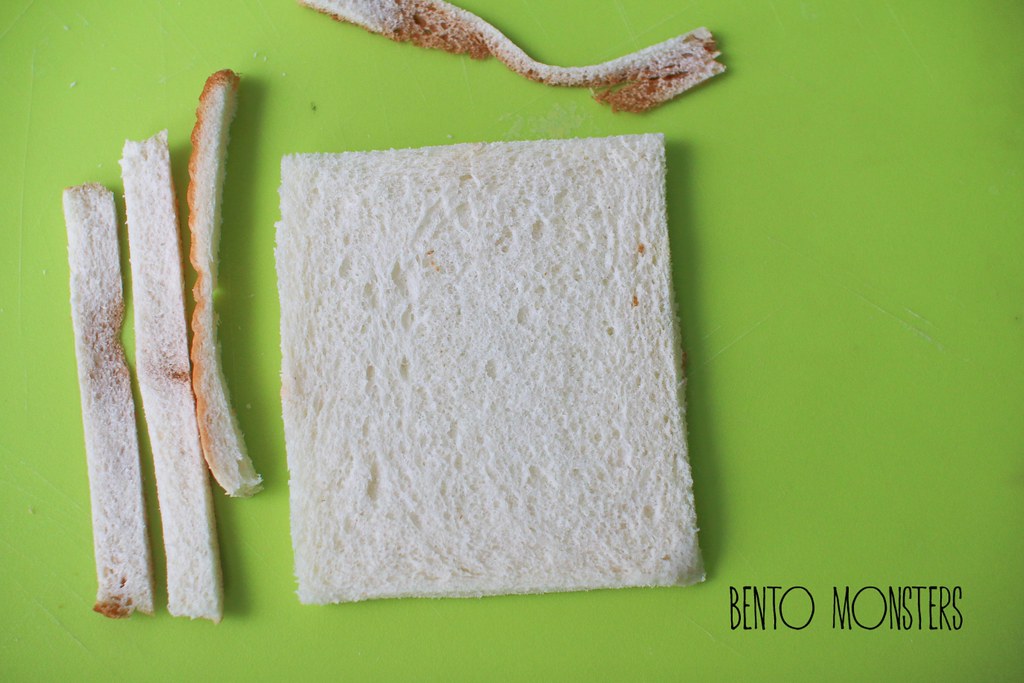
First, slice off bread crusts using a knife.
IMG_0039
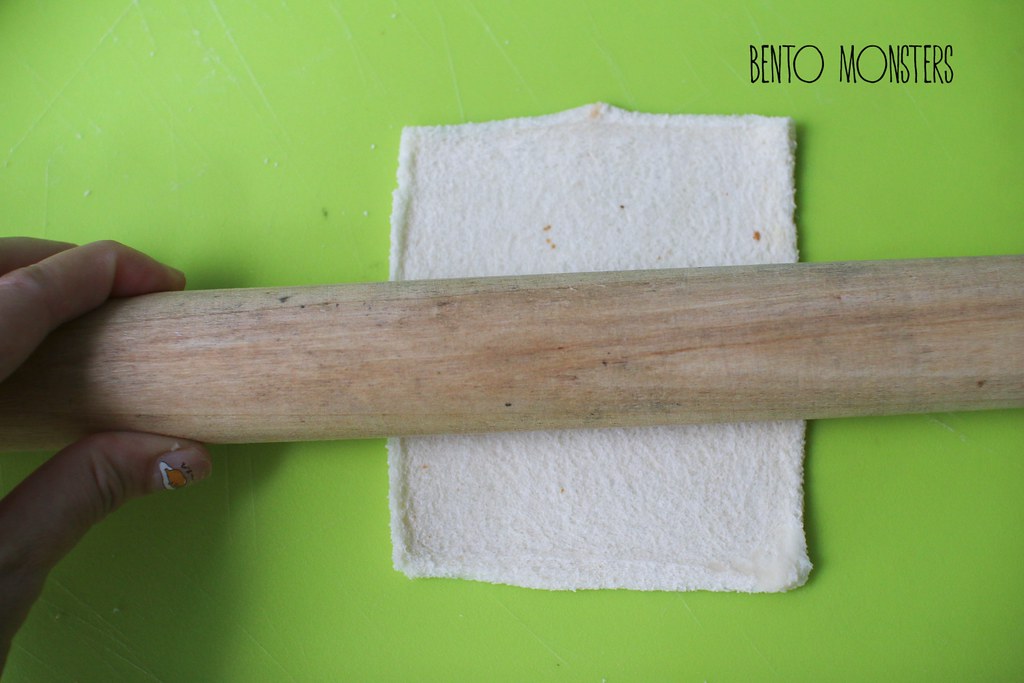
Flatten the bread using a rolling pin.
IMG_0036
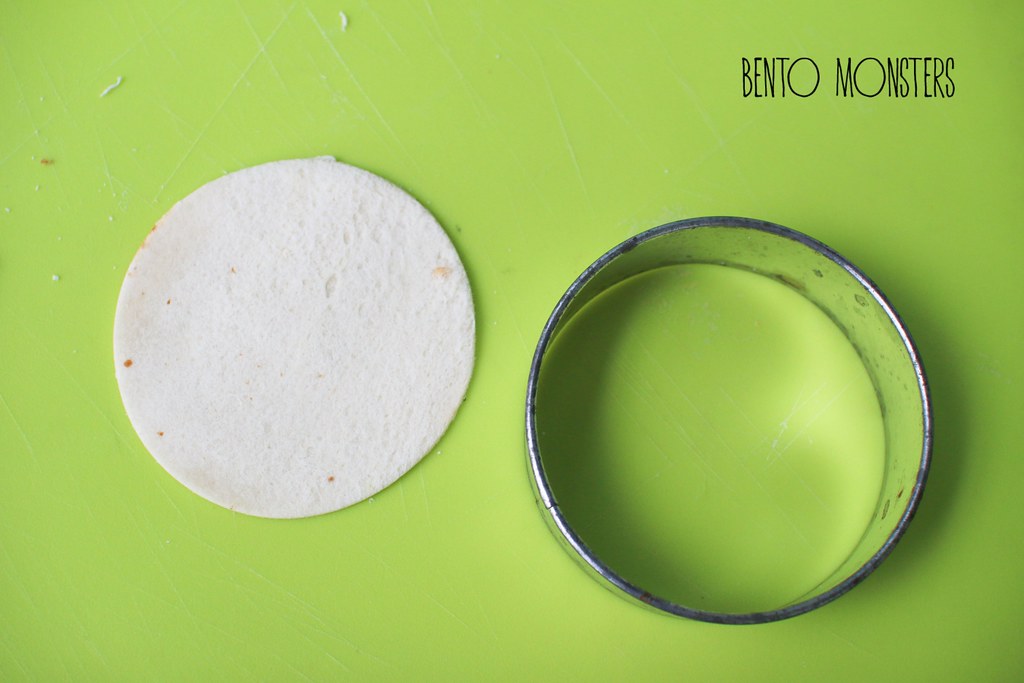
Cut into a circle using a round cutter. This step is optional, it's just easier and neater if you fold a cone from a circle.
IMG_0043
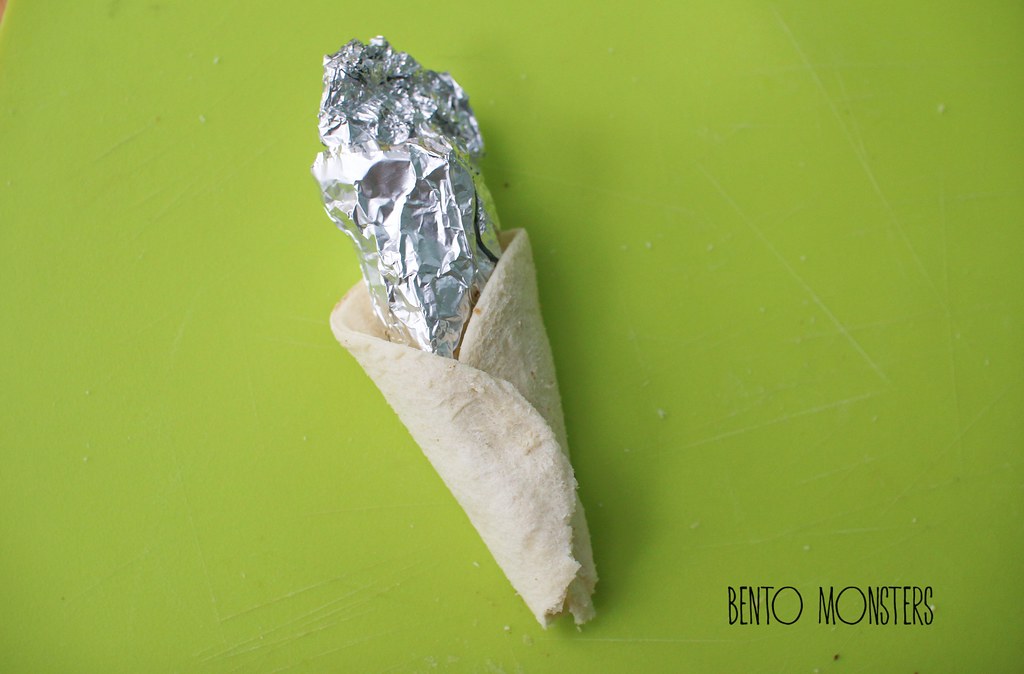
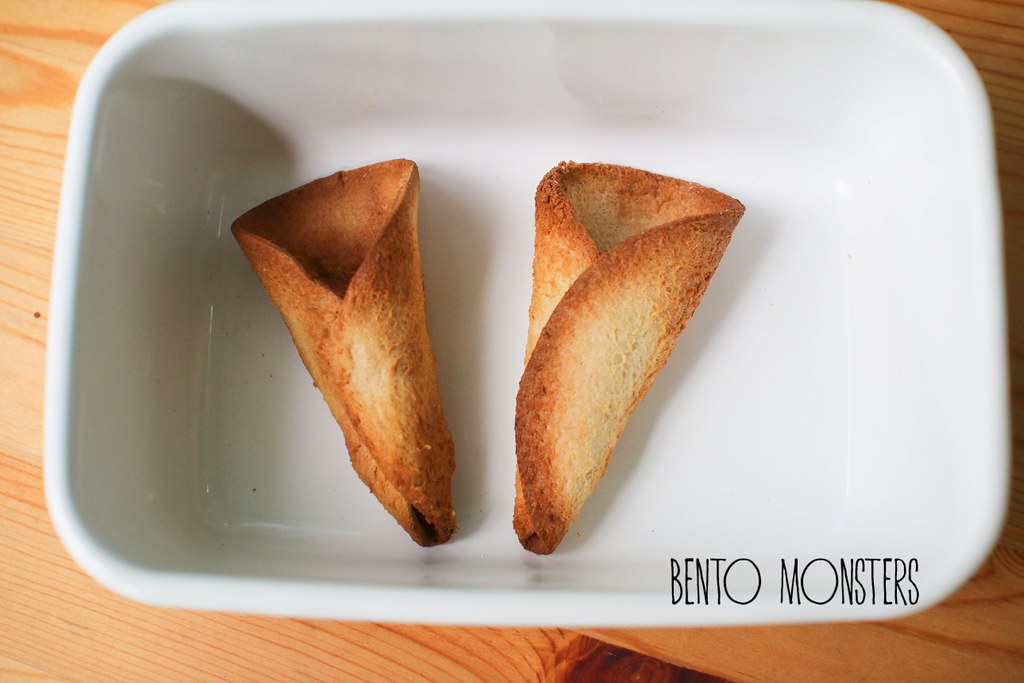
Make a cone using aluminium foil and wrap the bread around it. Bake at 180 degrees celcius for 5 minutes, flipping over halfway.
IMG_0040
Wait till they cool down a little before removing the aluminium foil.
IMG_0042
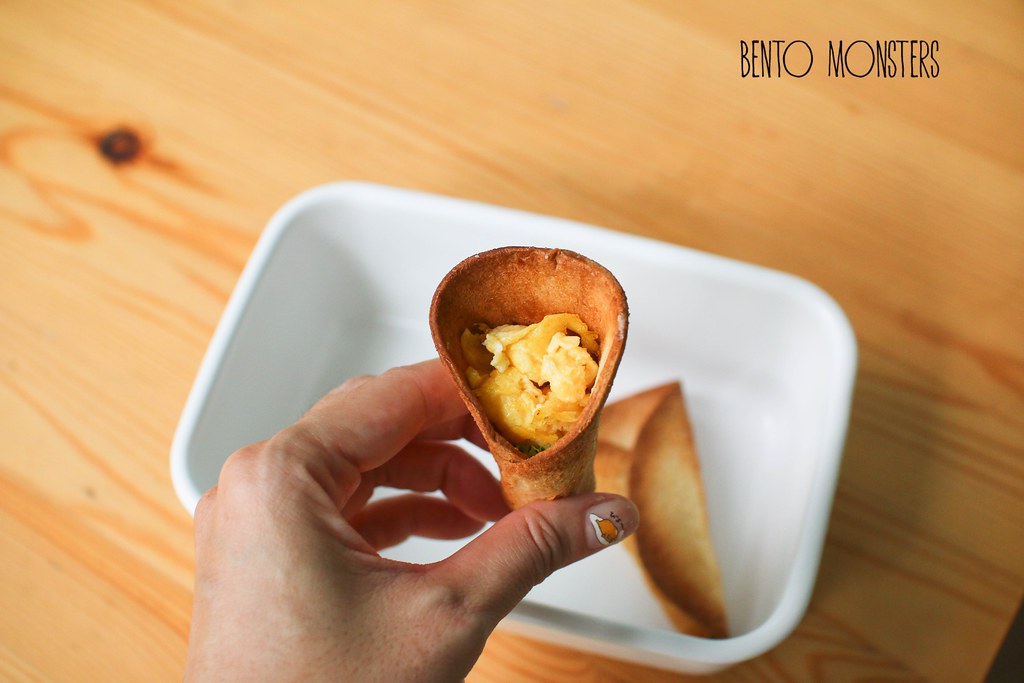
You can fill in with fillings of your choice. I filled mine with lettuce and scrambled eggs.
IMG_0161
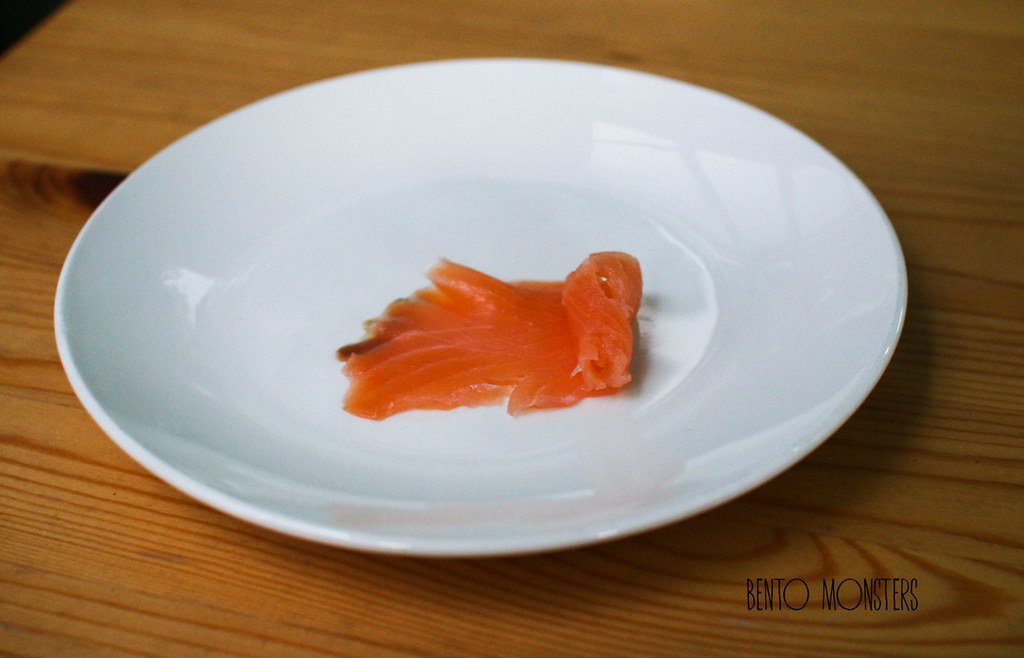
To make the roses, take strips of salmon and roll them up.
IMG_0060
Fill the top with salmon roses and lettuce, you can use pasta sticks to secure the roses if you like. However, if you pack them in compactly, you don't really need anything to secure them.
IMG_0101
For the wrap version, you can skip the first 3 steps and just wrap it around the aluminium foil and toast. This is bigger, so you will need to fill it up with more ingredients, I used scrambled eggs, lettuce and shaved ham to fill the inside. The roses are rolled up from ham, instead of salmon. Pooh bear and hearts are shaped from mashed potatoes, I did a tutorial on how to mould using mashed potatoes before, you can take a look here.

Hope you like this edible bouquet idea, I've more creations using this idea, but I'll share those next time. Have a good weekend!

Monday, 8 February 2016

Baymax Matcha Pudding,

Hello from across the causeway! We always spend our Chinese New Year here. I'm just lazing around while my boys play with their games and cousins. Since I'm rather free now, here's another long overdue recipe I've been meaning to update.
IMG_7134
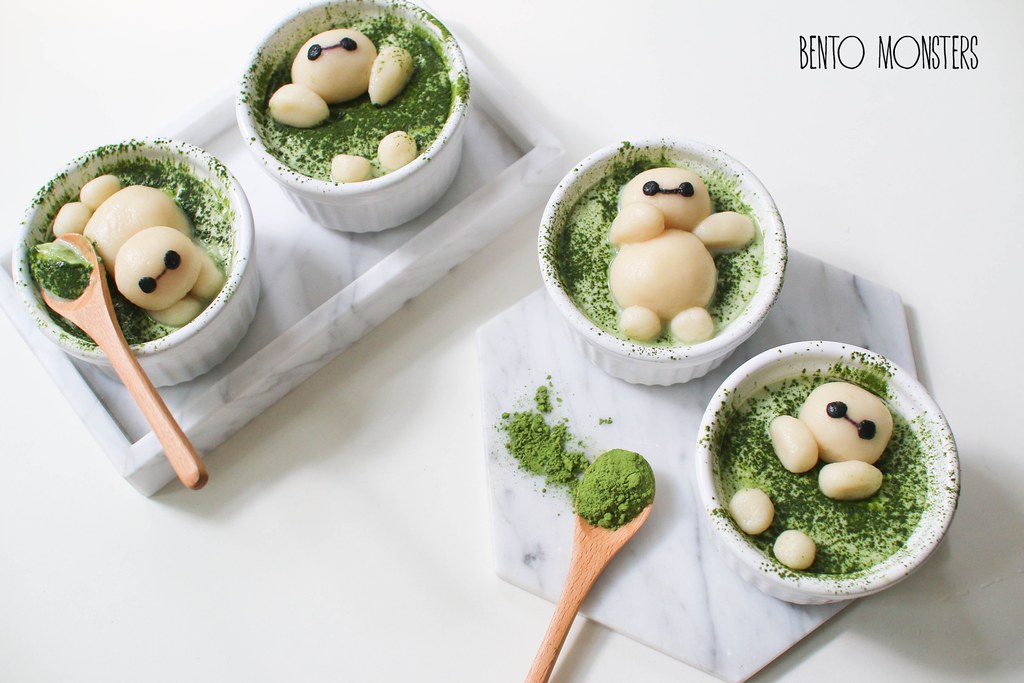
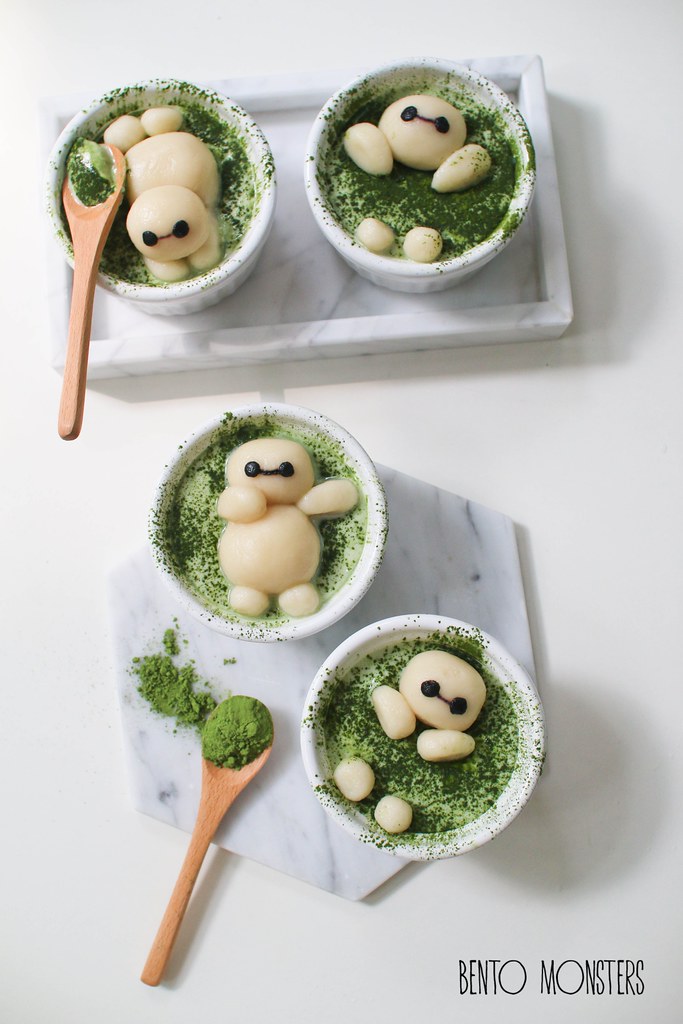
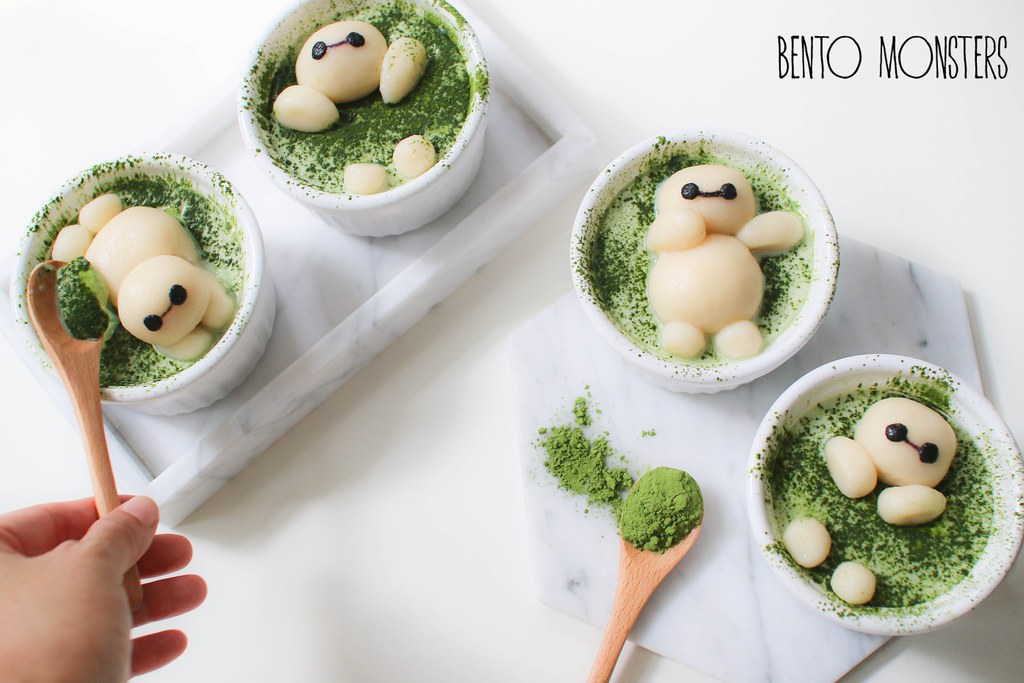
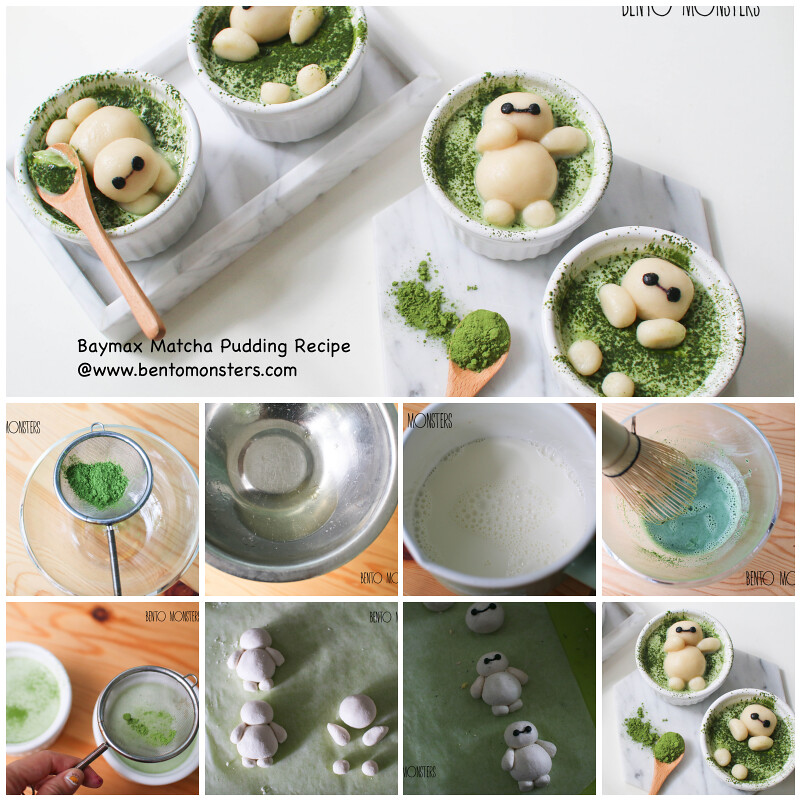
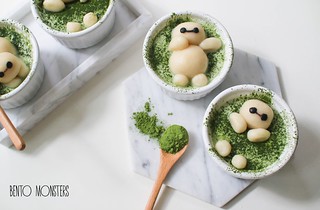
This is matcha pudding at the bottom, with Baymax made of Shiratama on top. Shiratama is the Japanese version of our Chinese Tang Yuan (glutinous rice balls). They are quite similar, so if you like, you can substitute with Tang Yuan recipe.

IMG_7132
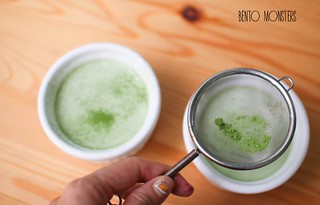
The grade of matcha powder you use does affect the taste of the pudding. You don't need the highest grade but it's recommended to get a slightly better grade one.

IMG_7137
Shiratama goes well with the pudding but these matcha puddings taste great on their own too. The pudding takes server all hours to chill, so I suggest you make the pudding a day in advance.

baymax pudding
Since Baymax is white, I did not have to color the shiratama. But if you are making other characters, you can color the shiratama using food colouring and also ingredients like matcha, cocoa powder, sesame paste, etc.


SHIRATAMA RECIPE

Ingredients:

Matcha pudding:
11/2 tbsp matcha powder
1 gelatin sheets
3 tbsp hot water
300 ml milk
31/2 tbsp sugar

Shiratama Baymax:
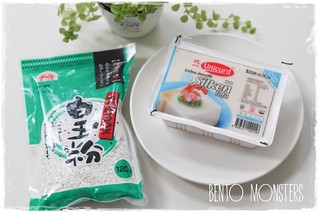
60g of Shiratama Flour
62g to 69g of Silken Tofu
Black food marker

Method:
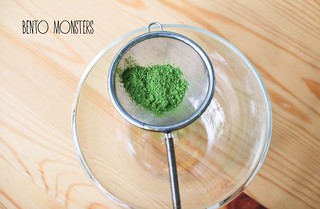
  1. To make matcha pudding, sift matcha powder into a bowl. Set aside.
  2. IMG_0030
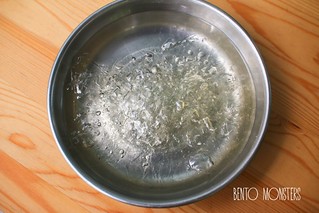
  3. Add 3 tbsp water to gelatine sheets.
  4. IMG_9852
  5. Melt gelatine sheets over a water bath. Once dissolved, remove from heat and set aside. 
  6. IMG_0031
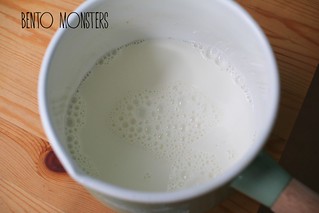
  7. Pour milk into a saucepan and bring to almost boiling. Off heat, once small bubbles are seen. Add in sugar and whisk till sugar are dissolved.
  8. IMG_0032
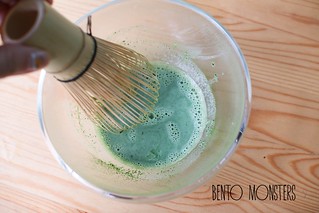
  9. Add 2 tbsp of milk to matcha powder from step 1. Whisk well till there are no lumps.
  10. IMG_0033
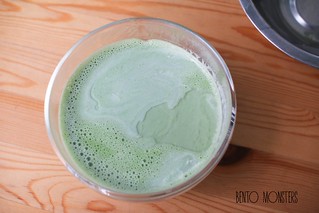
  11. Add in the rest of the milk and gelatin, mix well.
  12. IMG_0034
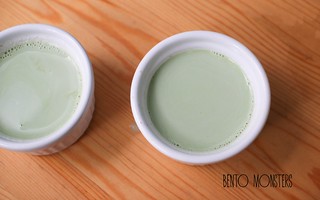
  13. Pour into ramekin or bowls and chill several hours in the fridge till the pudding has set.
  14. IMG_0035
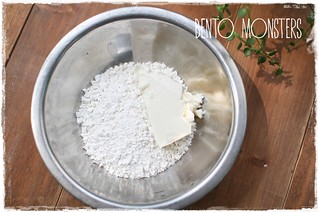
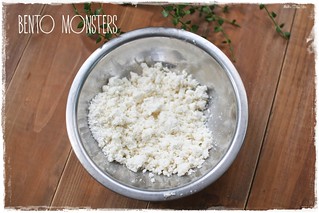
  15. To make shiratama, mix 62g of tofu with shiratama flour, use your hands to knead.IMG_2385IMG_2259
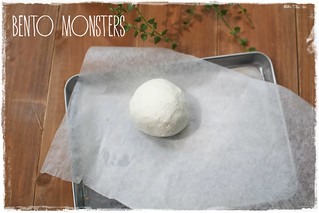
  16. Knead till a smooth dough is formed.If the mixture is too dry, add a little silken tofu till the dough is just right.
  17. IMG_2260 IMG_2262
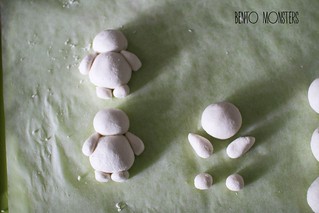
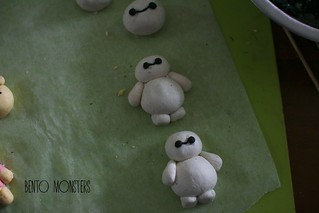
  18. Mould out Baymax using your hands.
  19. IMG_0071
  20. Use food marker to draw on their features. Alternatively, you can also take a little dough and mix with black food colouring or charcoal powder, and use that to mould out the features instead. Cook them in boiling water till they floats. Remove and place them in cold water.
  21. IMG_0072
  22. Sift matcha powder over pudding and place on Baymax before serving.
  23. IMG_0073 IMG_7136

Friday, 5 February 2016

Cat Marshmallow

Happy Chinese New Year! It's still two days away, but thanks to the long weekend, I feel that it's already here, lol. I'm trying to get two recipes updated during these few days, the first one is going to be updated today and it's the recipe for cat marshmallows.

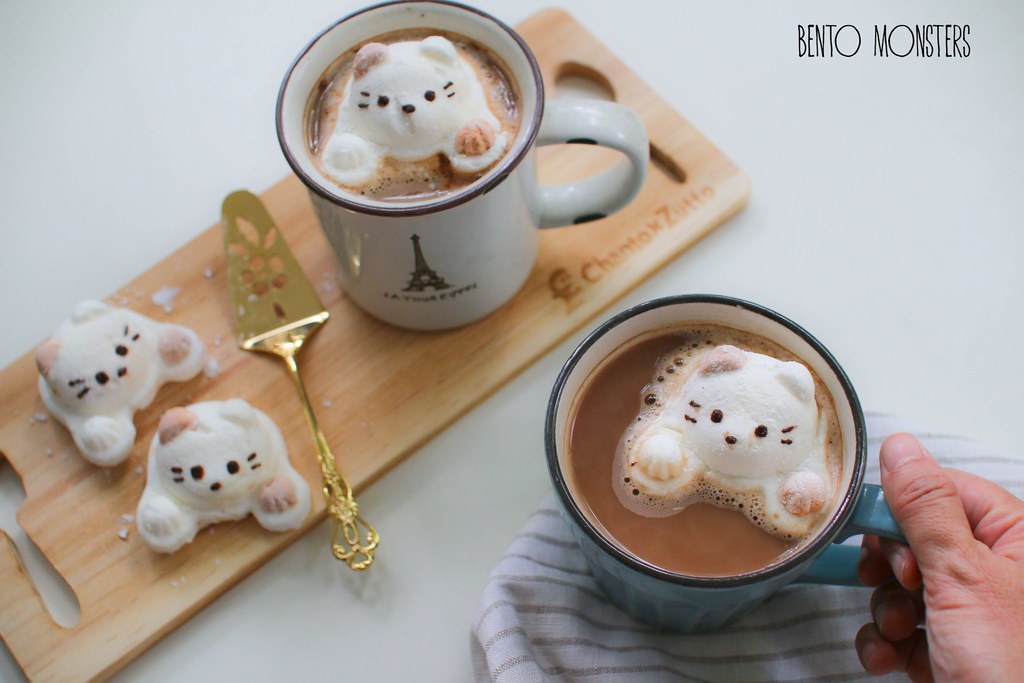
IMG_9880
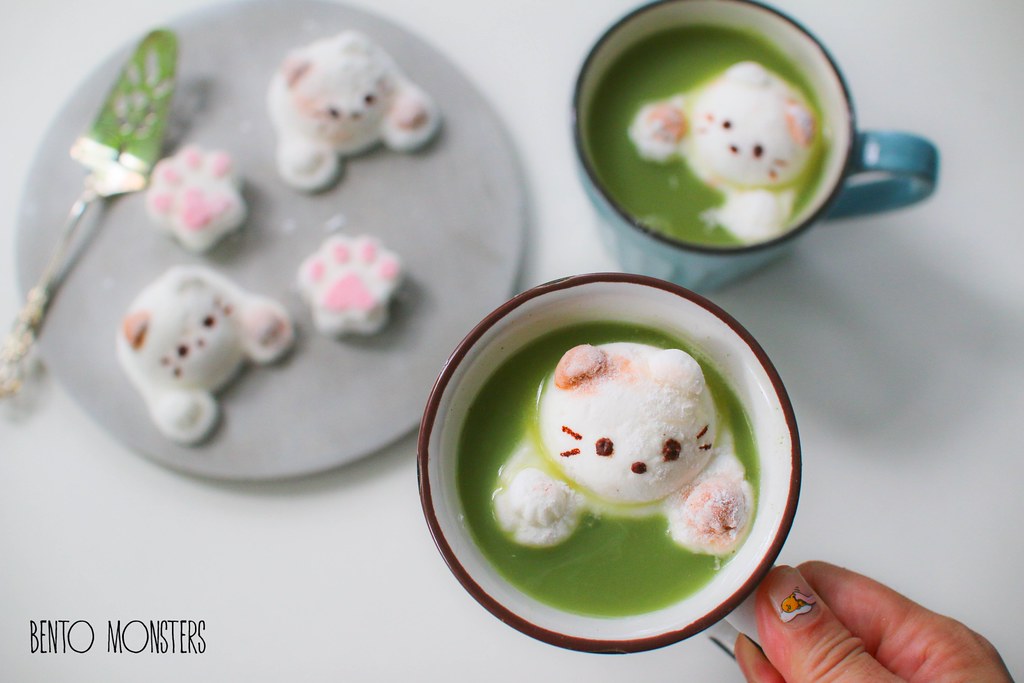
Do these cat marshmallows look familiar to you? They were inspired by the ones from Cafe Cat & Paw. I've shared about those before, you can see them in my post here.

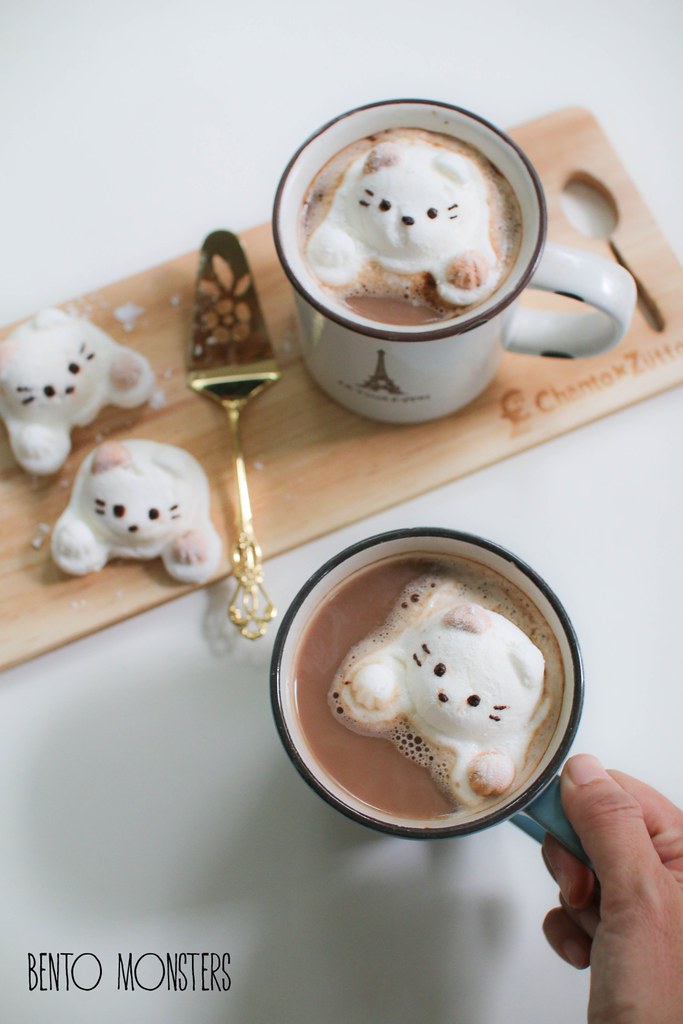
IMG_9028
I first shared about these marshmallows last December on my Instagram, and I've been receiving requests for the recipe.

IMG_9039
The delay in sharing was mainly due to two factors. I needed to test the recipe another time to confirm the measurements of the ingredients. I have no idea where you can buy the cat mould, which is essential to create these. I do not know where to get it in Japan or online. I happened to chance upon the mould in Japan, I am not even sure of the shop I bought it. -_- Thanks to a reader for the heads up, you can find a similar mould on Amazon. It's a single mould, so you can only make one at a time or you have to purchase more. If you have come across the mould that is the same as mine, kindly leave me a comment or email, so I can update this post for the benefit of anyone who might be interested.

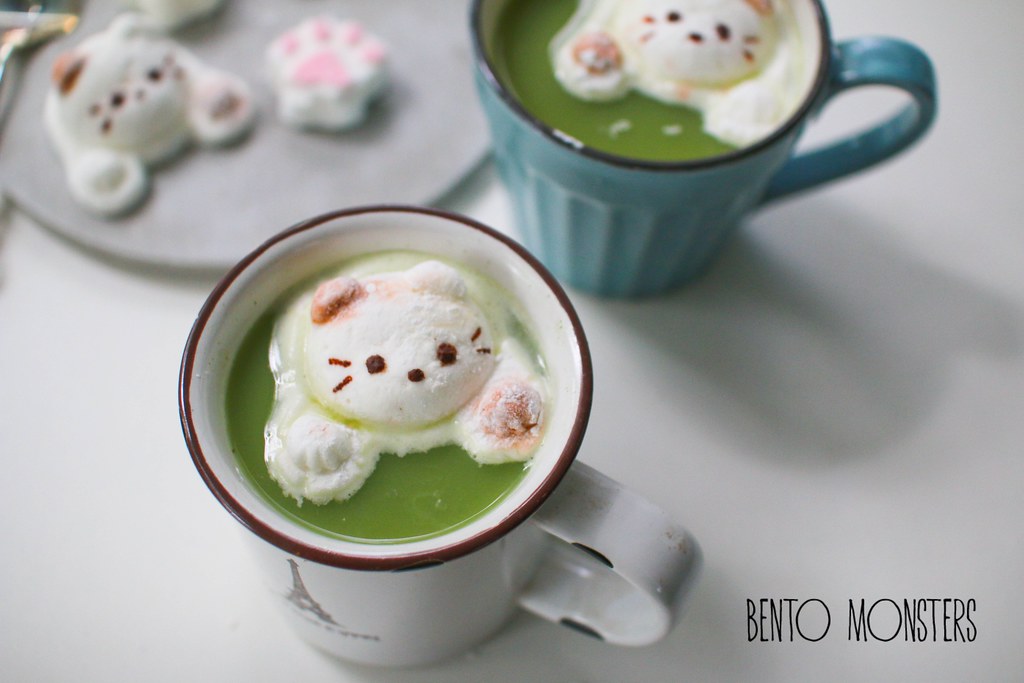
IMG_9888
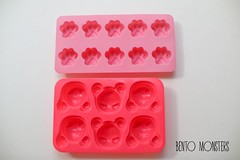
If you can't get the cat mould, you might want to try out this recipe using other moulds. I tried it out on a Hello Kitty mould and a cat paw mould and it works too.

marshmallowcat
I've experimented with both food markers and melted chocolate to draw the features, they both work, so I'll leave you to choose which one you prefer to use.

KITTY MARSHMALLOW RECIPE

Ingredients:
94g icing sugar
54g egg white
100g corn flour
42g water
94g corn syrup
4 gelatine sheets
1 tsp lemon juice
Non-stick spray
Melted chocolate/food marker
Brown food colouring

Method:
  1. Coat the silicon mould with non-stick spray, make sure you coat the small corners and edges well, else you will have difficulty removing the marshmallow from the mould later.
  2. IMG_9851
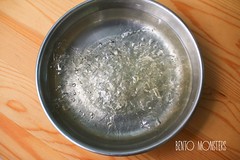
  3. Soak gelatine sheets in water. Once soft, drain water away and set aside.
  4. IMG_9852
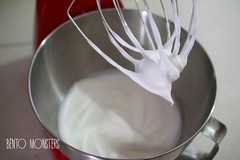
  5. Add 20g icing sugar to egg white, beat till peaks are formed. Add in lemon juice and set aside. Don't remove from mixer.
  6. IMG_9855
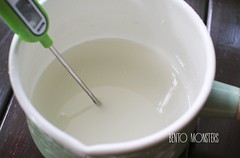
  7. Add 74g icing sugar, 94g corn syrup and 54g water to a pot. Cook and keep stirring till the temperature reaches 118C. This step is important, make sure you measure using a thermometer.
  8. IMG_9853
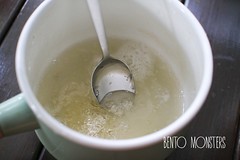
  9. Remove from stove and add in gelatine. Mix well till there are no lumps.
  10. IMG_9856
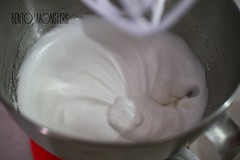
  11. Add the mixture from step 5 to the egg white at step 3. Turn on the mixer and stop once everything is well mixed.
  12. IMG_9857
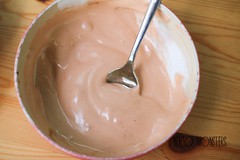
  13. Scoop out a small portion and add in brown colouring.
  14. IMG_9858
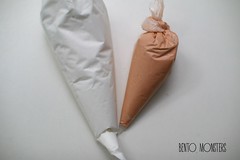
  15. Fill the mixture into pipping bags.
  16. IMG_9861
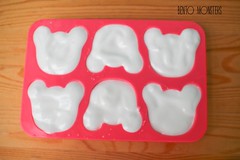
  17. Snip off ends of pipping bags, pipe out one of the cat's ears and paws using brown mixture.
  18. IMG_9863
  19. Use white mixture to fill up. Leave in the fridge for 2 hours.
  20. IMG_9864
  21. While the mould is in the fridge, pan-fry cornflour over a small fire. When it's done, spread it out on a tray. Remove marshmallow from mould after 2 hours, and dust on cornflour.
  22. IMG_9865
  23. Add on details using food marker or melted chocolate.
  24. IMG_9033

Monday, 1 February 2016

Teddy Bear Ice-Cream & Affogato

I've been hoping to get some one more Chinese New Year bento done and start on Valentine's Day creations soon, but I've not had time to do so. Crossing my fingers I'll get some done before I take a break for Chinese New Year. Meanwhile, you might want to check out my previous years' Valentine's Day bentos over here. I've also have a tutorial on how to make piggy, panda and rabbit pineapple tarts here.
  IMG_9925
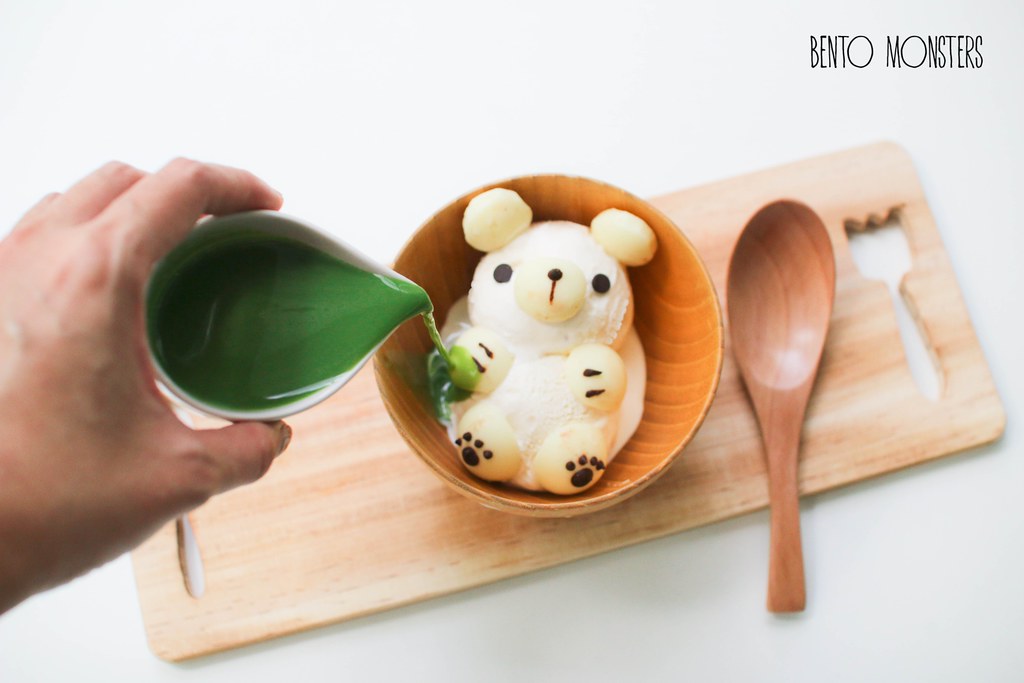
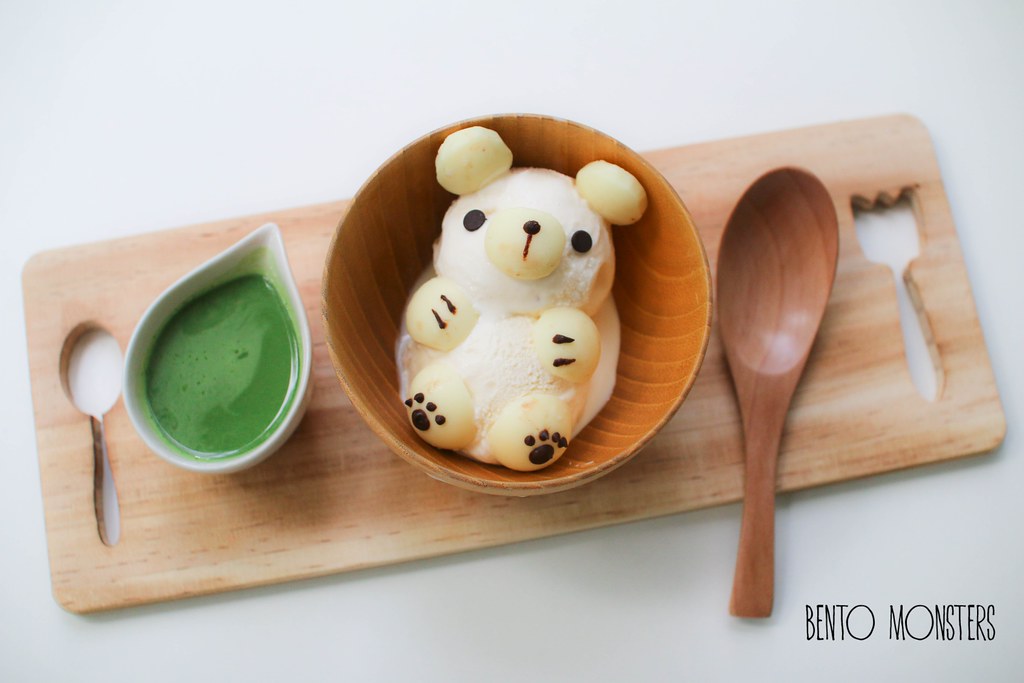
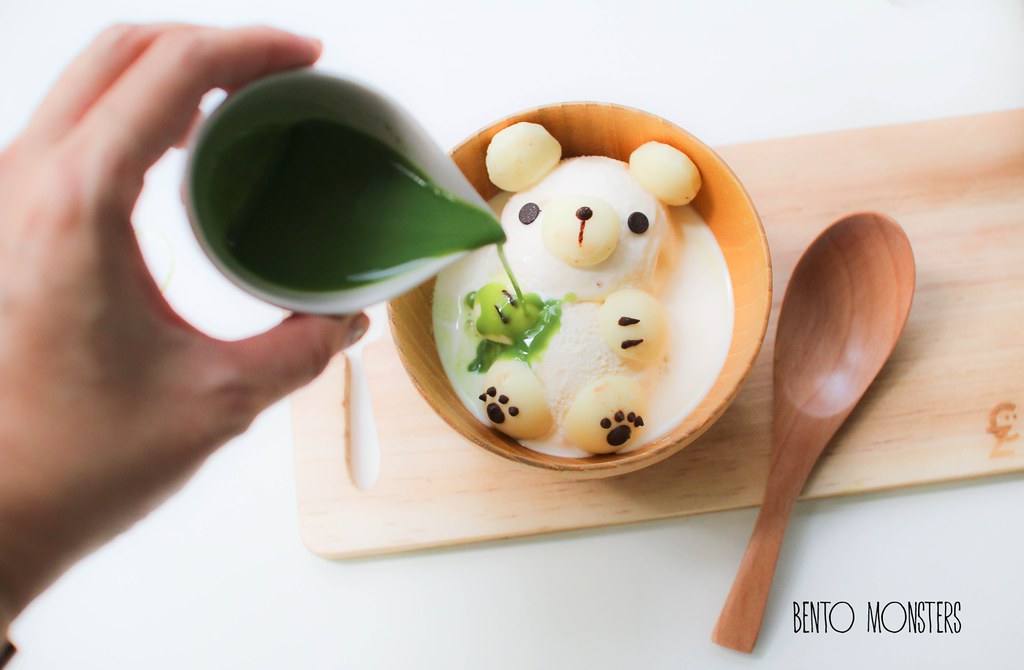
Just updating a fast post for today. Teddy bear matcha affogato I made last week. Affogato is vanilla ice-cream topped with a shot of hot espresso. I don't drink coffee, so I substitute the espresso with hot matcha instead.

IMG_9923
I'm out of matcha powder though, so this was matcha latte instead, using instant pre-mix packets in my pantry. I have to make this again using matcha powder, I've another character idea for ice-cream I want to try.

IMG_9930
The teddy bear was made using vanilla ice-cream, white and dark chocolate. I felt like I was racing against time when I made this, because the ice-cream melts very fast and I had to work at super speed, lol. I should turn on the air-con the next time I attempt anything with ice-cream.

IMG_5043
I also found this old creation in my archive, I think I shared it on Instagram before, but not on my blog.

IMG_5040
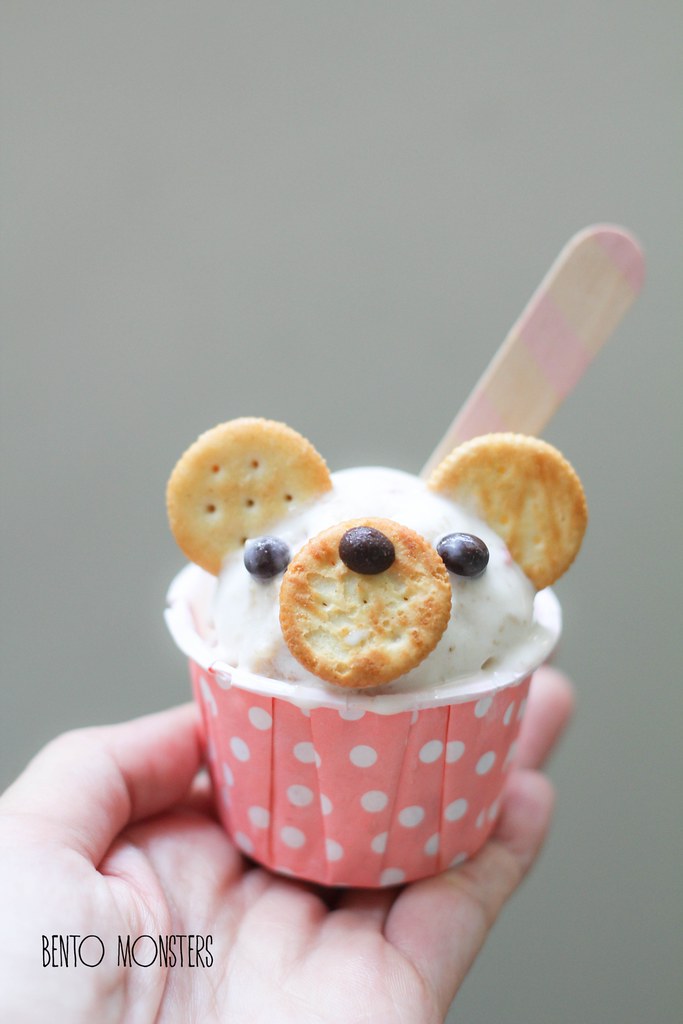
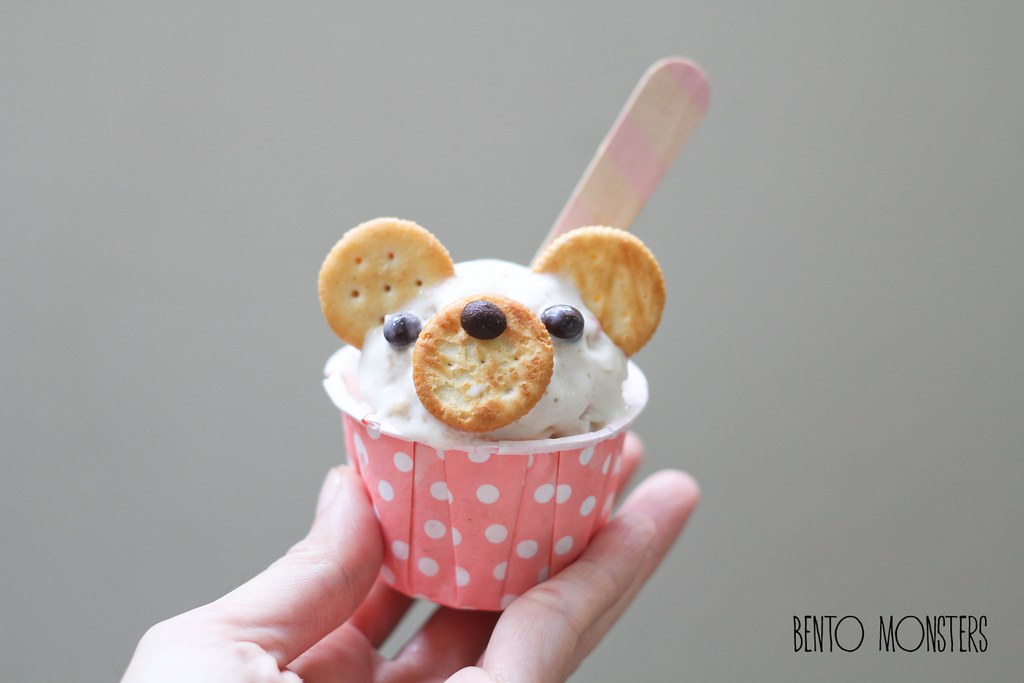
This ice-cream bear is quite easy to assemble, you just need cookies and chocolate chips.