Monday, 17 February 2014

Cornell Hello Kitty Sandwich Toaster

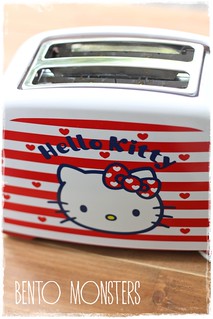
Do you remember the Cornell Hello Kitty Sandwich Maker I shared before previously? This time, I am sharing the Hello Kitty Sandwich Pop Up Toaster from Cornell.
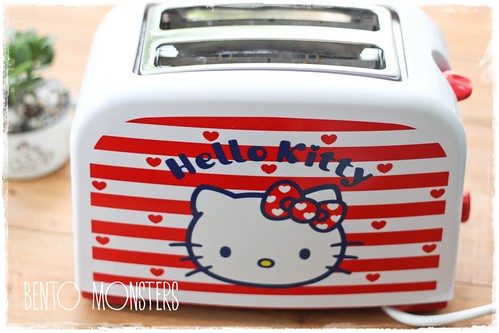
IMG_2807
This is the kawaii toaster I'm referring to, which lets you make a Hello Kitty print on your toasted bread. I received it last Thursday and was eager to try it out the following day. The toaster comes with a cover lid that helps to keep dust out when the toaster is not in use. It also comes with a removable tray at the bottom that helps you to get rid of the bread crumbs.
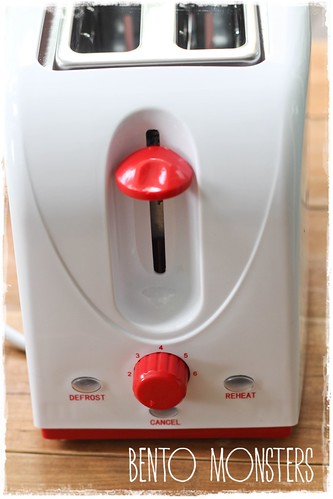
IMG_2813
The toaster is a breeze to use. It comes with an adjustable knob for you to adjust the heat settings. I suggest setting it to around 3 for your first try. After that, you can turn the heat level up or down, depending on how dark/light you want your Hello Kitty print to be.
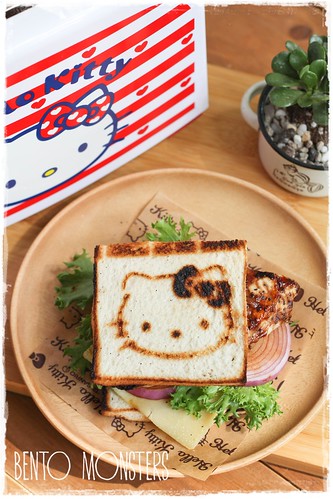
IMG_2836
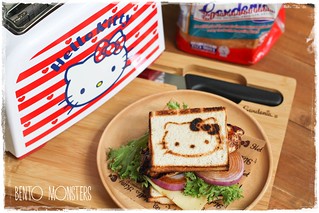
I made a grilled chicken sandwich for our dinner. I omitted the onions for my boys' sandwiches as they don't like onions. I will be sharing the recipe at the end of this post.

IMG_2822
The Hello Kitty Pop Up Toaster is available at all major electronics and departmental stores.
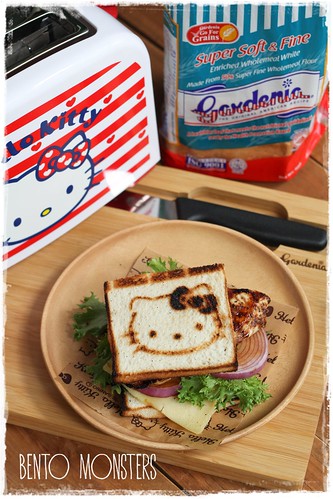
IMG_2839
If you are staying in Singapore, you can now stand a chance to win a Hello Kitty Toaster or Sandwich Maker, I will share about it in tomorrow's post. I will also share another recipe for you to try with the Sanwich Maker tomorrow. :)

GRILLED CHICKEN SANDWICH RECIPE

Ingredients:
2 slices of bread
1 chicken breast
1 slice of cheddar cheese
1 tsp sake
1/2 tsp salt
1/2 tsp black pepper
1/2 onion, sliced
2 tbsp teriyaki sauce ( 3 tbsp water, 3 tbsp soya sauce, 1 tbsp sake, 1 tbsp mirin, 1 tbsp sugar)
1 tbsp mayonnaise
1 tbsp mustard
mix of salad greens

Method:
  1. If you do not have a bottle of teriyaki sauce. You can make some by simmering 3 tbsp water, 3 tbsp soya sauce, 1 tbsp sake, 1 tbsp mirin and 1 tbsp sugar till the mixture thickens slightly. Set this aside first. 
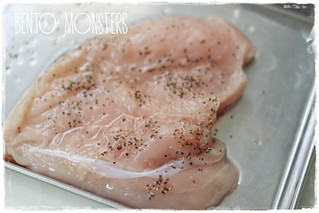
  2. Butterfly cut the chicken breast. Marinade chicken with salt, black pepper and sake for half an hour.
  3. IMG_2802
  4. Heat up grill, grill both sides of chicken. When chicken is almost done, spread on teriyaki sauce, and grill for another minute each on both sides.
  5. Toast your bread slices in the Hello Kitty Pop Up Toaster using heat level 3.
  6. IMG_2808
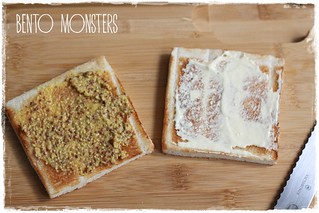
  7. Spread mayonnaise on one slice of bread and mustard on the other half.
  8. IMG_2840
  9. Assemble by placing salad greens on bottom half of bread, followed by cheese, onions, chicken and top half of bread.
  10. IMG_2814 IMG_2828

Thursday, 13 February 2014

Cinnamoroll Valentines Bento

I received a Valentine's Day card today, not from my hubby, but from my son, lol. IT was busy drawing something this afternoon and he told me not to peep. He presented me with a card thereafter and wished me 'Happy Valentine's Day'. He had asked me a couple of days back whether I wanted flowers for Valentines. I told him no, because flowers are overpriced on Valentine's Day. This boy sure knows the way to my heart. :)

IMG_2798
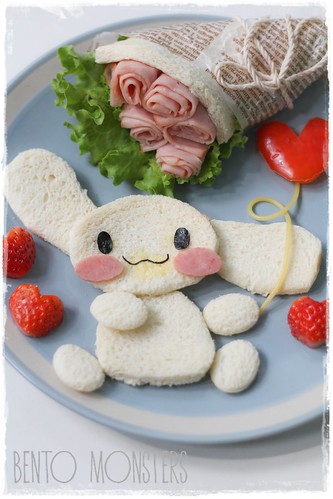
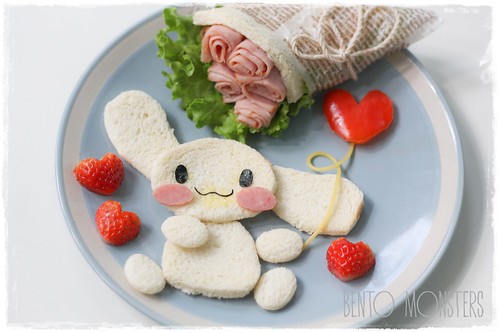
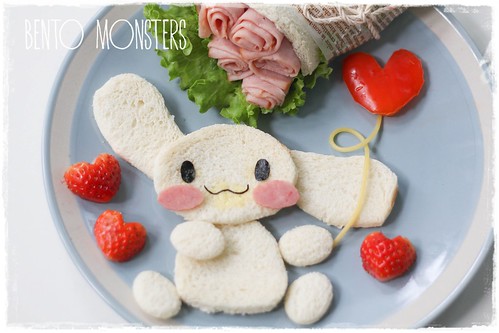
I made this Cinamoroll sandwich for IT's tea break today. He's always asking for food not long after lunch. He's probably on a growth spurt, he's almost as tall as me and he's only 10 years old.

IMG_2800
The bouquet of roses were made using lettuce, ham and bread, it's just like a ham sandwich but presented in a more interesting way. You might want to try this if you are looking for a quick Valentines idea for tomorrow.

IMG_2797
I'll probably take a break from blogging tomorrow. Here's wishing you a Happy Valentine's Day!
Bunting---Dots-and-Stripes---Rainbow---13
Where to get same or similar items used in today's post:

Tuesday, 11 February 2014

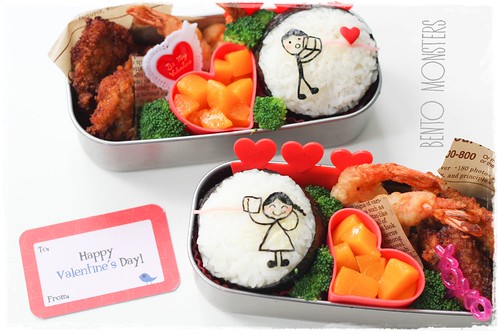
Hello......Love Valentines Bento

Valentine's Day is almost here. I'll be sharing my last Valentines bento tomorrow. This post is part of a blog hop with my fellow Bento Bloggers & Friends. So after you have seen my post, please click on the image at the end to go onto the next blog to check out more Valentines lunches. :)

IMG_2601
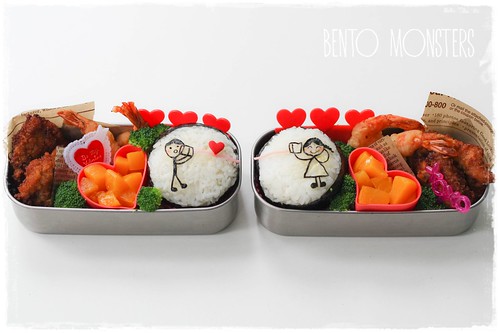
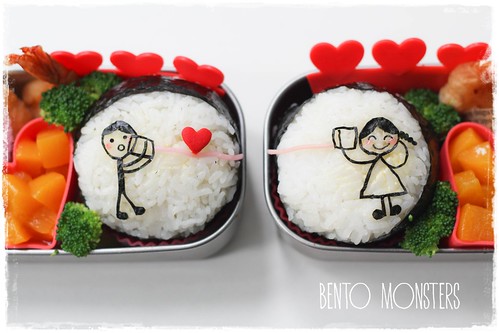
I first saw this cute boy calling girl stick figures on a set of pillow cases. Subsequently saw them on cupcakes as well. I thought they were perfect for a Valentines themed lunch, so I tried to recreate the design on onigiri.

IMG_2599
The side dishes packed in the bentos were pork cutlets, fried prawns, broccoli and peaches.

IMG_2590
Ingredients used to make the stick figures were nori, heart sprinkler and a strand of ume soba noodle. :)

Now, please click the image above and hop over to Licious Lunches to check out Rebecca's awesome Valentine's day creations. :)
Bunting---Dots-and-Stripes---Rainbow---11
Where to get same or similar items used in today's post:

Mickey Loves Minnie Valentines Bento

I came across some really cute Mickey and Minnie Valentines card while surfing for Valentines ideas. I love two of the designs, I made one of the design today. I will make the other one another time, maybe next Valentine's day, lol. :P

IMG_2760
This is quite an up to date post, made this for dinner today. I was planning to make a toast version today too, but LT had a dental appointment today, and the wait was too long, had no time to make one.

IMG_2766
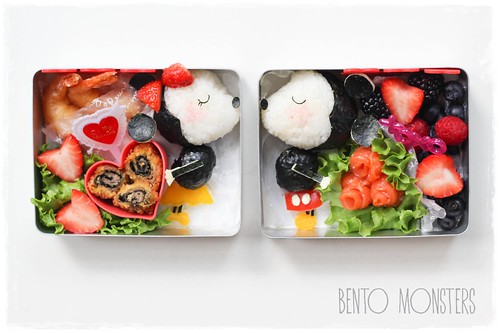
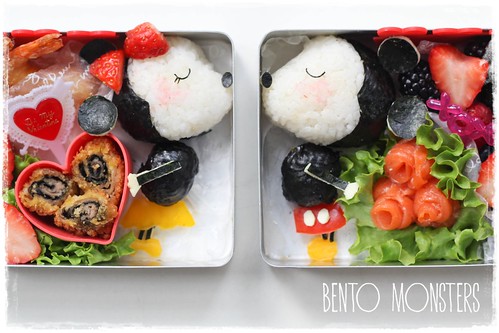
Mickey and Minnie are exchanging Valentines gifts, Minnie bought a box of chocolates and Mickey has a bouquet of flowers for her.

IMG_2764
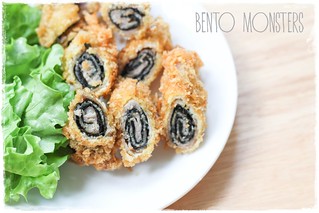
Ingredients used for Mickey and Minnie were rice, nori, capsicum (yellow and red), cheese and strawberry. I'm sharing the seaweed pork rolls recipe below (the ones in the heart food cups), they still taste good when cold, so they're perfect for packing into bentos.

SEAWEED PORK ROLL RECIPE

Ingredients:
15 slices shabu shabu pork
15 slices Japanese seaweed
1/2 tsp salt
1 tbsp soya sauce
1 tbsp mirin
Flour/egg/panko(japanese breadcrumbs) for coating

Method:
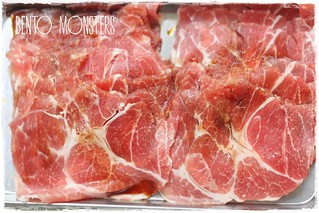
  1. Season pork slices with salt, soya sauce and mirin.
  2. IMG_2753
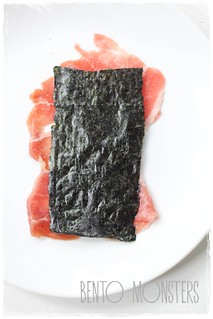
  3. Place a slice of seaweed on top of a slice of pork.
  4. IMG_2754
  5. Roll up the pork/seaweed.
  6. IMG_2755
  7. Coat pork roll in flour, followed by egg and finally with panko. 
  8. Deep fry or shallow fry till golden brown.
  9. IMG_2769
Note:
  • You can also add in additional cheese or cod roe fillings. Simply place some cheese or cod roe on top of the end of seaweed that you start rolling from . 
  • Panko can be replaced with breadcrumbs. 
Bunting---Dots-and-Stripes---Rainbow---11
Where to get same or similar items used in today's post:

Monday, 10 February 2014

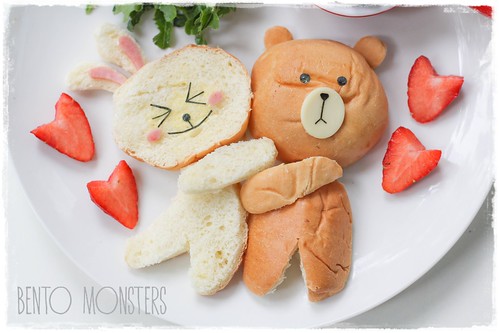
Line Brown & Cony Valentines Bento

A little slow in updating my Valentine's Day bentos, I will be sharing all of them this week. Meanwhile, you can click HERE to check out my Valentine's Day bentos from previous years.

IMG_2585
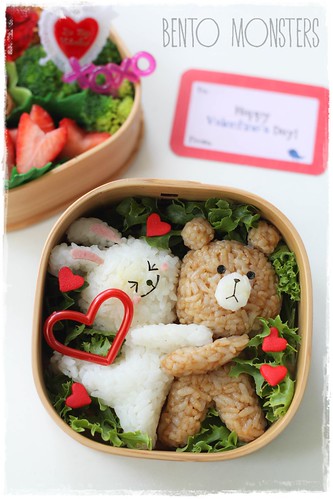
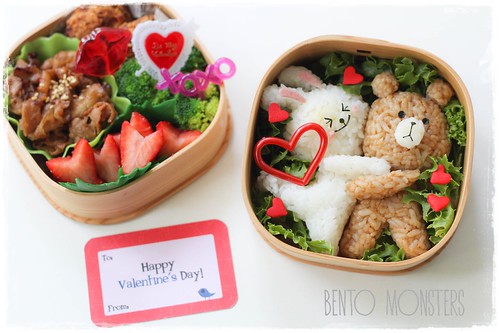
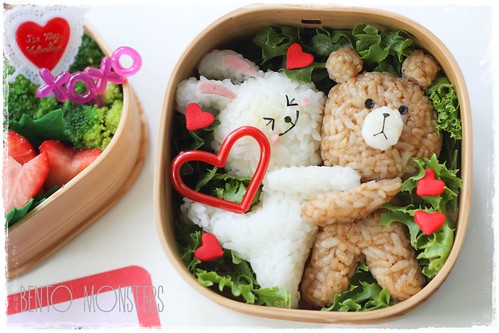
A Brown and Cony Valentines bento to start the ball rolling. Lol, really love this odd couple!

IMG_2583
The side dishes for this meal were teriyaki pork, chicken cutlets and broccoli.

IMG_2582
Ingredients used to make Brown and Cony were rice (brown rice coloured with some dark soya sauce). nori and ham.

IMG_2656
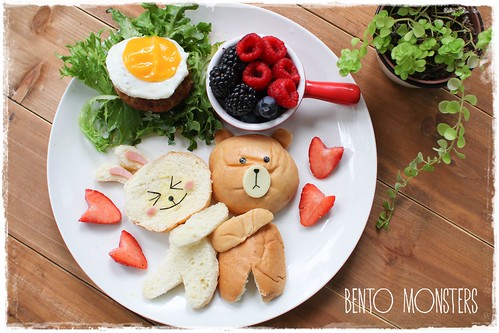
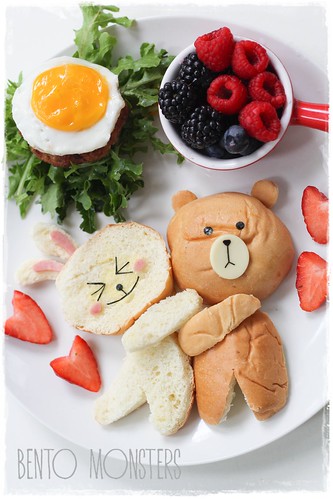
I made a burger version as well, managed to take some step by step photos for this. It's not difficult to recreate this, hope you can give it a try. :)

IMG_2670
If you need a chicken patty recipe for your burger, you can check out my previous recipe HERE.

IMG_2636
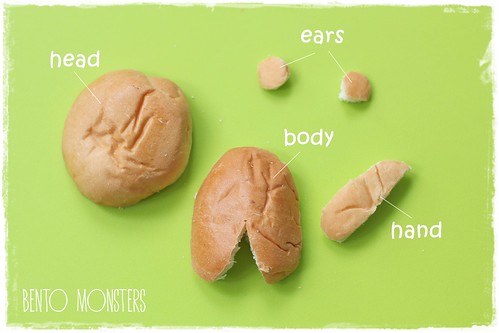
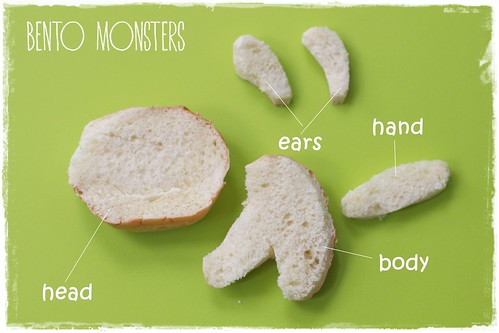
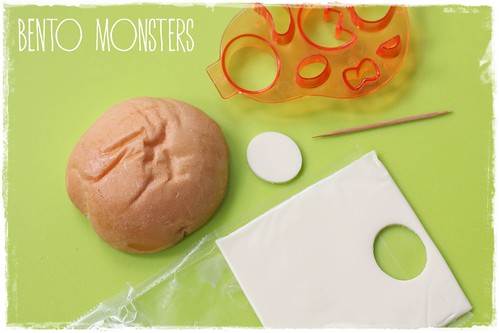
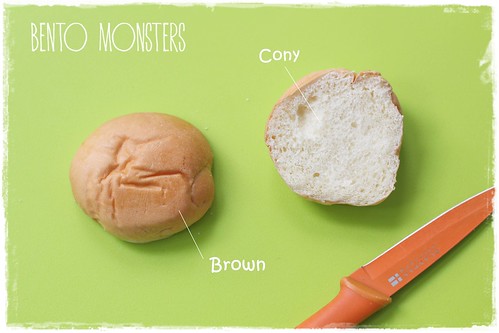
Here's how I made Brown and Cony burgers. First, slice your buns in half, keep the top part for Brown's head, and the bottom part will be Cony's head.
IMG_2637
Slice another bun in half again. Cut out Brown's body, ears and hand from the top part.

IMG_2638
Cut out Cony's body, ears and hand from the bottom part.

IMG_2647
To make Brown's features, cut out cheese with an oval cutter. If you do not have one, you can use a toothpick to cut out instead.
IMG_2648
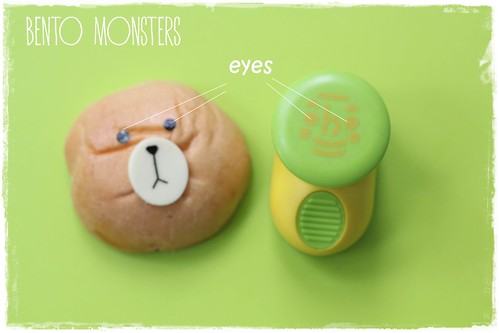
I used this puncher to punch out nori for Brown's eyes, the rest of the features were cut out using a pair of sharp tipped scissors. Dab some mayo on the bun before placing on the eyes, this will help the eyes to 'stick'.
IMG_2643
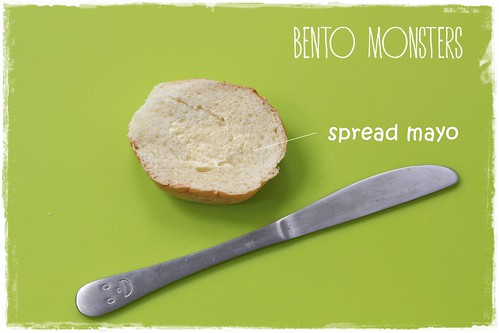
To make Cony's features, start off by spreading on some mayo or cream cheese. This will help the nori to 'stick' onto the bun.

IMG_2645
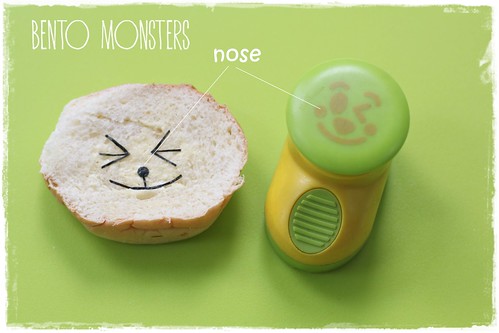
I used this puncher for Cony's nose. The other facial details were cut out using a pair of sharp tipped scissors.

IMG_2646
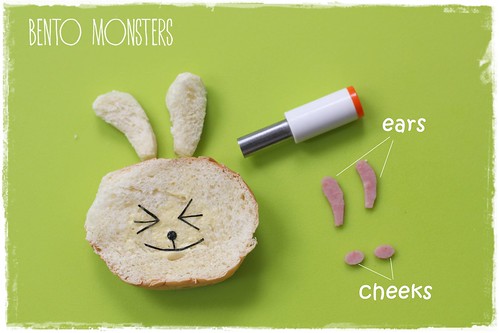
Cut out cheeks and ears from ham. I used an oval cutter to cut out the cheeks. If you do not have one, you can use a straw to cut out too. Just squeeze the straw so you get an oval shape, and you can cut out your ham with that.

IMG_2652
Just assemble everything onto a plate or in a bento box. If you are packing it in a bento box and bringing it to work/school, you might want to use pasta to secure all the parts. :)
Bunting---Dots-and-Stripes---Rainbow---13
Where to get same or similar items used in today's post: