
Since I've some time today, I'll update this Doraemon burger that comes with step-by-step photos. I'll continue with my Halloween bentos next week. I probably will just be doing another one or two more Halloween bentos, I'm afraid I won't be able to update them all in time if I do too many. -_-
It has been a long time since I last made Doraemon. If you are a fan of Doraemon, you might want to click HERE to check out this old post of mine on Fujiko museum in Tokyo. :)
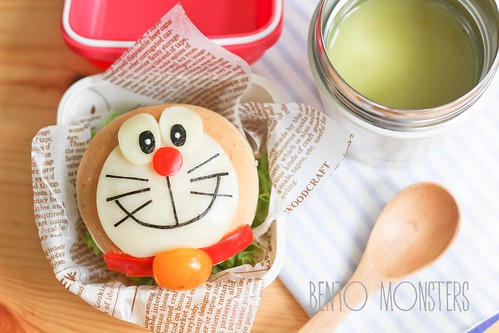
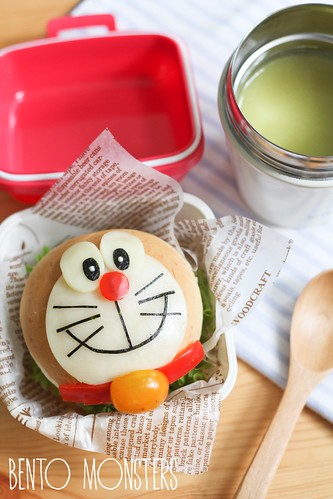
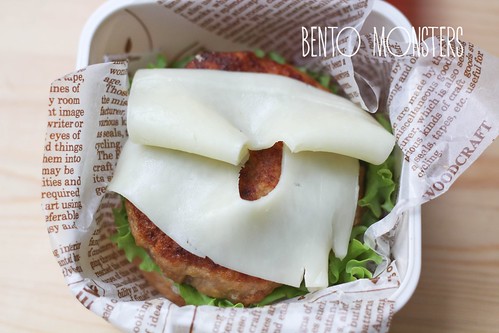
We had chicken burger for lunch, along with some asparagus soup. This Doraemon burger was packed in a Deli Lunch Box, available from Bento & Co. I received the one in red, but it's available in orange and green too. It's the perfect size for a burger, but can be used to pack rice, salads, pasta, etc.
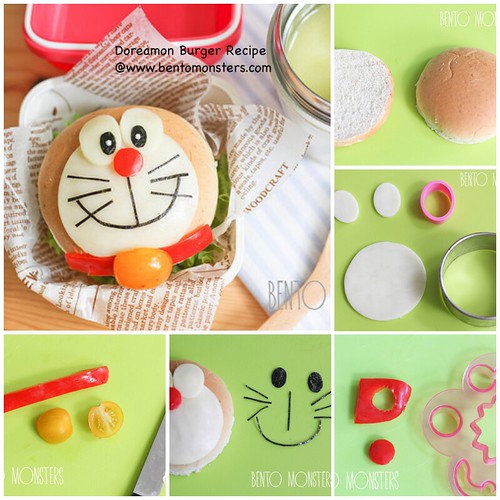
Please refer to detailed steps below to make this Doraemon burger.
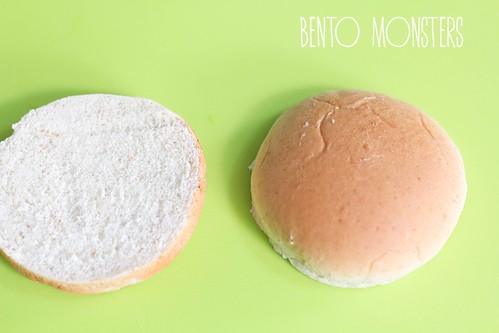
To make Doraemon burger, slice your burger bun in half.
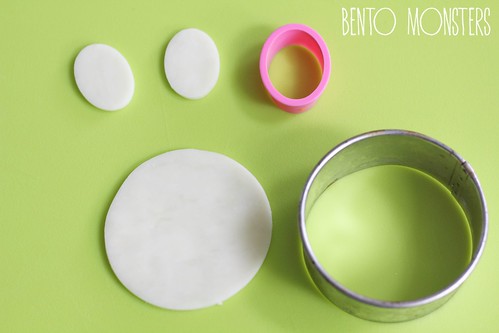
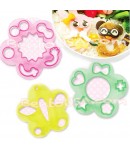
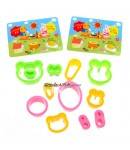
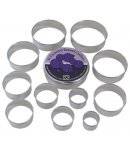
Using cutters, cut out two small ovals and one big circle. If you do not have the correct cutters, you can also cut out the shapes using a toothpick.
Don't throw away the leftover cheese cut outs, place them inside your burger.
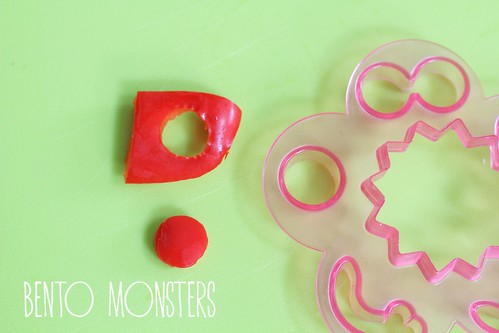
Cut out a circle for Doraemon's nose from red capsicum.
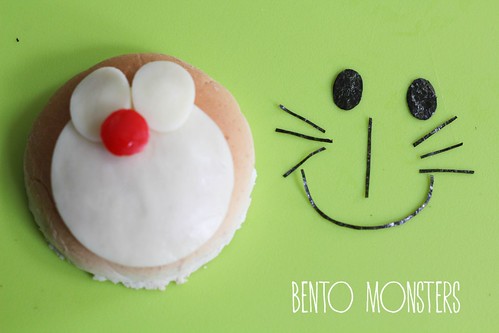
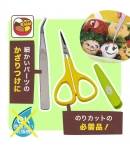
Cut out Doraemon's features from nori, using a pair of scissors.
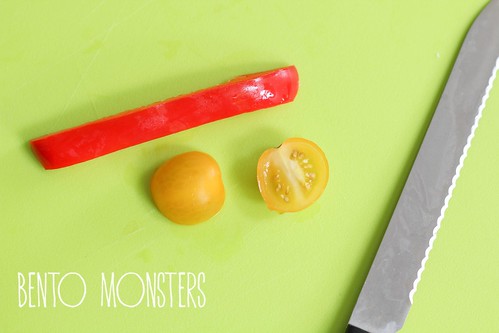
I used red capsicum and yellow cherry tomato for Doraemon's bell. You can attach this onto the burger using pasta.
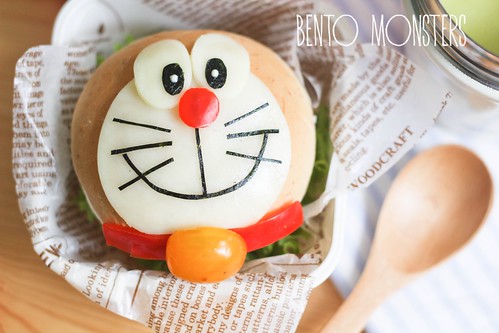
Lastly, add on a dab of mayonnaise on each of Doraemon's eyes.

Where to get same or similar items used in today's post:


Good Morning Ming, ur Doraemon burger brighten up my day!!!Simple steps, but turned out so lovely, you are so creative!
ReplyDeleteTk u, Wan Wan. :)
Deletelovely tutorial and cute Doraemon!
ReplyDeleteTk u, Shirley. :)
DeleteHow do you cut the nori so well, especially with the curved mouth? Amazing skills as always!
ReplyDelete-Mew
Tk u, Mew, I used a small sharp tipped scissors to cut, so it's easier. :)
Deleteso cute. TQ for the idea.. I'm going to try this (^_^)v
ReplyDeleteTk u, NedLi Sakurai. :)
DeleteSuper cute Doraemon burger!
ReplyDeleteTk u, Jean. :)
DeleteLove your Doraemon, adorable! Thanks for sharing the tutorial, I have to give it a try someday soon.:)
ReplyDeleteTk u, Rina. :)
DeleteHello Ming, thanks so much for the awesome tutorial! I am a new bento-maker wannabe who do not really understand how to attach the bits and pieces to ensure they don't fall off. Do you have any tutorials for this? Thanks so much! - jo
ReplyDeleteHi Jo, most of the time you can use raw pasta to attach parts, the moisture in food will soften the pasta, so it'll be soft by the time you eat. Alternatively, you can also use fried pasta. To 'stick' on pieces, you can use any sticky spread, eg. Mayonnaise, honey, jam, etc.
DeleteThanks for posting so many wonderful tutorials, Ming! I just started making bentos this year for my 2 boys as their school canteen is supercrowded since the school went on single session. Your website is a wealth of ideas, appreciate you taking time to share. - Ning
ReplyDeleteHappy that it's of help, thank you for telling me. :)
DeleteHi Ming, this is heart! my son love burgers. May I know what type of cheese u used? Can keep so long till recess time w/o fridge? Tks. Wendy
ReplyDeleteTk u, Wendy, I used sliced Monterey Jack cheese for this. For ingredients like cheese or mayo, you need to add in an ice pack for them to keep the bento cool till recess. An alternative is to pack along a frozen packet drink like milo, that way the drinks will keep the bento cold and they get a cold drink at recess.
Delete