Tuesday, 11 August 2015

Sanrio Baguette & Somen

If you have been following me on Instagram, you might have seen my post about my bento book, which is coming out on 1 September 2015. My book is now available for pre-order. I've updated a list of links on where you can pre-order the book here. In the post, I've also included a brief about my book writing journey, as well as some sample pages from the book. If you are just looking for the links to order, you can skip what I wrote (It's brief for me but might be a little lengthy for you) and just scroll to the bottom of the post for the links.
IMG_2757
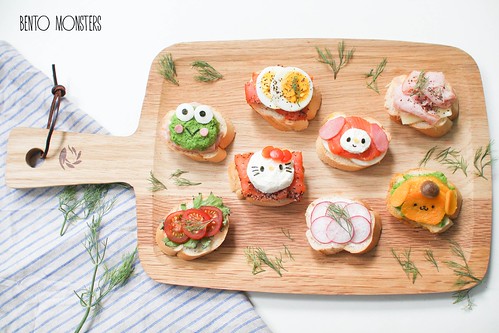
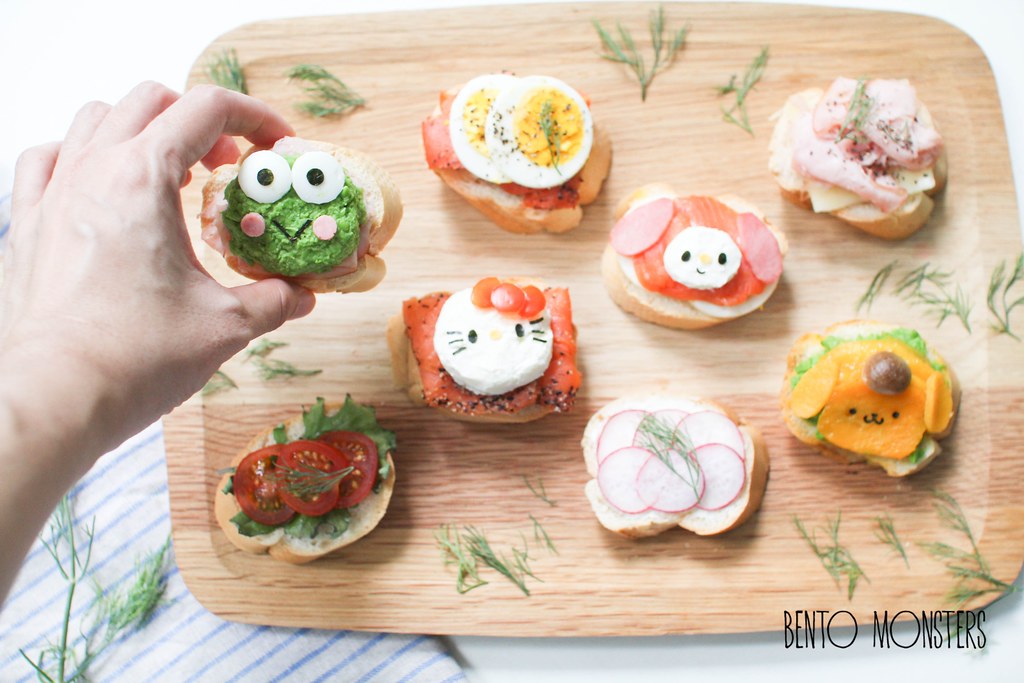
Open-faced sandwiches I made to share with my boys for afternoon snacks during the June school holidays. I used baguette to make these, I sliced and toasted the baguette before topping them with assorted fillings like smoked salmon, lettuce, cheese, ham, eggs, etc.
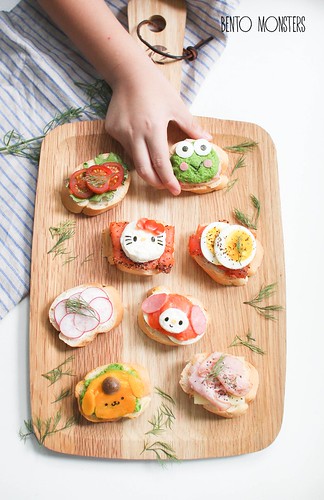
IMG_2763Can you spot 4 Sanrio characters in there? The four Sanrio characters are Hello Kitty, Keroppi, Pom Pom Purin and My Melody. I used cream cheese, tomato, cheese and nori for Hello Kitty. For Melody, I used smoke salmon, cream cheese, cheese, ham and nori. Ingredients used for Pom Pom Purin were mango, mushroom and nori. Keroppi was made using mashed peas, cheese, nori and ham.
IMG_2759
I allowed my boys to choose the sandwich first and they left the tomato and radish for me, lol. -_-
IMG_4720
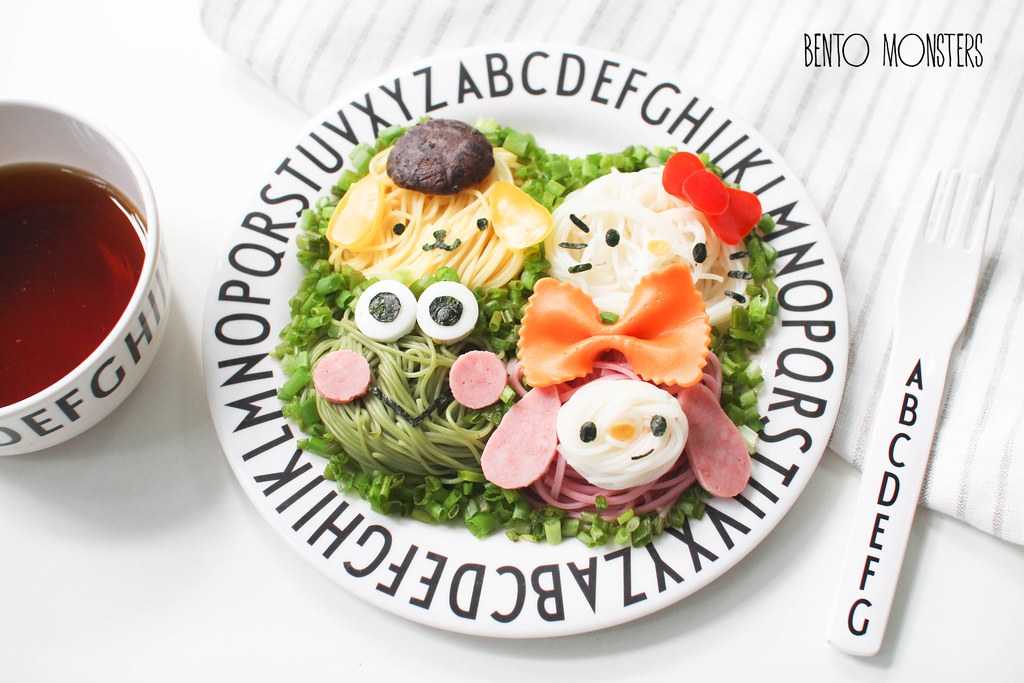
Another version of the four Sanrio characters, this time using coloured somen. I did not colour them, they are available for sale in different colours.
IMG_4724
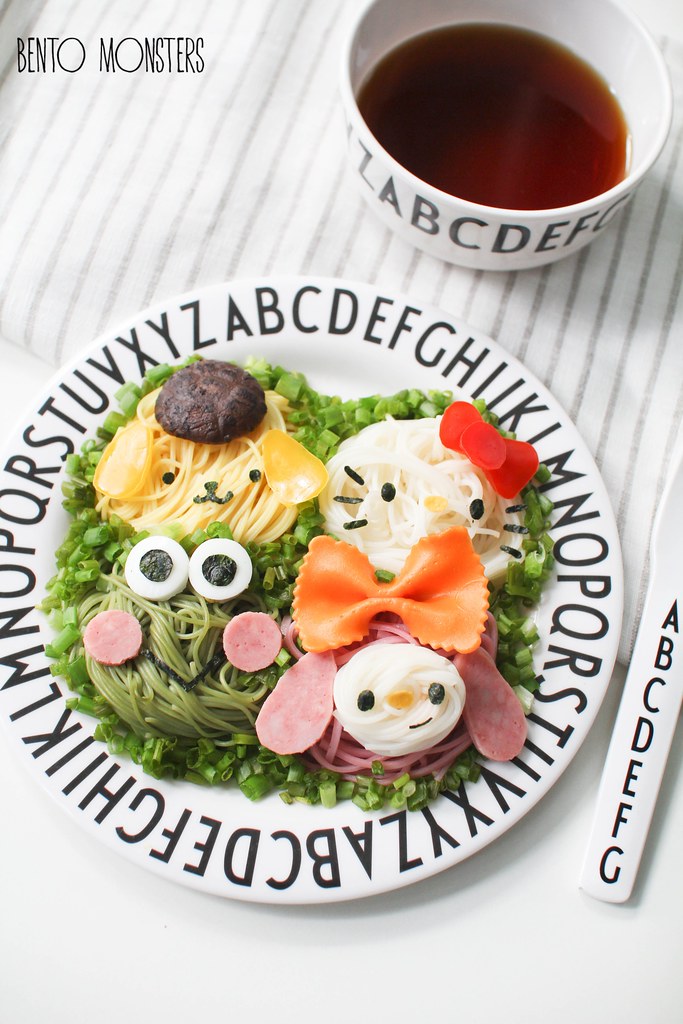
Ingredients used in the food art, other than the noodles were, cheese, capsicum, nori, ham, mushroom and bow pasta.
IMG_4722
These noodles were served cold with a dipping sauce, quite refreshing to eat these during the hot weather.
Saturday, 8 August 2015

Singapore National Day SG50 Food Art

It's our nation's golden jubilee tomorrow. It's a big celebration this year throughout the long weekend from Friday all through to next Monday. And of course I had to come up with a food art for this very special occasion. I actually came up with two designs but I was not happy with one of the design, so I won't be posting it. Hopefully I can improvise on the other design and share it next year. :)

IMG_5588
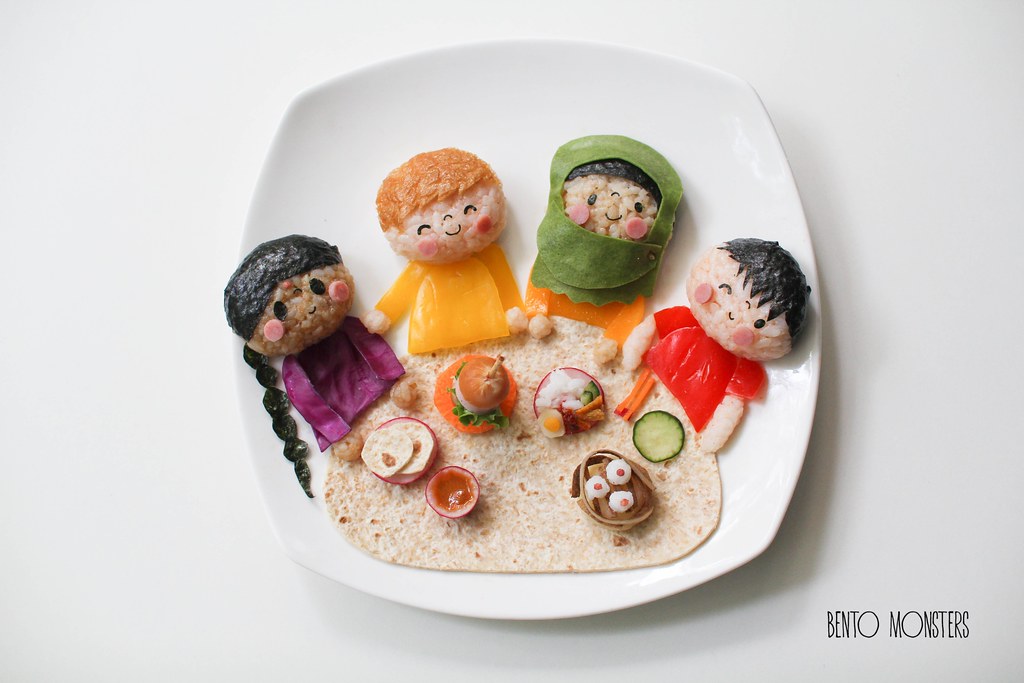
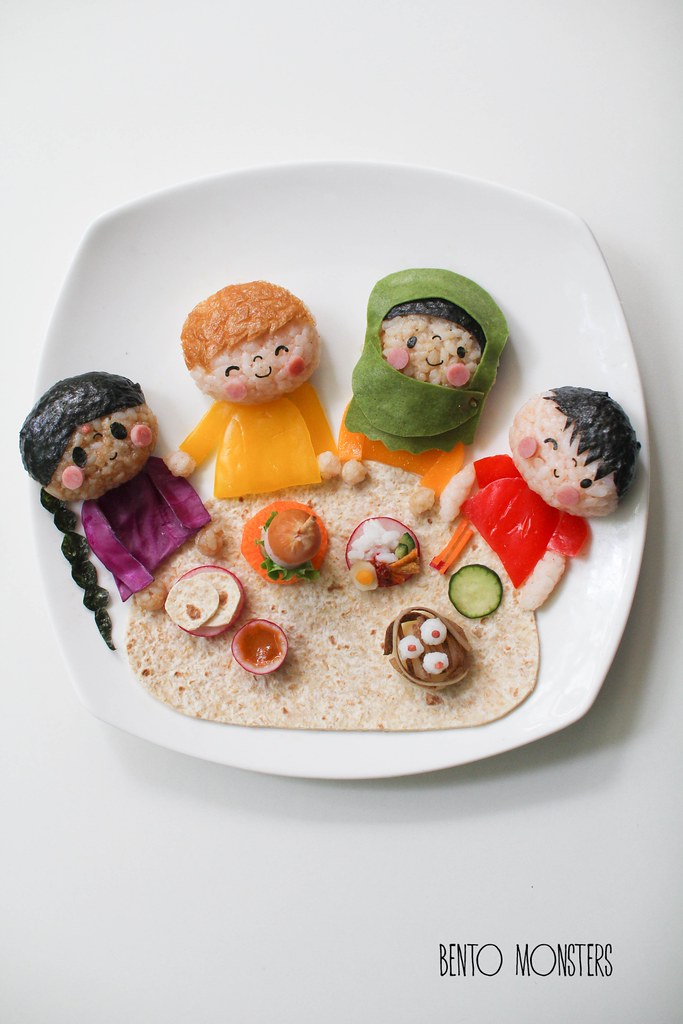
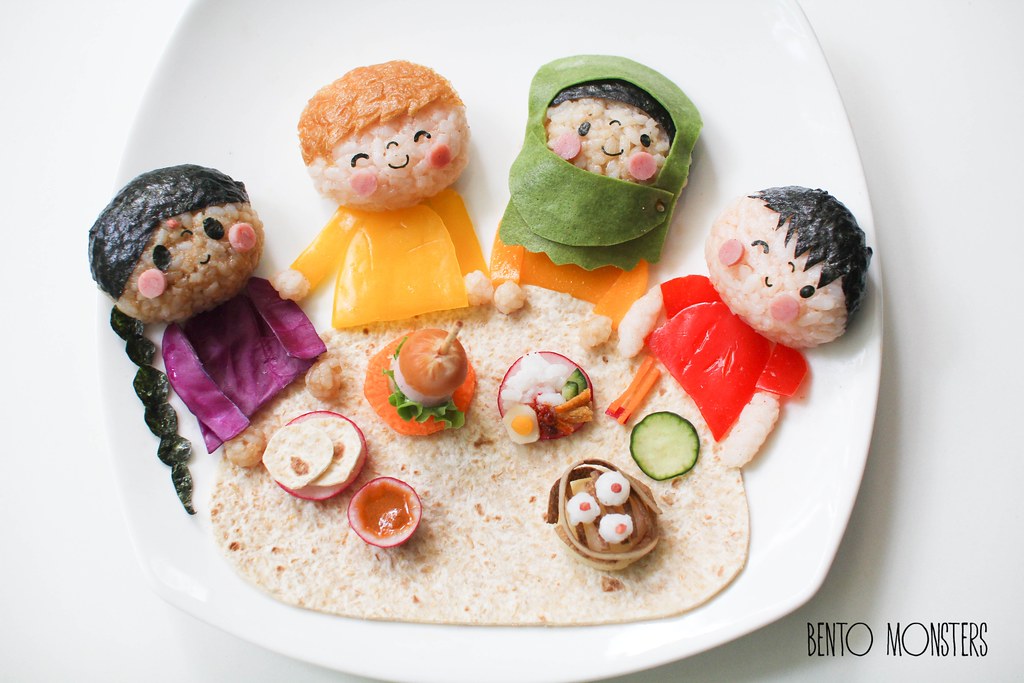
This is Singapore, four friends eating together at the same table, regardless of their race or religion.

IMG_5591
To make the people, the rice were coloured using either dark soy sauce or ketchup. Other ingredients used were bell peppers, cheese, ham, nori, red cabbage, aburaage and egg sheet.

IMG_5587
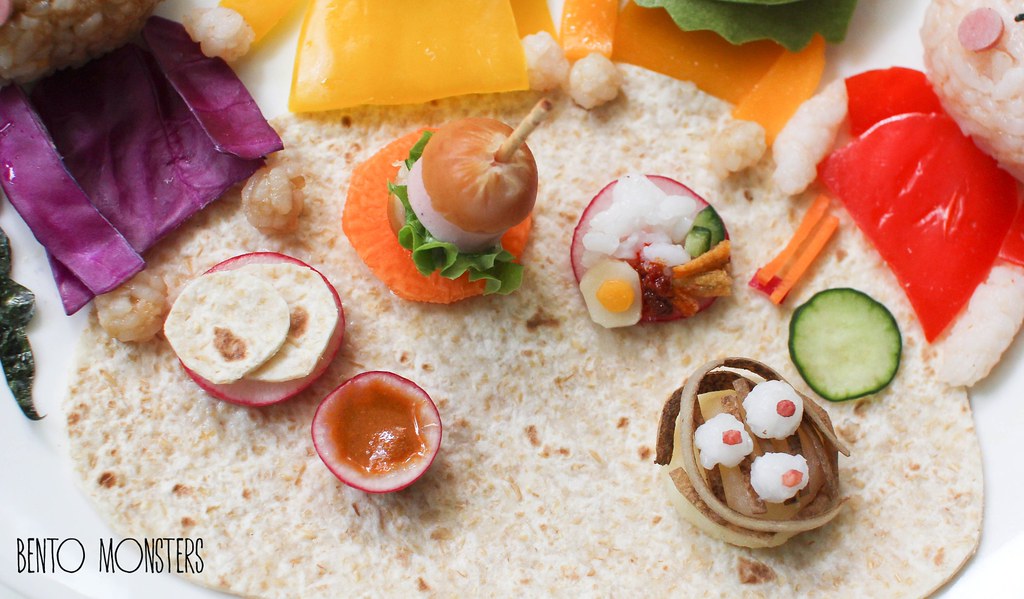
I also crafted out miniature food, from left to right clockwise, Prata, Burger, Nasi Lemak and Dim Sum. In choosing the food for each ethnic race, Prata for Indian and Nasi Lemak for Malay were a no-brainer. But I could not decide which food would be a good representation for Chinese and Malay, finally settled on Dim Sum and Burger respectively.

IMG_5592
Can you guess what ingredient I used to create the miniature food? Everything is edible, quite fun making this.

IMG_1116
This food art of our founding father, Lee Kuan Yew, which I made earlier this year, definitely deserve a repost on this special occasion. For this is also a day to remember our founding father. We would not have been able to celebrate the golden jubilee of Singapore, if he had not dedicate his whole life in building our nation.
Monday, 3 August 2015

Tsum Tsum Ice-Cream & Kebab

This week is going to be a really short school week, all thanks to our upcoming Jubilee celebration for our Nation's birthday. :) I've been wanting to make some Singapore themed food art, I've been toying with two ideas, hopefully I'll get at least one of them done this week.

IMG_3283
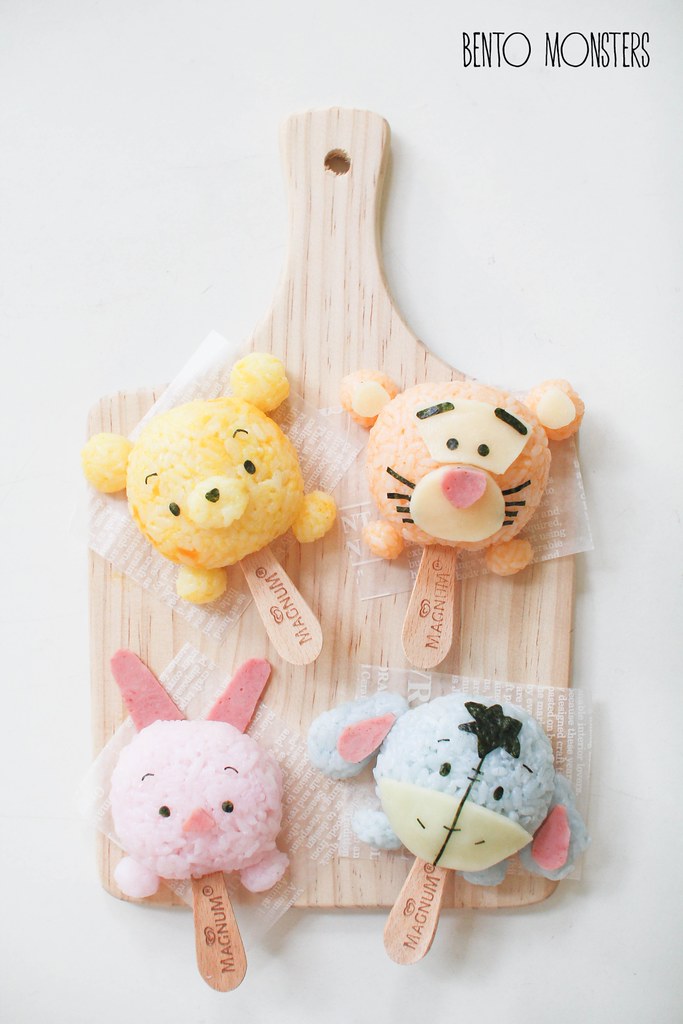
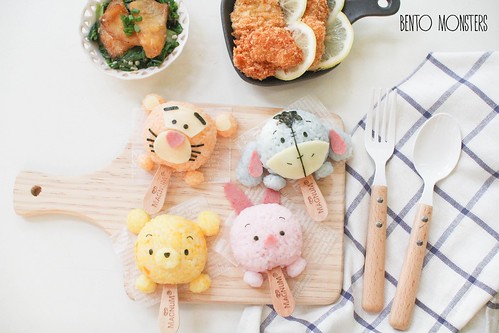
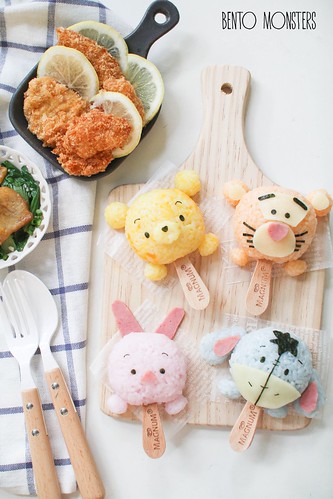
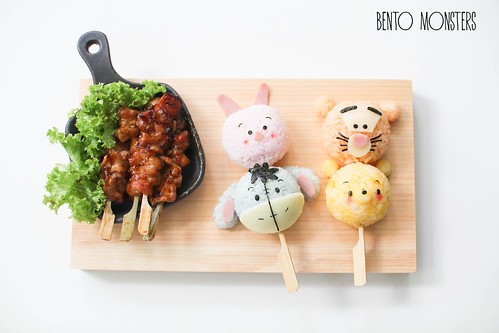
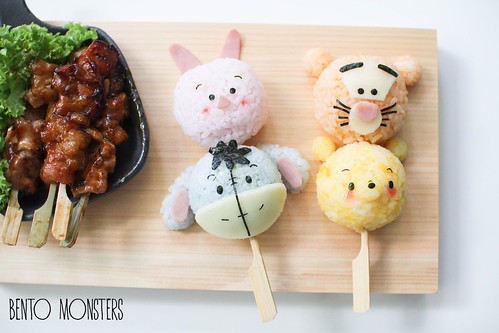
Meanwhile, here's some Tsum Tsum Pooh Bear, Tigger, Piglet & Eeyore rice-cream. This is my second rice-cream creation, the first one was made using Sanrio characters.

IMG_3265
I used deco-furi to colour the rice for Tigger and Eeyore. Then, for Pooh, I used mashed egg yolk, and lastly beetroot water was used for Piglet.

IMG_3286
Moulding the rice on sticks does makes it more fun for kids to eat. Side dishes for that day were lemon fried chicken and stir-fried fish with veggies.

IMG_5310
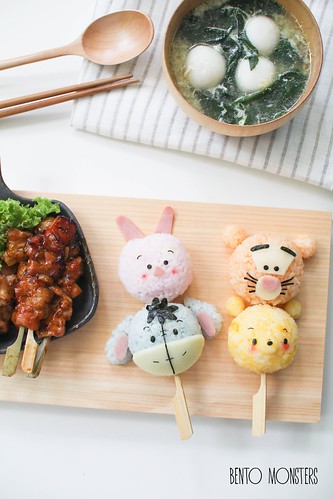
Here's a kebab version of the Tsum Tsum Pooh, Tigger, Eeyore and Piglet. Side dishes to go along were chicken yakitori and fishball and spinach egg drop soup.

IMG_5316
The rice were coloured using the same way as the Ice-cream ones. Other ingredients used to make these were nori, cheese and ham.

IMG_5315
This was actually a last minute idea, I coloured the rice with the intention of moulding them like macarons, only to realised there was no potatoe at home, had wanted to use the mashed potato to substitute for macarons fillings. Never mind, I will keep that idea for another time.

Wednesday, 29 July 2015

Gudetama Sushi & Sandwich

More Gudetama food art to share in this post, he's one of my favourite characters to craft, because he is so easy to make. I don't have anymore Gudetama creations in my archive after this post, but I'm quite sure it won't be too long before make him again, lol.

IMG_2399
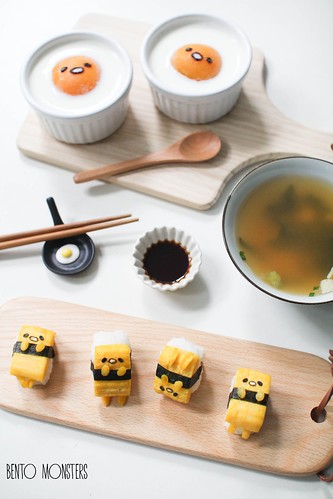
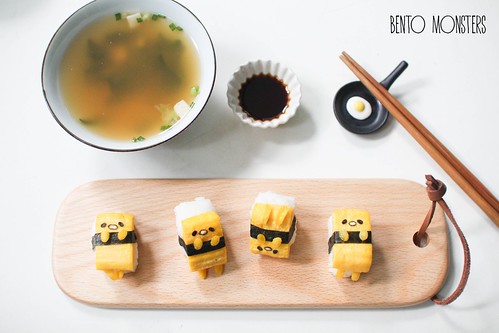
First up, I've Gudetama tamago sushi and Gudetama pudding.

IMG_2389
These sushi were made with just tamago and nori. My boys love sushi and sashimi, because they get to dip them in soy sauce, lol. -_-

IMG_2404
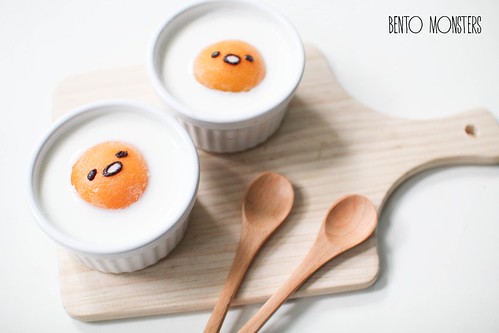
Gudetama milk pudding with peach, I used melted chocolate to draw in the features for Gudetama.


IMG_5230
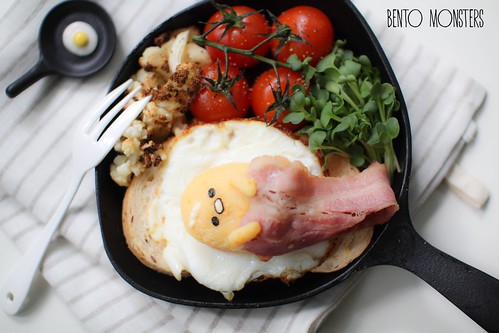
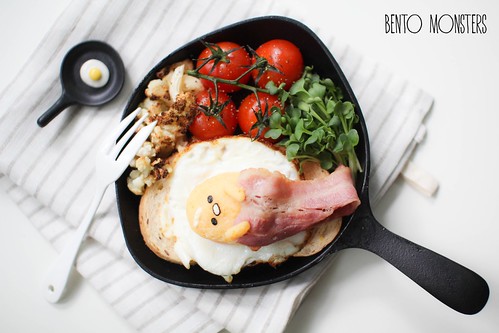
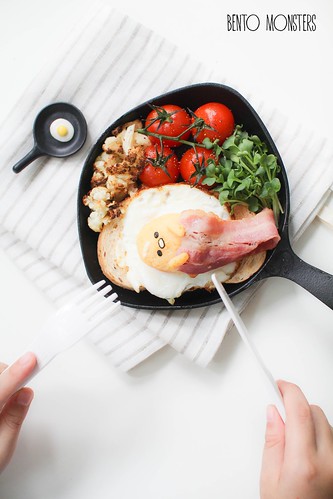
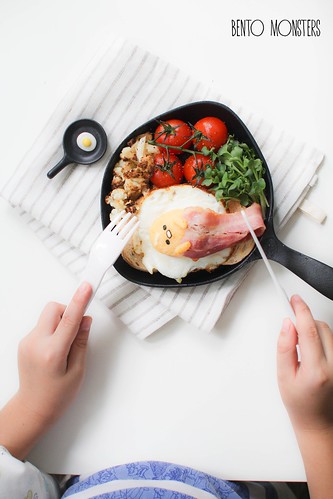
Gudetama egg sandwich, which I made for my brunch just this Monday.

IMG_5231
You can refer to my post here on how to make Gudetama. The difference is this time I used mashed potatoes mixed with egg yolk, instead of mashed pumpkin. And the egg was placed on bread, instead of rice.

IMG_5236
I was taking pictures of my brunch, when LT came running over and said he wanted to be my hand model, which means he wants his hands to be in the photo. I usually make my food art in the afternoon when he's at school, so he's a little upset it's always IT's hands in the photos, lol.

IMG_5239
And here's an uncropped photo I had to share because I found it cute, just look at LT's tummy, and he's still hugging onto his bolster, lol. Shhh...... don't tell him I shared this photo, or he'll tell me to remove it.

Monday, 27 July 2015

Ron Weasley & Rubeus Hagrid

It's a school holiday today, which I was not aware of till my boys mentioned about it last saturday. I had to double check the calendar to confirm they were right. -_-  Just as well, definitely don't mind a shorter school week, so I get one more day to get up later, lol.

IMG_5126
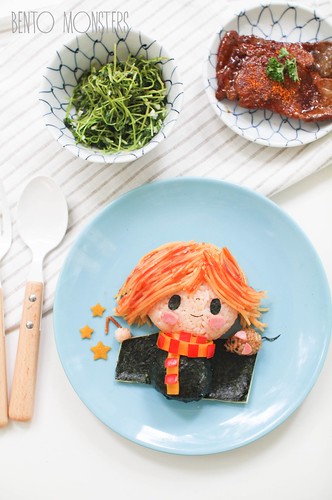
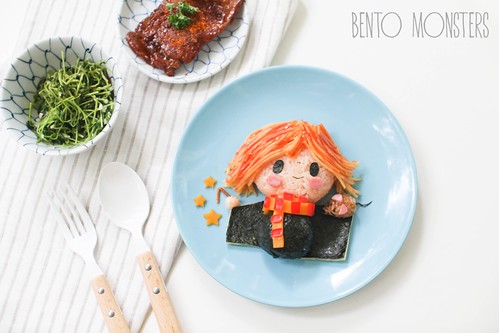
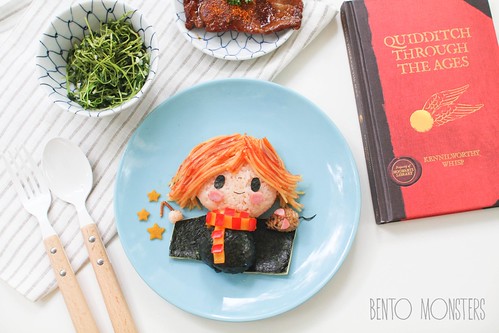
I'm sharing the rest of my Harry Potter series for today. After making Harry Potter and Hermione Granger earlier, I continued with Ron Weasley next. I made Ron Weasley with Scabbers and his broken wand.

IMG_5124
If you have been following me on Instagram, you might have noticed that this Ron Weasley food art is slightly different from the one I shared there. The stripes on the scarf was not placed properly on that one, and I did not noticed until I uploaded the photos, so I remake it again.

IMG_5129
Ingredients used to make Ron Weasley were rice(coloured with ketchup), pasta(colored with ketchup), nori, cheese, red bell pepper and ham.

IMG_5174
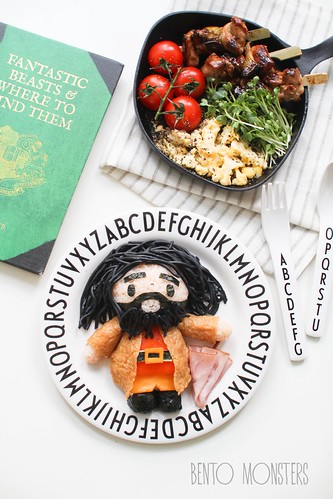
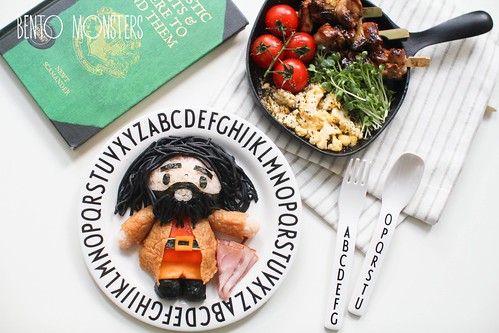
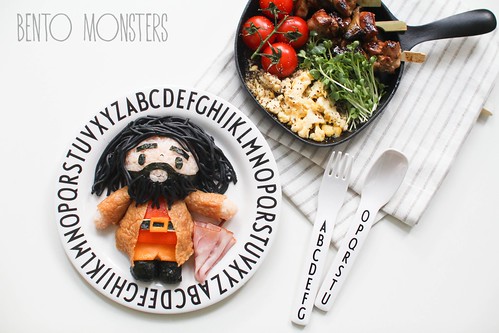
Lastly, I decided to make Rubeus Hagrid as well. My initial idea was to make Hagrid and Fang, but halfway through, Fang did not turn out well, so I ditched the idea and replaced it with Hagrid's umbrella instead.

IMG_5166
Ingredients used for Hagrid were rice(coloured using ketchup), charcoal noodles, nori, cheese, red bell peppers and abura-age.

IMG_5164
Hagrid's umbrella was made from fried pasta stick and ham.

harrypotter
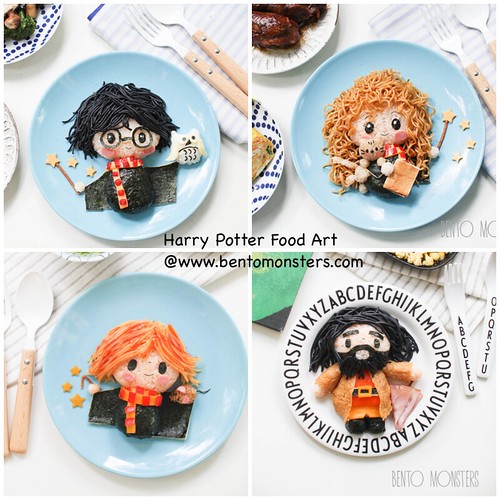
And here are the four Harry Potter themed food art I made, for more details on Harry Potter and Hermione food art I made earlier, you can click here. I will most likely remake them again in the future, already have some ideas but I'm hoping to wait till I visit Hogwarts before I start working on them. Fingers crossed there'll be no hiccups, and we can pay Hogwarts a visit end of this year. :)

Saturday, 25 July 2015

Keroppi Food Art & Cookie

I'm sorry my site was not accessible earlier, thank you to all of you who tried to inform me about it. I was changing the template yesterday, ended up making a mess, I had no time to fix it, so I restricted access to the blog for the time being. This new look that you are seeing is just a temporary one, I'm still working with the designers on another one, as the final site is going to be two column, I thought I should slowly change the blog layout, so that the final transition will be easier.
IMG_0811
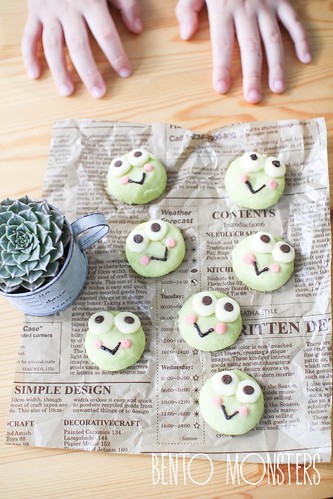
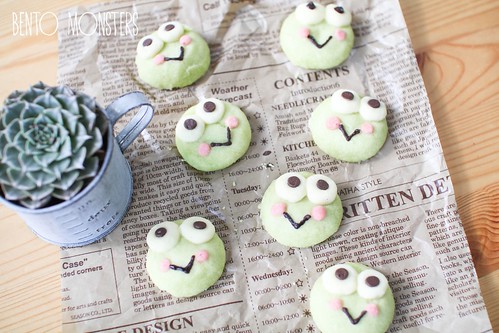
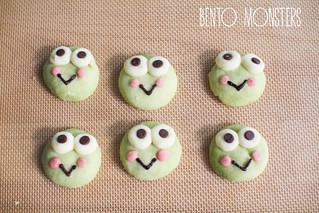
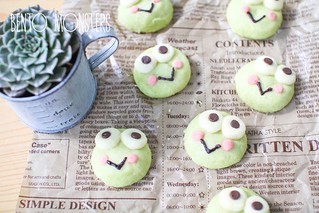
I'm finally updating a recipe post, I've quite a few to share, but as they take longer to put up, as compared to the regular post, I keep procrastinating. These Keroppi cookies are matcha german cookies. These Keroppi cookies were inspired by Wanwan Tea, I was attracted by the ones she made during my very first visit to her blog.

IMG_0810
These cookies simply melts in your mouth, they are similar to the Tsum Tsum ones I shared earlier here. These cookies are green due to the matcha powder added, and they also come with a hint of matcha flavour.

IMG_0937
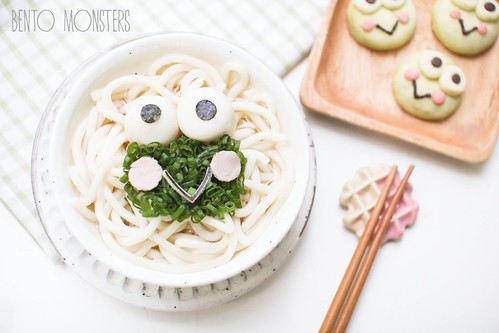
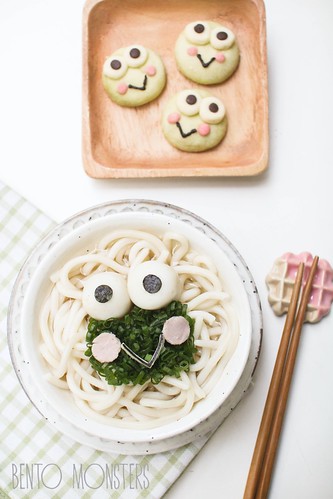
Before I proceed to the cookie recipe, let me share two Keroppi food art I made. This Keroppi was made out of chopped spring onions and fish balls.
IMG_0933
The noodles below are udon made using my Philips Noodle Maker, they have a disc for making udon that you can order from their service centre.

IMG_0952
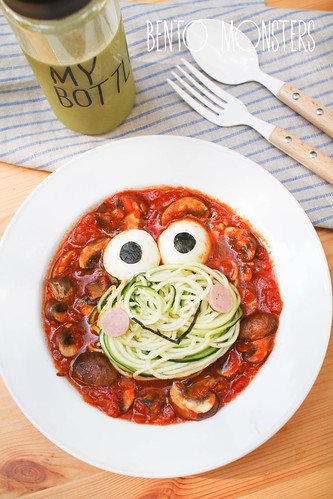
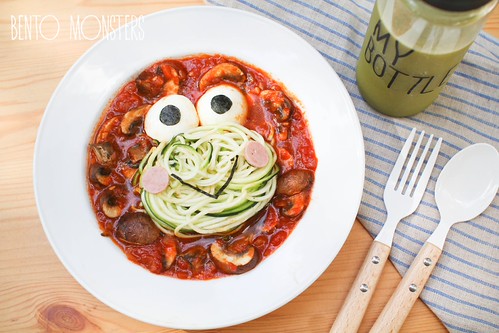
And this Keroppi was made from Zucchini-based noodles or Zoodles. I made this one for myself. I used a spiralizer to slice the Zoodles, quite fun, but this gadget is a little bulky for my tiny kitchen. -_-

IMG_0950
Keroppi eyes here was made using hard boiled egg.

keroppi
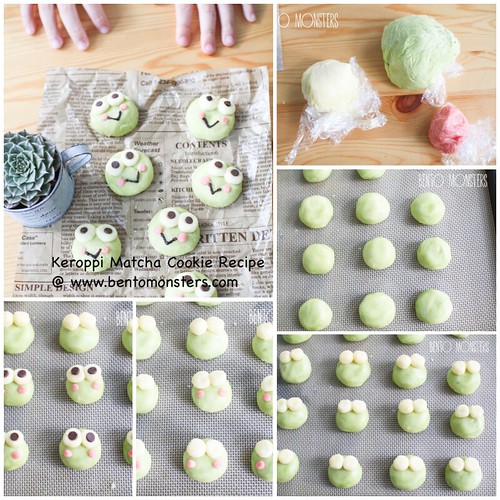
Details to make these Keroppi cookies are below.

KEROPPI GERMAN COOKIE RECIPE

Ingredients:
125g butter
50g icing sugar, sifted
125g potato starch
80g cake flour
small chocolate chips
1 tbsp matcha powder
Pink gel colouring

Method:
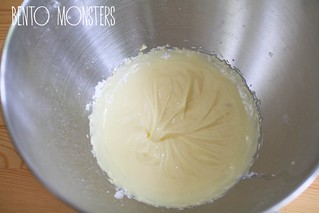
  1. Beat butter and icing sugar till light and fluffy.
  2. IMG_0739IMG_0740
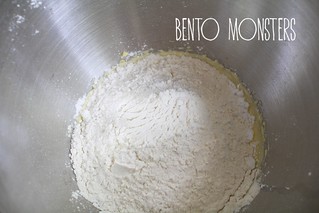
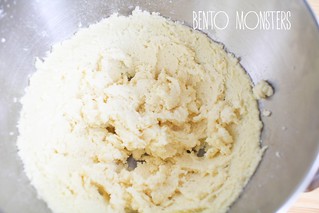
  3. Sift in potato starch and flour, mix till a soft dough is formed.
  4. IMG_0741IMG_0742
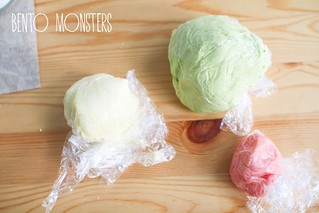
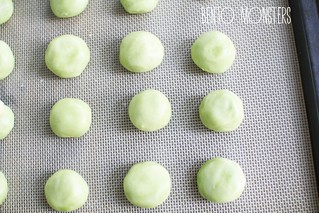
  5. Divide dough into 3 portions, around 300g, 50g and 20g. Colour 300g of it using matcha powder. Colour 20g of it using pink gel colouring. Leave the 50g plain. Wrap the coloured dough separately with cling wrap and refrigerate for half an hour.
  6. IMG_0802
  7. Take the green dough, mould into balls and flatten them a little.
  8. IMG_0803
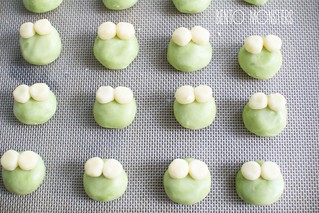
  9. Take the plain dough and roll into two small balls, place on the top of the cookie.
  10. IMG_0804
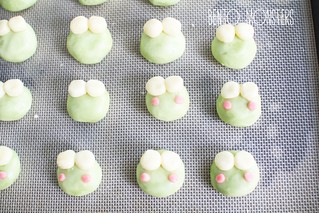
  11. Take pink dough and roll into a small ball, flatten it and place on Keroppi's cheeks.
  12. IMG_0806
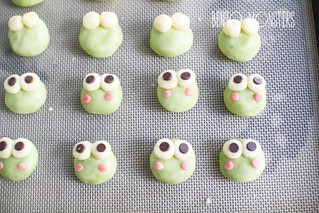
  13. Place two chocolate chips for Keroppi's eyes.
  14. IMG_0808
  15. Bake cookies at 140 degrees celcius for 20 minutes. To prevent cracking, please place at the middle to low rack and insert an empty tray above it. When the cookie has cooled down, use melted chocolate to draw Keroppi's mouth.
  16. IMG_0817IMG_0813