
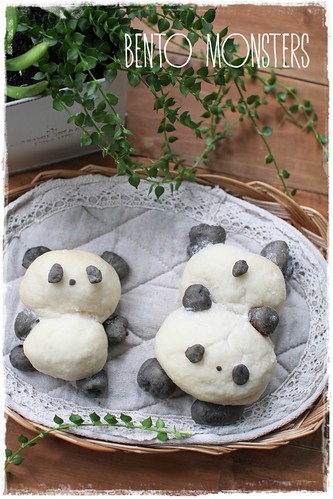
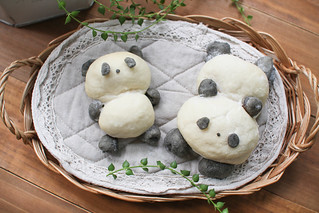
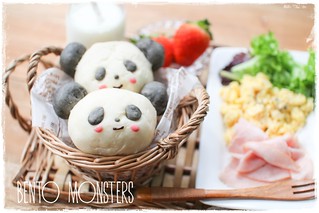
These are the panda buns I made during the school vacation.
I love this milk bun recipe, it's currently one of my favourite bread recipe.

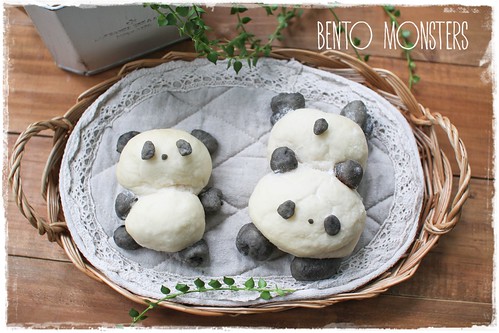
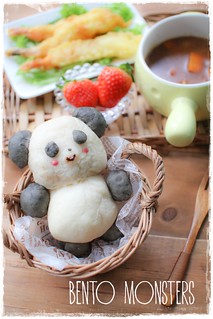
I drew on details with chocolate for some of the panda buns.
But I think I still prefer the ones without the details drawn on. :P
JAPANESE MILK BUN PANDA RECIPE
Ingredients:
Bread Flour 250g
Instant Yeast 3g
Milk 200g
Sugar 10g
Butter 10g
Salt 3g
Black Sesame Paste 1 tbsp
Method:
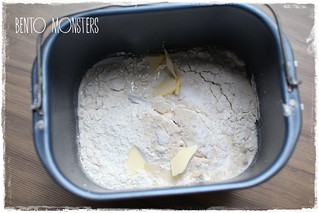
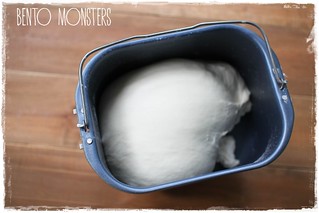
- Mix all the ingredients, except butter, in a large bowl to get a dough. Add in butter and knead until dough is springy and soft, this takes around 10 minutes. If you have a bread maker, you can just use the dough function for this step, as well as step 2.
- Cover the dough with cling wrap and keep in a warm place for it to rise. This takes around an hour and the dough should double in size.
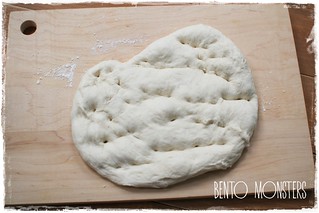
- Dust your work table with some flour, place dough on it. Punch out the air from the dough with your fist. Divide the dough into 5 portions.
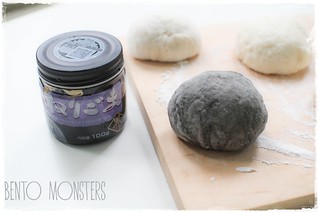
- Take one portion and mix in 1 tbsp of black sesame paste, knead till it's evenly mixed. You can add in a little bread flour if mixture is too sticky.
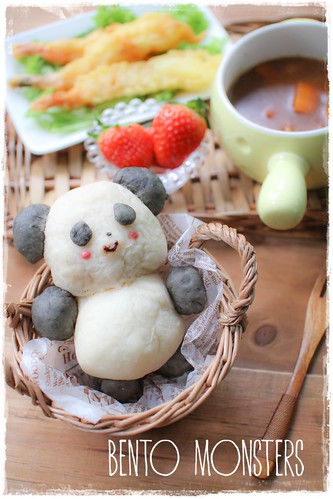
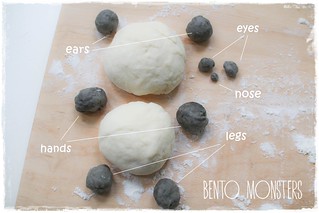
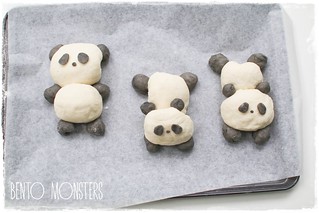
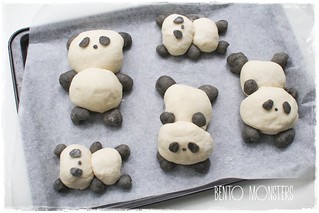
- If you are shaping a full size panda, divide each portion of white dough into half. Roll small balls for ears, hands, eyes and legs from the black sesame dough. Cover with cling wrap and let the dough rest for 15 minutes.
- Roll out bread dough and shape them again, place them on a baking tray lined with parchment paper,
- Cover with cling wrap and let dough rise for 40 minutes.
- Preheat oven to 190 degrees celcius, turn it down to 140 degrees before placing in the bread at middle rack. Bake for around 15 minutes.
- If you like, you can also add in some details using chocolate.
- You can just make the head of the panda too.
- You can divide your dough in step 3 into more portions if you prefer your pandas to be smaller.
- As an added precaution to make sure the buns remains white, you can also place in an aluminium sheet to cover them halfway through baking.


O..the panda bun was just too cute! You use fresh milk? or full cream milk ya?
ReplyDeleteTk u, Sannee, I used fresh milk.
DeleteSo cute! Love these little pandas!
ReplyDeleteSuper cute Pandas and looks yummy!:) I wish I am your neighbor Ming!!!
ReplyDeletetoo cute! thanks for sharing
ReplyDeletethey look so cute to be eaten though!
ReplyDeletethanks for sharing! :)
Tk u, TM. :)
DeleteCan't bear to eat this
ReplyDeleteTk u, Victoria. :)
DeleteLove your panda buns they are so precious!
ReplyDeleteTk u, Jenn. :)
DeleteHi Ming, thanks for the recipe. Tried it & the buns were soooo soft. No egg is needed & less butter too. The only complain I got from the kids was the yeast smell for day old bread. Fm ET
ReplyDeleteTk u, ET. Lol, maybe try baking/toasting them the next day n see whether it helps. :)
DeleteHello! Would love to try making these cute panda bread! Where did you get the sesame paste from?
ReplyDeleteI bought from NTUC finest. You can get from those shops selling japanese food stuff n Meidi-ya too.
DeleteI made some today and also made a totoro! My son Loved them! thanks for the super cute recipe. I wish I could post some pics they are perfect!
ReplyDeleteWhat camera do you use to capture the photo? love it so much😍
ReplyDelete