I was busy baking pineapple tarts as gifts during last Thursday and Friday. This year, I tried shaping the tarts into piggies, bunnies and pandas. I've included the tutorial on how to make these, hope you will find it useful. :)
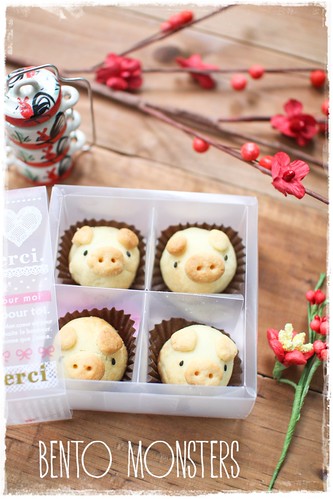
Piggies pineapple tarts, these are my favourite. :)
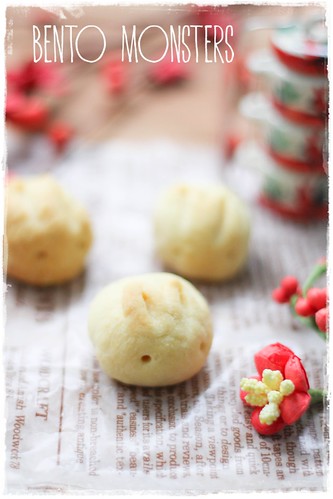
Bunnies pineapple tarts, these are the fastest to make, as compared to the other two designs.
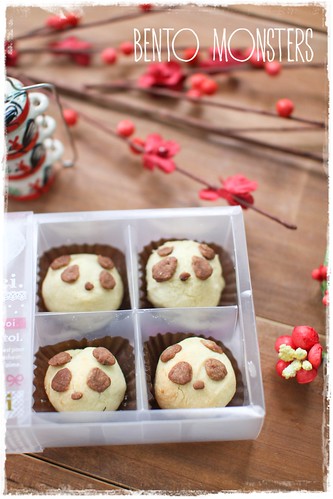
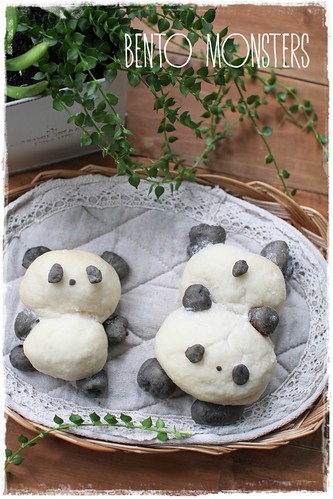
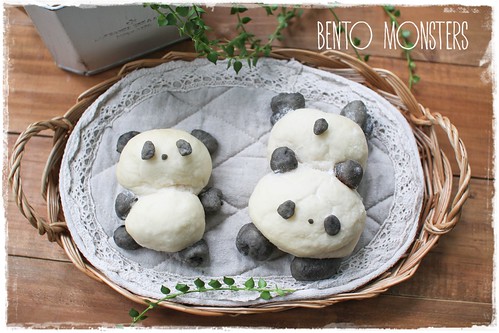
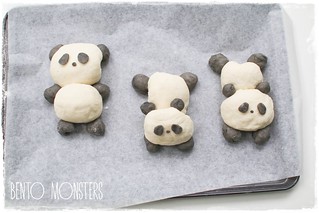
Lastly, I also made panda pineapple tarts.

A fraction of the pineapple tarts packed in jars.
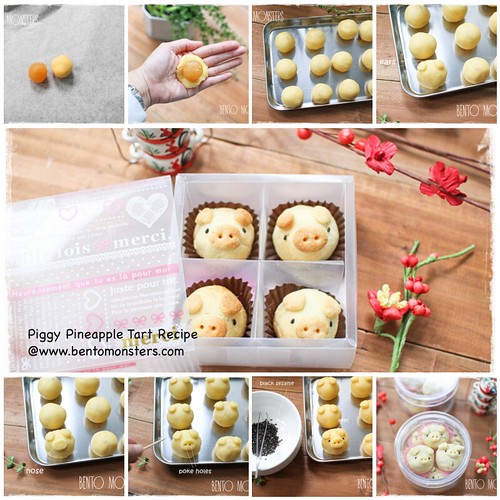
I'll start off with the pineapple tarts tutorial, recipe is included at the end of this post.
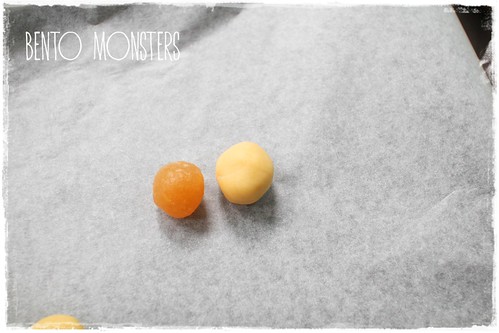
Roll your pineapple paste and dough into balls. The dough should be slightly bigger than the pineapple tart. If you like, you can weigh them, around 10g for dough, and 8g for pineapple paste.
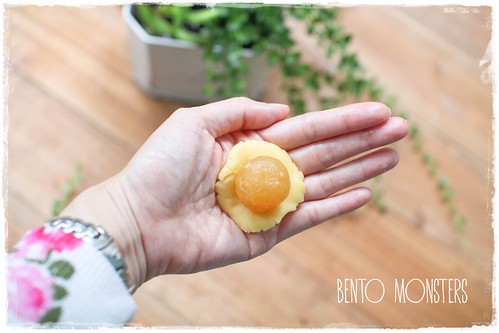
Flatten the dough, place pineapple paste in the middle. Wrap the paste and shape it into balls.
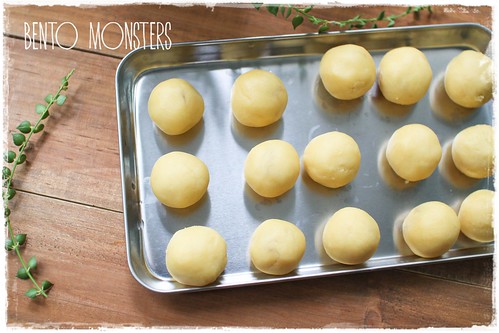
This is the basic shape before proceeding to turn them into piggies, bunnies and pandas.
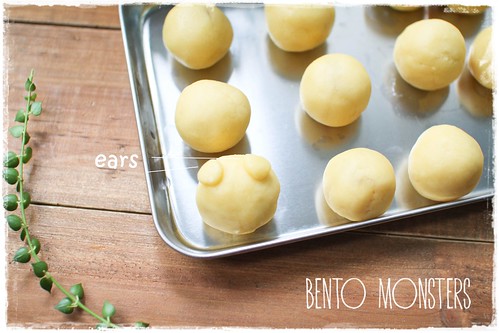
I'll start off with the piggy. Take some dough and shape into piggy's ears.
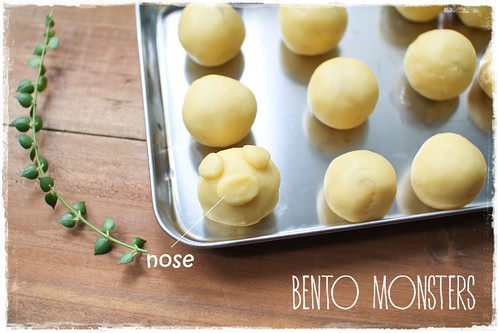
Form and oval dough as piggy's nose.
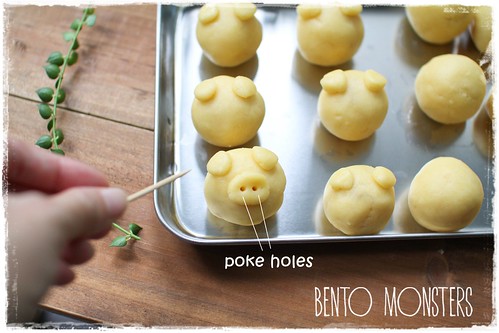
Poke 2 small holes on the nose with a toothpick.
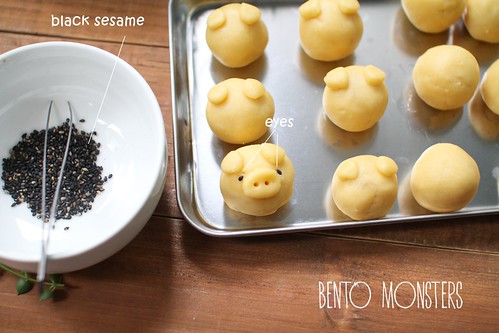
Add black sesame seeds as eyes.
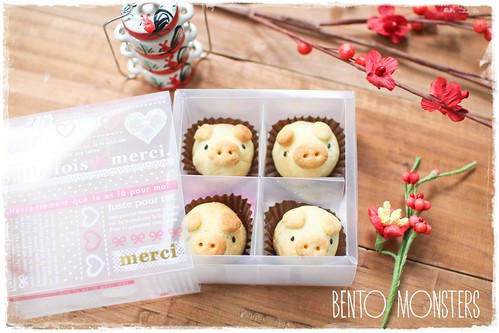
The completed piggies, after baking.
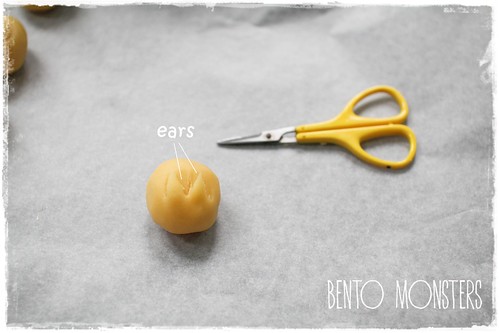
The method for making the pineapple bunnies are the same as making bunnies bread buns or steamed buns. Using a pair of scissors, cut out 2 triangles for the ears.
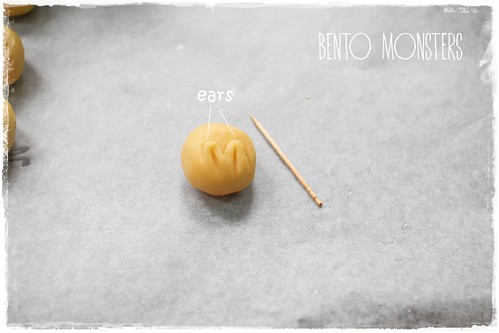
Use a toothpick to flatten the tip of the ears and also to make indentations on the ears.
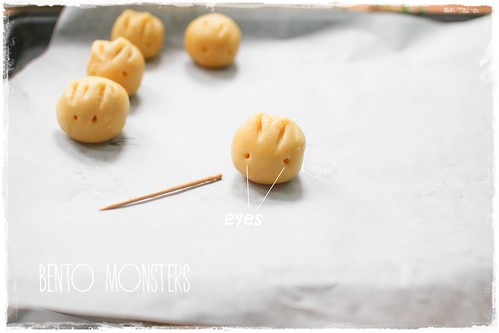
Poke 2 holes for eyes.

The completed bunnies.
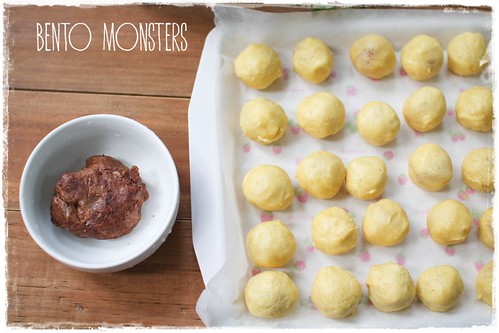
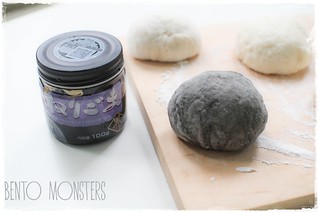
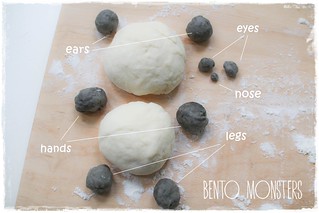
Lastly, for the pandas, take a small portion of dough and mix in around 1 tsp of cocoa powder. You can add more slowly if you find that the colour is not dark enough. This batch is actually done by my boys, they did the rolling of the dough and helped to add in the panda's features.
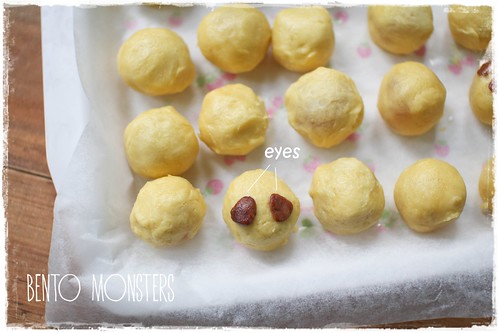
Shape panda's eyes.
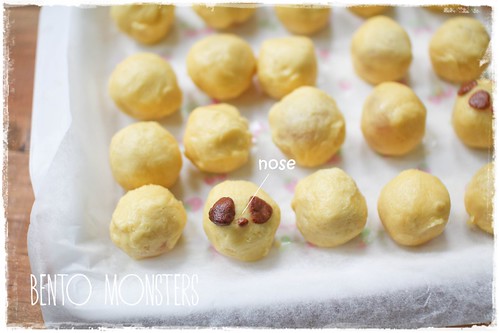
Add a small oval for the nose.
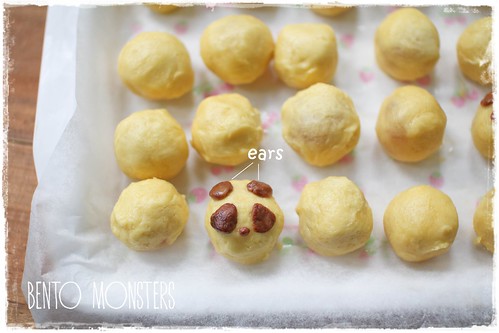
Shape panda's ears.
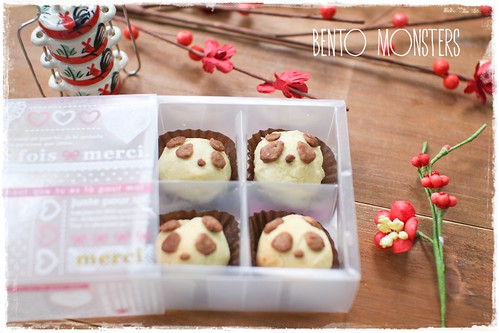
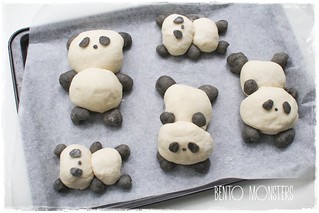
The pandas pineapple tarts after baking. Don't worry about the cocoa powder overpowering the taste of the pineapple tarts, it's hardly noticeable at all. I did not add egg wash for all the tarts, you can add if you want to do so.
I have another pineapple tarts recipe that I usually use, click HERE to see. But I used another recipe this time round, as I do not have some of the ingredients for that recipe on hand. You can of course use your own favourite pineapple tarts recipe to make these as well.
PINEAPPLE TARTS RECIPE
Ingredients:
227g Unsalted Butter, at room temperature
400g Plain Flour
2 egg yolks
50g gm icing sugar
1 tsp Vanilla extract
1/2 tsp salt
1 pack pineapple paste
Method:


Piggies pineapple tarts, these are my favourite. :)
Bunnies pineapple tarts, these are the fastest to make, as compared to the other two designs.
Lastly, I also made panda pineapple tarts.
A fraction of the pineapple tarts packed in jars.
I'll start off with the pineapple tarts tutorial, recipe is included at the end of this post.
Roll your pineapple paste and dough into balls. The dough should be slightly bigger than the pineapple tart. If you like, you can weigh them, around 10g for dough, and 8g for pineapple paste.
Flatten the dough, place pineapple paste in the middle. Wrap the paste and shape it into balls.
This is the basic shape before proceeding to turn them into piggies, bunnies and pandas.
I'll start off with the piggy. Take some dough and shape into piggy's ears.
Form and oval dough as piggy's nose.
Poke 2 small holes on the nose with a toothpick.
Add black sesame seeds as eyes.
The completed piggies, after baking.
The method for making the pineapple bunnies are the same as making bunnies bread buns or steamed buns. Using a pair of scissors, cut out 2 triangles for the ears.
Use a toothpick to flatten the tip of the ears and also to make indentations on the ears.
Poke 2 holes for eyes.
The completed bunnies.
Lastly, for the pandas, take a small portion of dough and mix in around 1 tsp of cocoa powder. You can add more slowly if you find that the colour is not dark enough. This batch is actually done by my boys, they did the rolling of the dough and helped to add in the panda's features.
Shape panda's eyes.
Add a small oval for the nose.
Shape panda's ears.
The pandas pineapple tarts after baking. Don't worry about the cocoa powder overpowering the taste of the pineapple tarts, it's hardly noticeable at all. I did not add egg wash for all the tarts, you can add if you want to do so.
I have another pineapple tarts recipe that I usually use, click HERE to see. But I used another recipe this time round, as I do not have some of the ingredients for that recipe on hand. You can of course use your own favourite pineapple tarts recipe to make these as well.
PINEAPPLE TARTS RECIPE
Ingredients:
227g Unsalted Butter, at room temperature
400g Plain Flour
2 egg yolks
50g gm icing sugar
1 tsp Vanilla extract
1/2 tsp salt
1 pack pineapple paste
Method:
- Sift icing sugar. Whisk the butter and icing sugar till mixture becomes pale.
- Add in salt and whisk to combine.
- Add in egg yolks and continue to whisk till it is fully incorporated.
- Sift flour into mixture. Mix mixture with your hands and lightly knead till flour is incorporated in the dough. Do not over mix the dough.
- Wrap dough in cling wrap and chill in fridge for 30 minutes.
- Divide the dough to 10gm each and wrap in the pineapple filling (8gm).
- Brush egg wash on the tarts and bake at 170 deg for 20mins.
Where to get same item used in today's post: