
I'm sharing this really easy to make bunny for today's post, I made another two variations to it, and have included the tutorial as well.
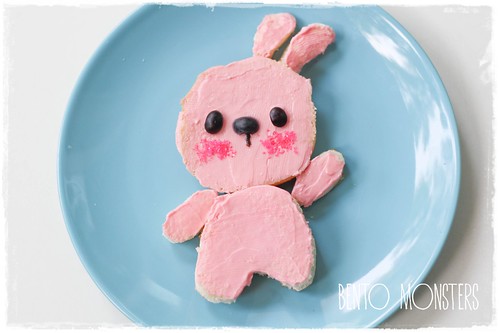
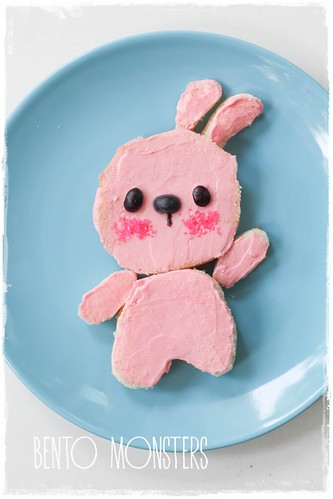
Pink bunny says hello!
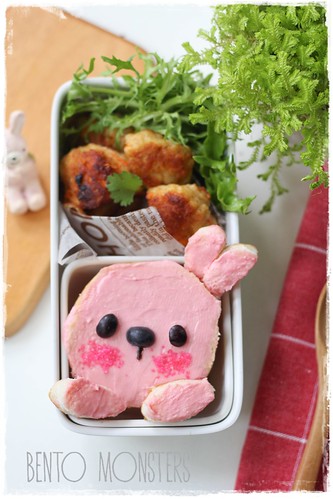
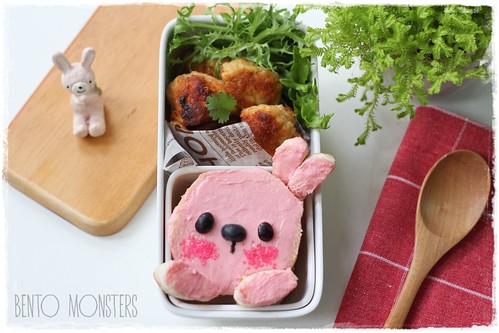
You can pack it in a bento too. I used homemade strawberry cream cheese here, but you can also purchase strawberry cream cheese off the shelf.
If you are looking for a natural way to add pink colouring to your bread, you can give strawberry cream cheese a try. In my first year of making charabens, I used to use artificial colourings occasionally, but I always felt guilty doing that, since my boys are the ones eating all my creations. I have been making a conscientious effort not to add on artificial colouring for their charabens. I do still use artificially coloured food like crabstick, kamaboko, sprinkles, etc sometimes and also gel colourings occasionally in my bakes. If you do not mind artificial colorings, I recommend that you check out the Wilton spray mist, they are really useful as they can easily colour your bread, cheese, cakes, cookies and even rice. You can see them in my old tutorial post HERE.
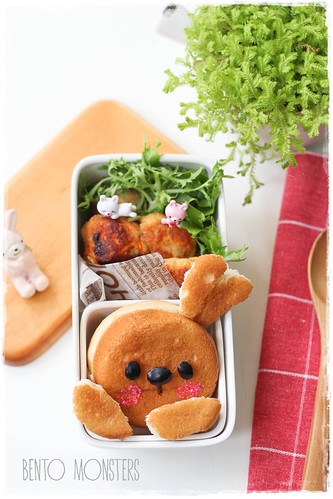
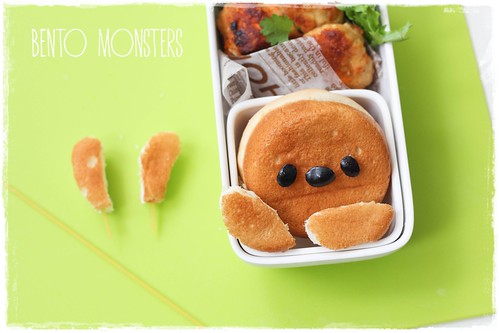
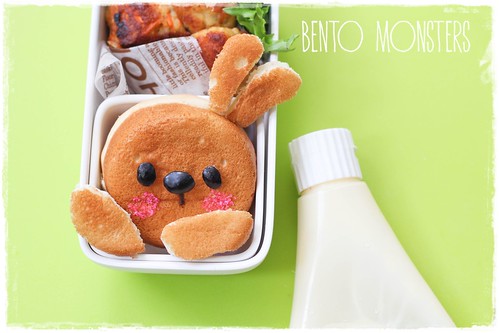
I made a brown bunny too.
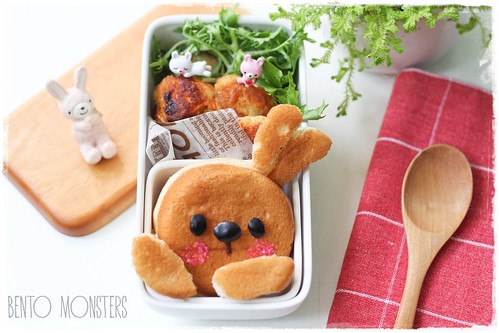
Packed some carrot meat patties in the bento, LT loves these patties and is always happy to see them in his bento.
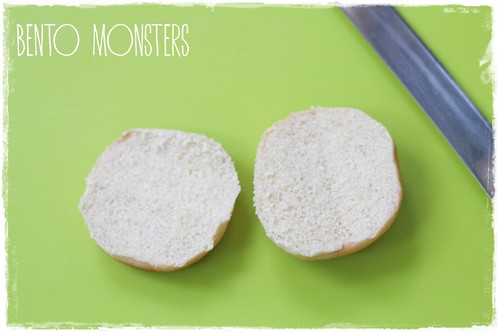
To make the bunny, slice your bread in half.
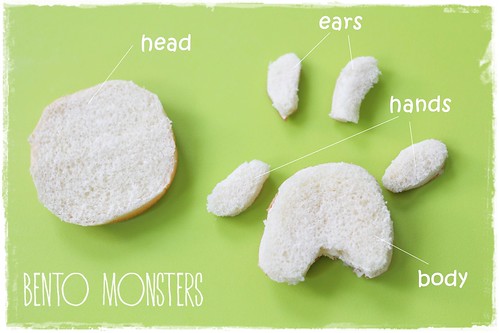
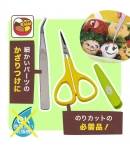
Keep one portion for the head. Cut out the body, hands and ears using the other portion. I used a pair of scissors to do this.
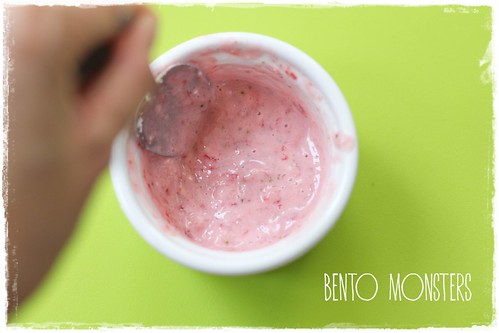
Blend around 5 strawberries and mix with 1 tablespoon of icing sugar and 3 tbsp of cream cheese. This is just a rough guide, adjust accordingly. Sieve the mixture to remove the strawberry bits. Skip this step if you are using store bought strawberry cream cheese.

Spread cream cheese on your bread.
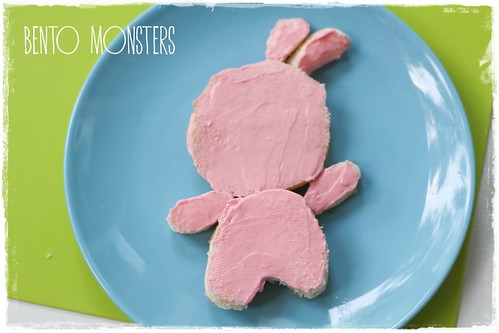
Assemble the bunny on your plate.

Add in blueberries for bunny's eyes and nose.
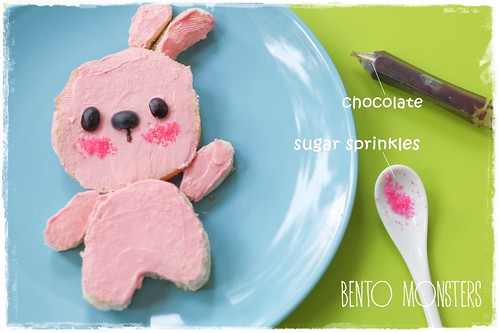
I used sugar sprinkles for bunny's cheeks. The line under the nose is drawn using chocolate.
If you are packing the bunny in a bento, you might want to use pasta to attach on the parts.
For this version of the bunny, you'll need to spread some mayo or butter to help the sprinkles to stick to the bread.
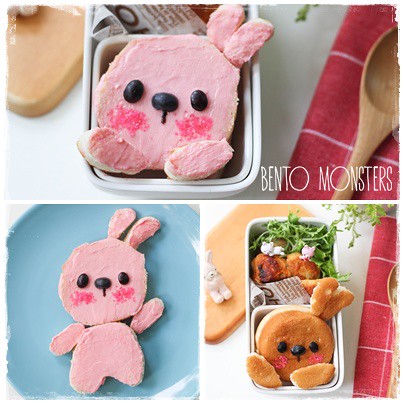
The three variations of the bunny I shared today. :)

Where to get same or similar items used in today's post:


简单又可爱!!
ReplyDelete谢谢分享那鲜草莓抹酱,感觉好好吃~
谢谢你。我的孩子不喜欢超市售卖的草莓乳酪酱,他们喜欢自制的,因为带甜味。
DeleteThat's adorable! I want to try it but I'm not sure how you cut the bread for the cream cheese bunny. Were the ears from around the legs and feet and the arms from the sides?
ReplyDeleteTk u, SB. Yes, something like that, I just try to cut from what's remaining after cutting out the body. If there is not enough bread left, you can also cut out from another slice of bread.
DeleteBoth version of bunny so kawaii!
ReplyDeleteVery cute! Thanks for sharing the tutorial!
ReplyDeleteThanks for sharing the cute pink cheese spread! So pretty!
ReplyDeleteThe strawberry cream cheese is so ingenious! Thanks for sharing!
ReplyDeleteTk u, TM. :)
Delete