
I did not use back my usual recipe this round, came across a super easy recipe sometime back in a magazine, took it down with the intention of giving it a try this year. Not the best recipe I've tried but it's the easiest one. I'm sharing the recipe at the end of this post. Feel free to use back your own recipe if you like. :)

I made some Hello Kitty mooncakes with this batch, I'll leave those for another post. I still have mooncakes ingredients left, might make more designs if I can find the time.
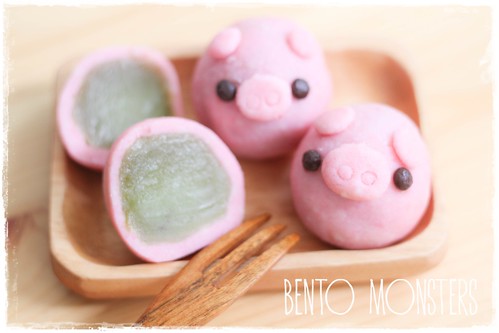
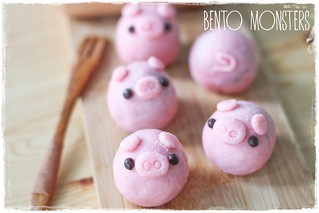
I filled the piggies mooncakes with store bought green tea white lotus paste. I've not made the paste from scratch before, so I've no recipe to share for that.
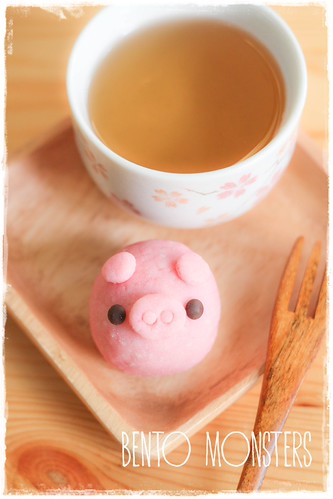
Took quite a number of photos, so allow me to spam another picture of this piggy mooncake. :P
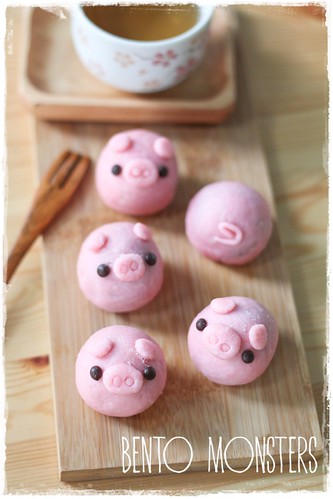
PIGGY SNOWSKIN MOONCAKE
Ingredients:
150g Gao Fen (cooked glutinous rice flour)
150g Icing Sugar
50g Shortening
180g cold water
A little Wilton pink gel food colouring
Mooncake filling - I used green tea white lotus paste
Method:
- Sift Gao Fen and icing sugar together in a bowl.
- Add in shortening to the mixture and combine.
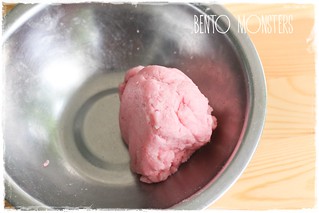
- Dissolve some pink colouring in cold water. Slowly add in the cold water, you might not need to use all. You can stop once you are able to knead into a dough.
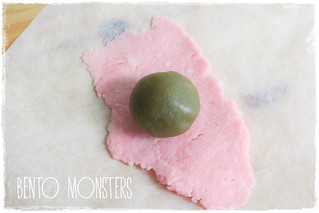
- Weigh dough and fillings, I used 30g of fillings to 25g of dough. Flatten dough with rolling pin, roll fillings into a ball and place on top.
- Seal and wrap mooncake using your hands. Flatten the base and mould it slightly oval in shape.
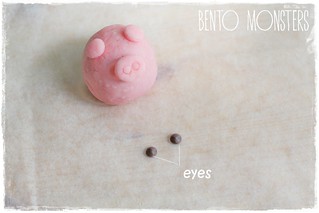
- Take a little dough, mould into oval shape for piggy's nose, use a straw to poke 2 holes.
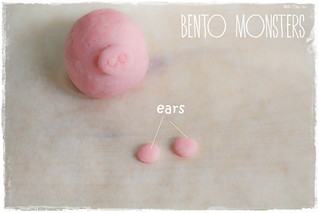
- Take a little dough, mould into 2 ovals for piggy's ears.
- Use 2 small chocolate chips for piggy's eyes.
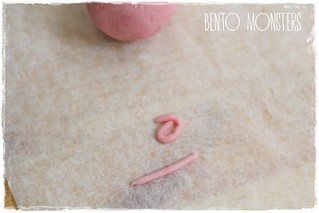
- Take a little dough, roll it out before curling it up, this will be the piggy's tail.


啊!!!(这时候您让我尖叫不停啊!)
ReplyDelete好可爱!!!太有创意了!!谢分享!
Ming,我想我会抽空用您的食谱做只小猪猪给我儿子^^
谢谢你,婉婉。:)
DeleteThanks for sharing this recipe, I've never tried making mooncakes before so this is very informative. These piggies are adorable!
ReplyDeleteTk u, Jean. :)
DeleteAH........Loving these cute piggies!! I'm too lazy to make....how I wish can taste one of urs ^_^
ReplyDeleteTk u, Karen. :)
DeleteThis is so cuteeee..I never made mooncake before and still don't have any courage to make till today ^^ love your piggy mooncakes so much
ReplyDeleteTk u, Margaret. :)
DeleteNice n good job!
ReplyDeleteTk u, Aimeili. :)
DeleteVery cute
ReplyDeleteWhat other fillings are good? I have bad luck finding specific things at the Asian grocery...
ReplyDeleteI don't think they are easily available over there. You can substitute with those red bean paste from Daiso or jap grocery stores. :)
DeleteHi those piggies mooncakes are so cuteee ~~ may I know where did u get the green tea white lotus paste from?(:
ReplyDeleteIt's from Phoon Huat. But I would recommend you to check out the ones from Kwong Cheong Thye. :)
DeleteHi! How do u make the moon cake look so round and perfect, with no sign of opening at all? (How do u seal the mooncake?)
ReplyDeleteHi Janice, the opening is underneath, I did roll with my palms to smooth out the opening, but it's not as smooth as the top.
Delete